When I was a kid, I was convinced that press-on nails were going to solve all of my short-fingered, nail-bitten hand problems. I’d spend any pocket money I had on every pair I came across and the next morning I’d wake up with more of the nails stuck to my pillowcase and my hair than on my actual nail. Press-on nails get a bad rap, mostly because the press-on nails of the past were disastrous. They were uber thick and came with the chunkiest piece of adhesive.
They were heavy, fit poorly, and more often than not came in French tip designs. Plus the glues they came with wrecked nail beds and I could never get through 1 whole set without gluing some part of my body together or ruining a table.
THE COVID HIT
This nail-obsessed child morphed into a nail-obsessed adult and it’s a luxury that I indulge in often. Before COVID, it was my time every 2-3 weeks to sit alone without children and get pampered. But quarantine put a firm stop to those and I’m not too proud to admit that my nails were kind of a disaster! I did my own dip at home for a while but the process is one I prefer to get done in a salon.
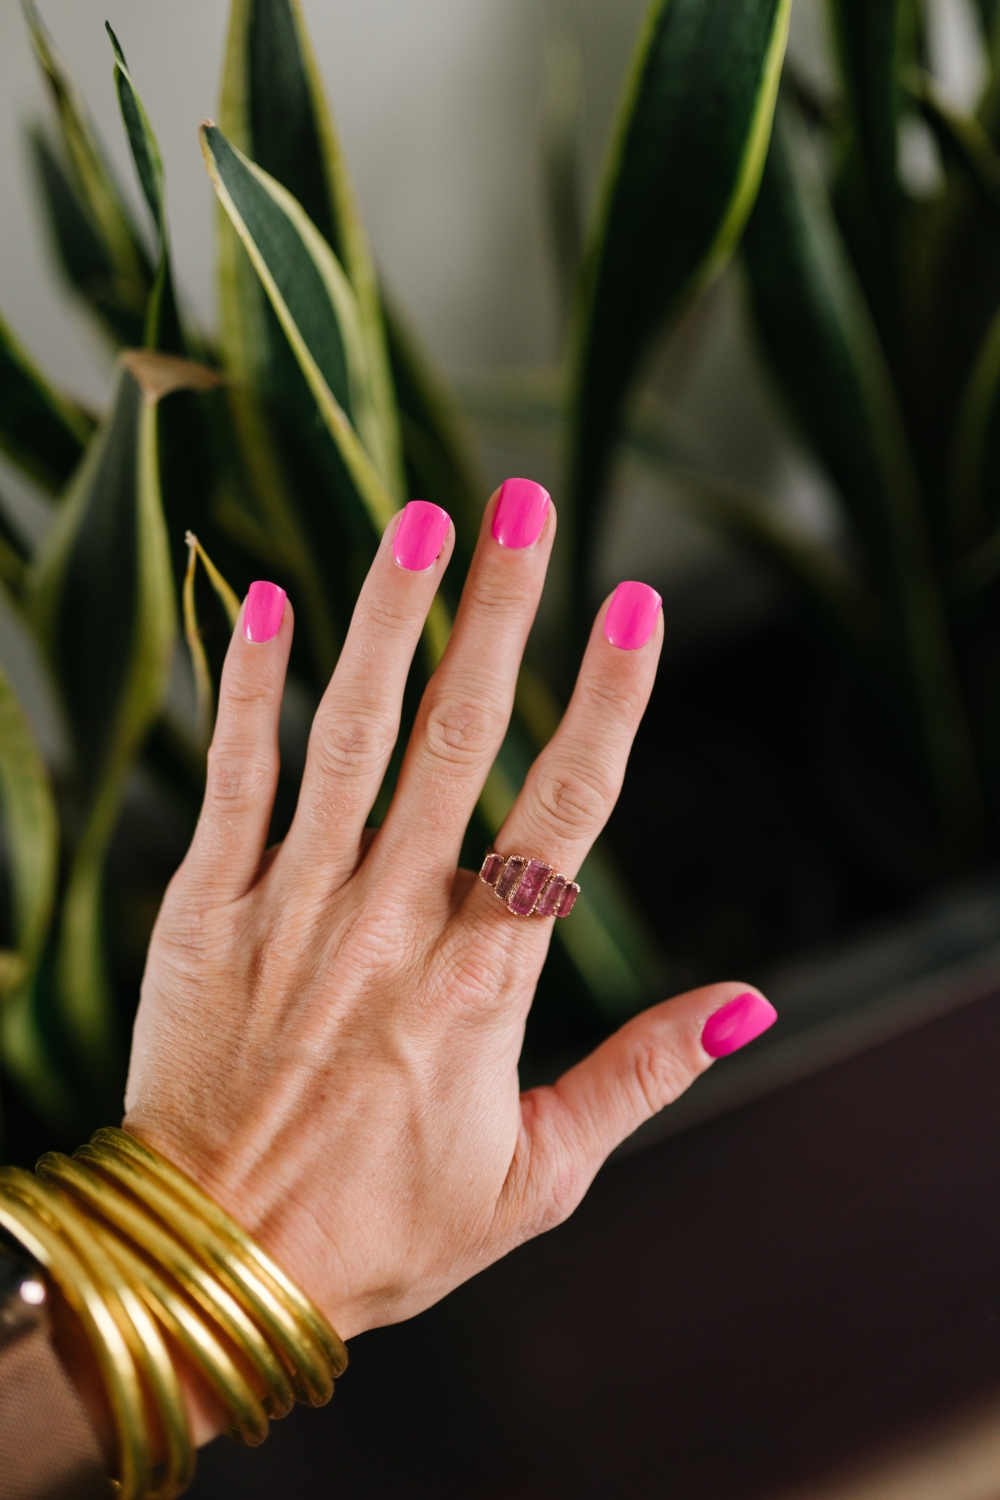
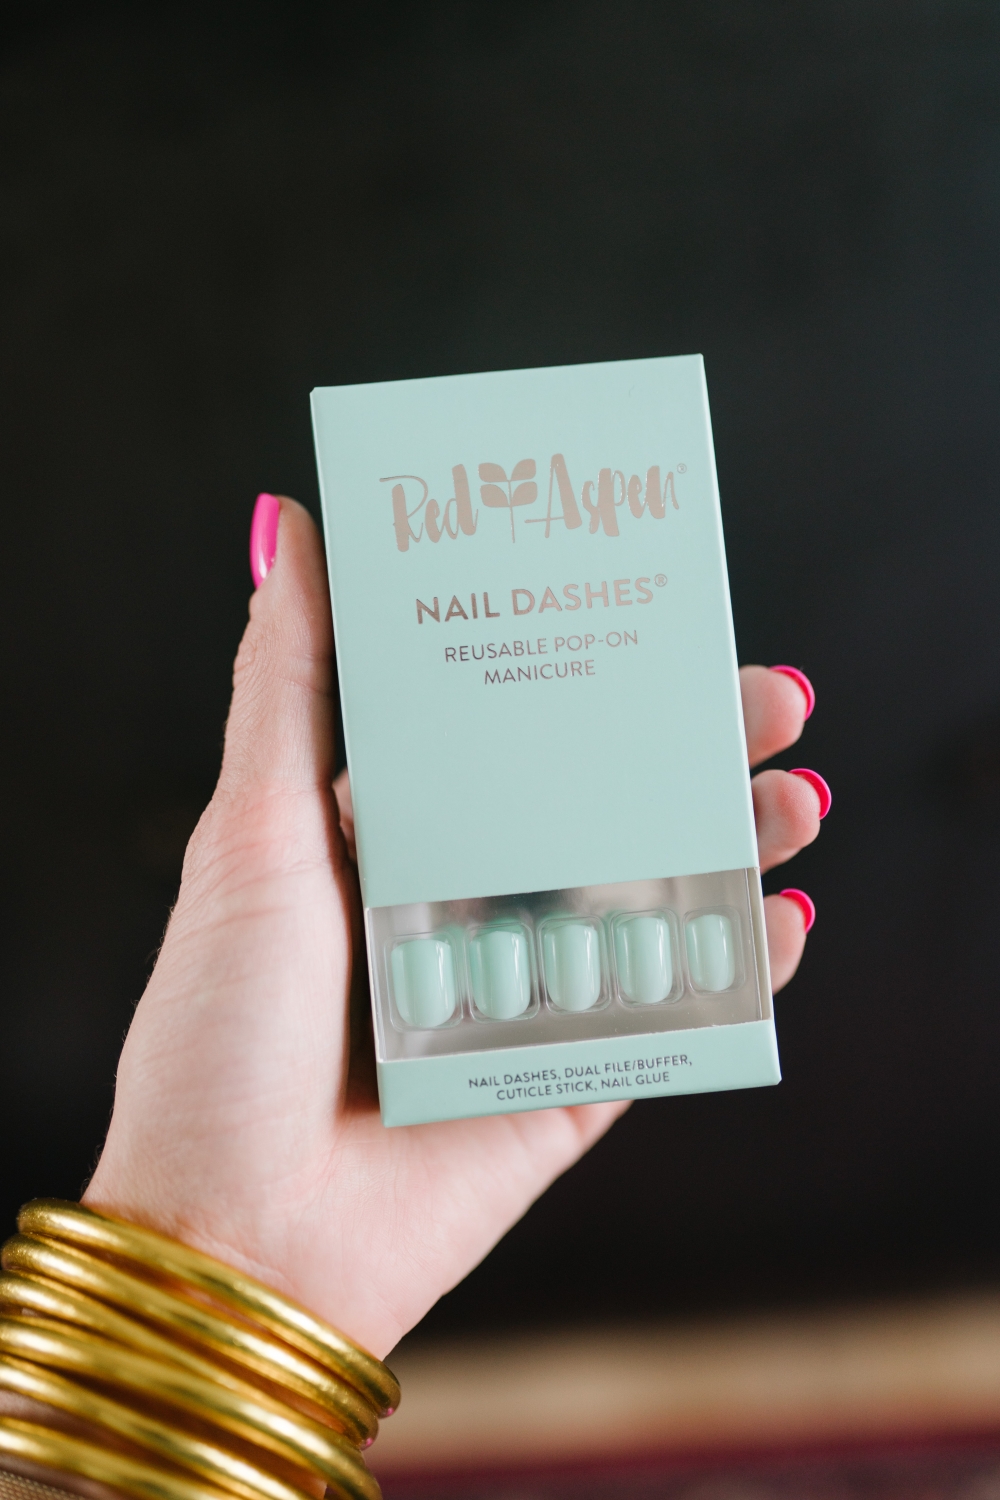
But one of my followers introduced me to Nail Dashes and I am a total fan!
These things have saved me and my hands and they’ve made it a bit easier for me to go about my day without the nuisance of visiting a salon!
WHAT YOU NEED TO KNOW
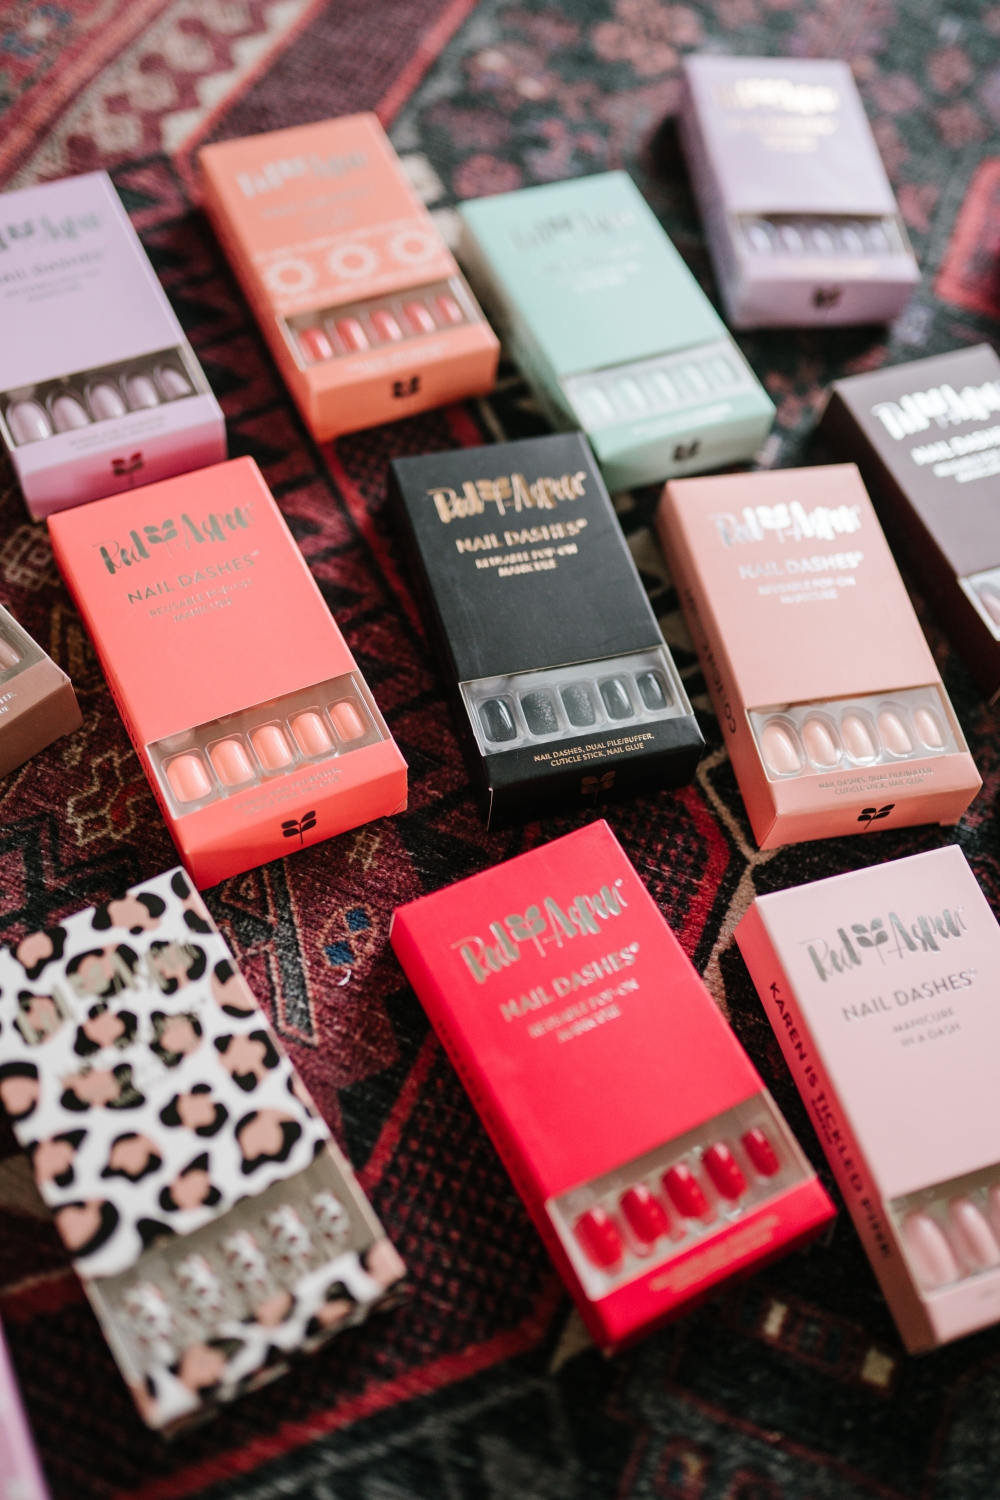
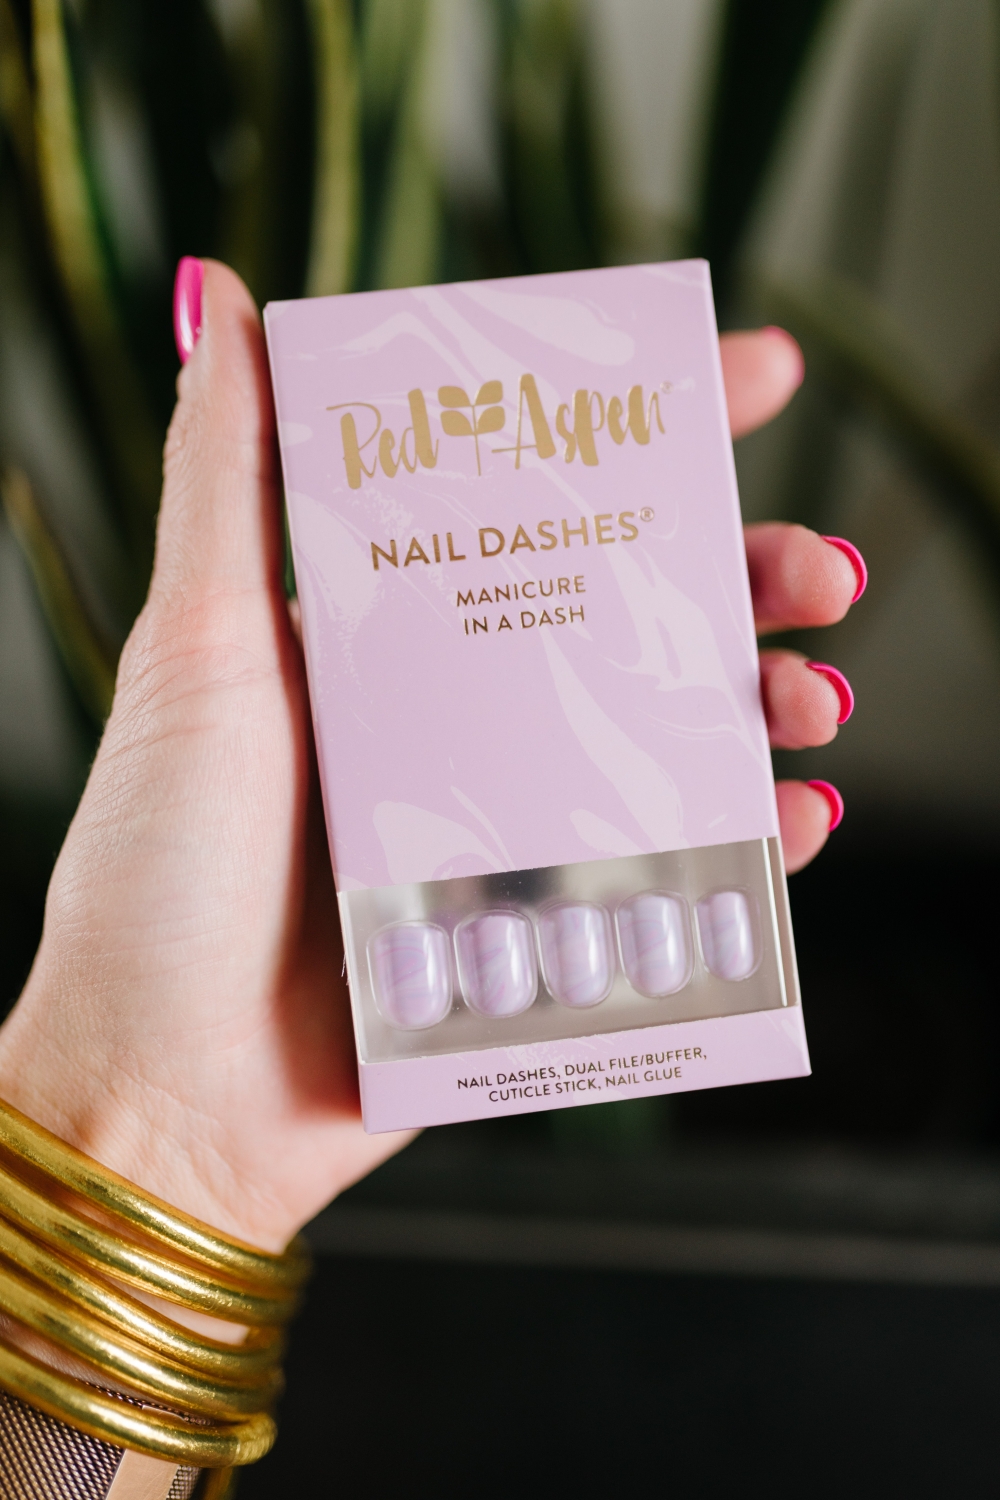
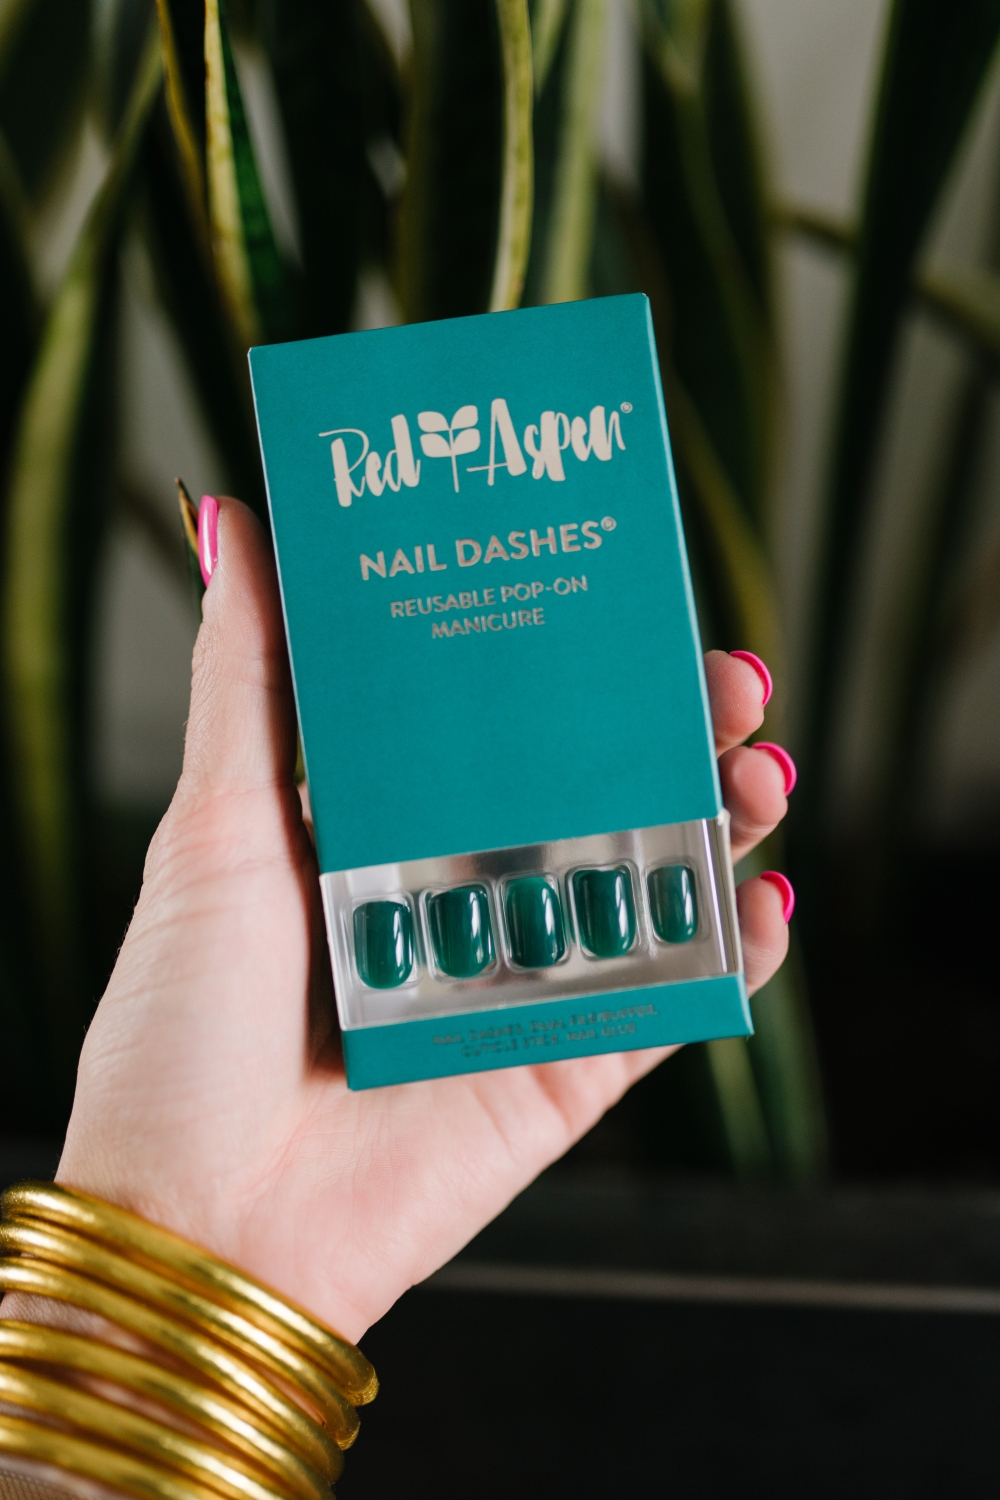
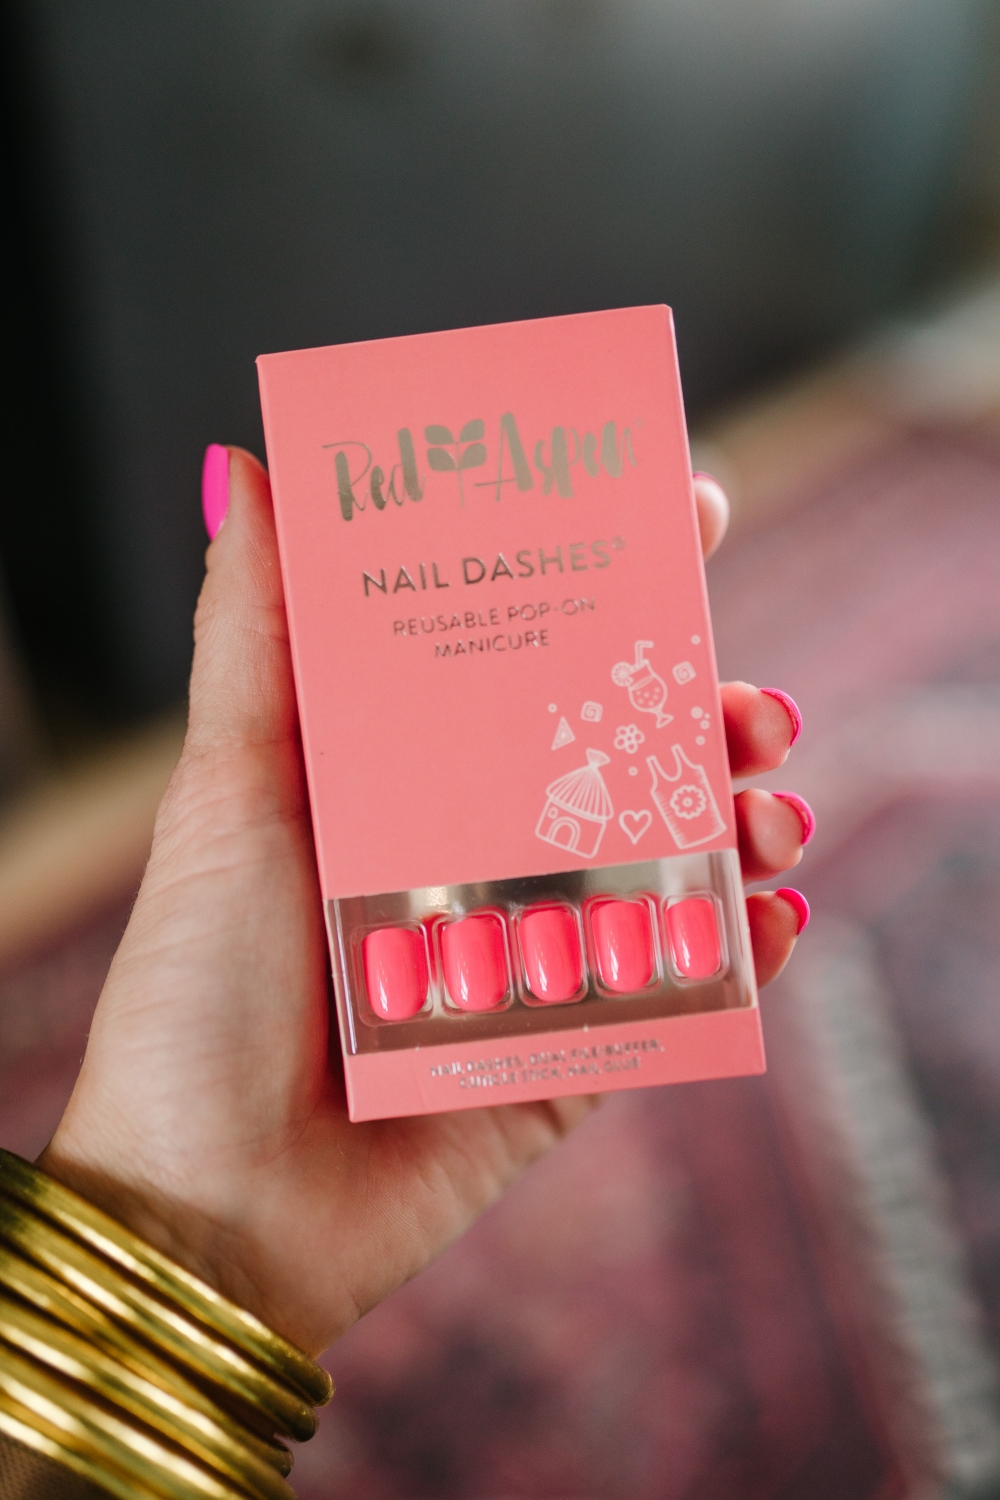
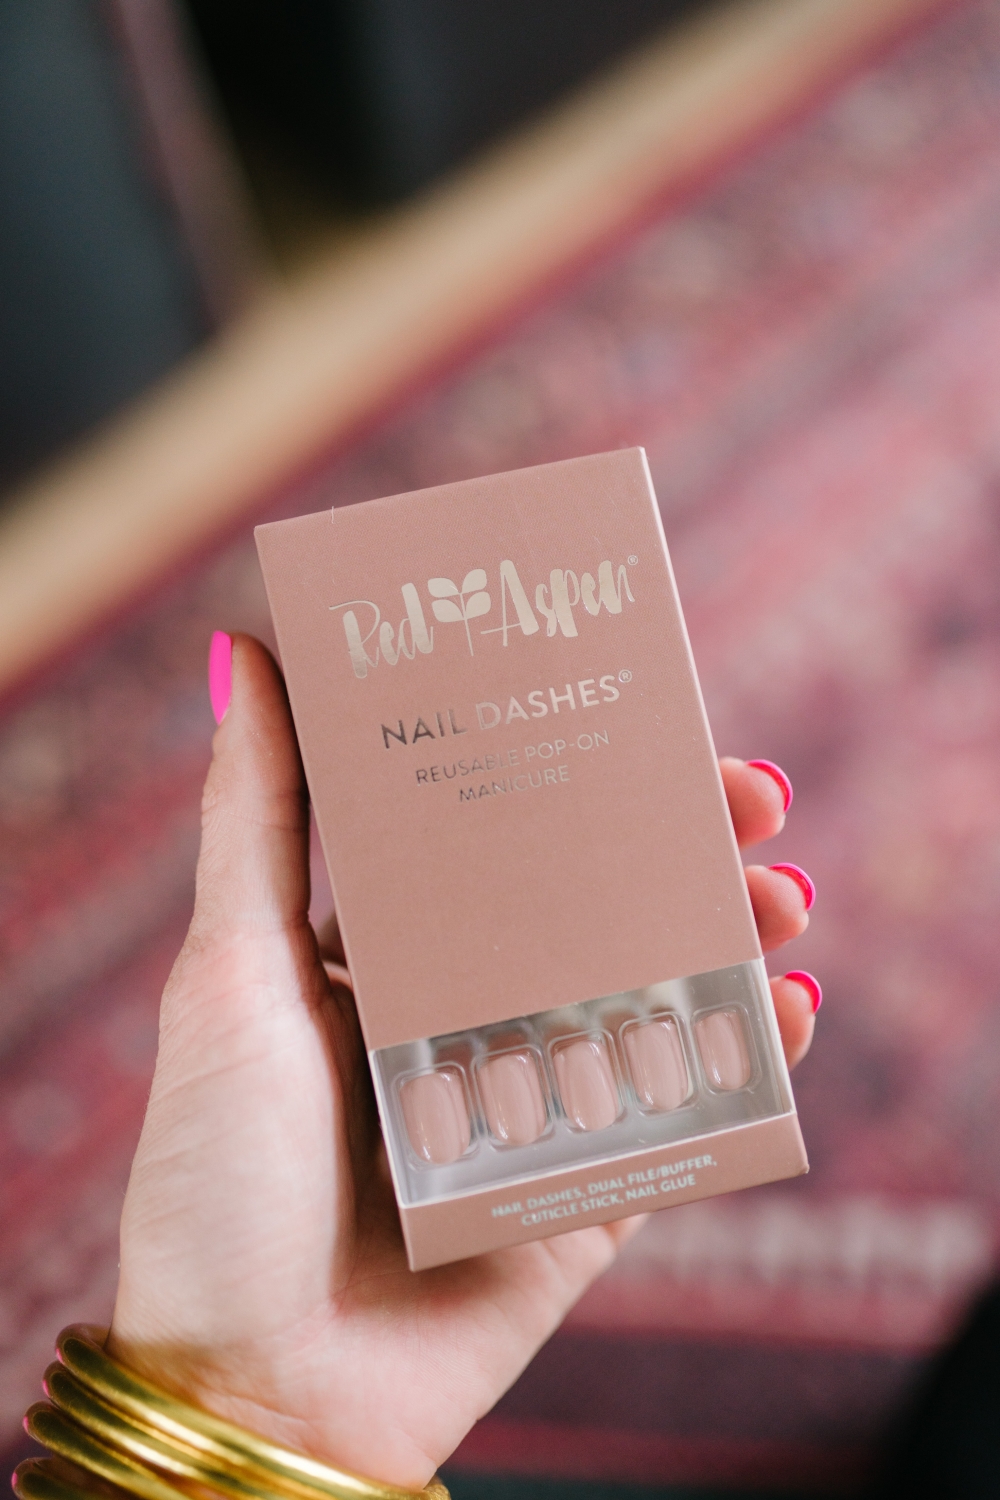
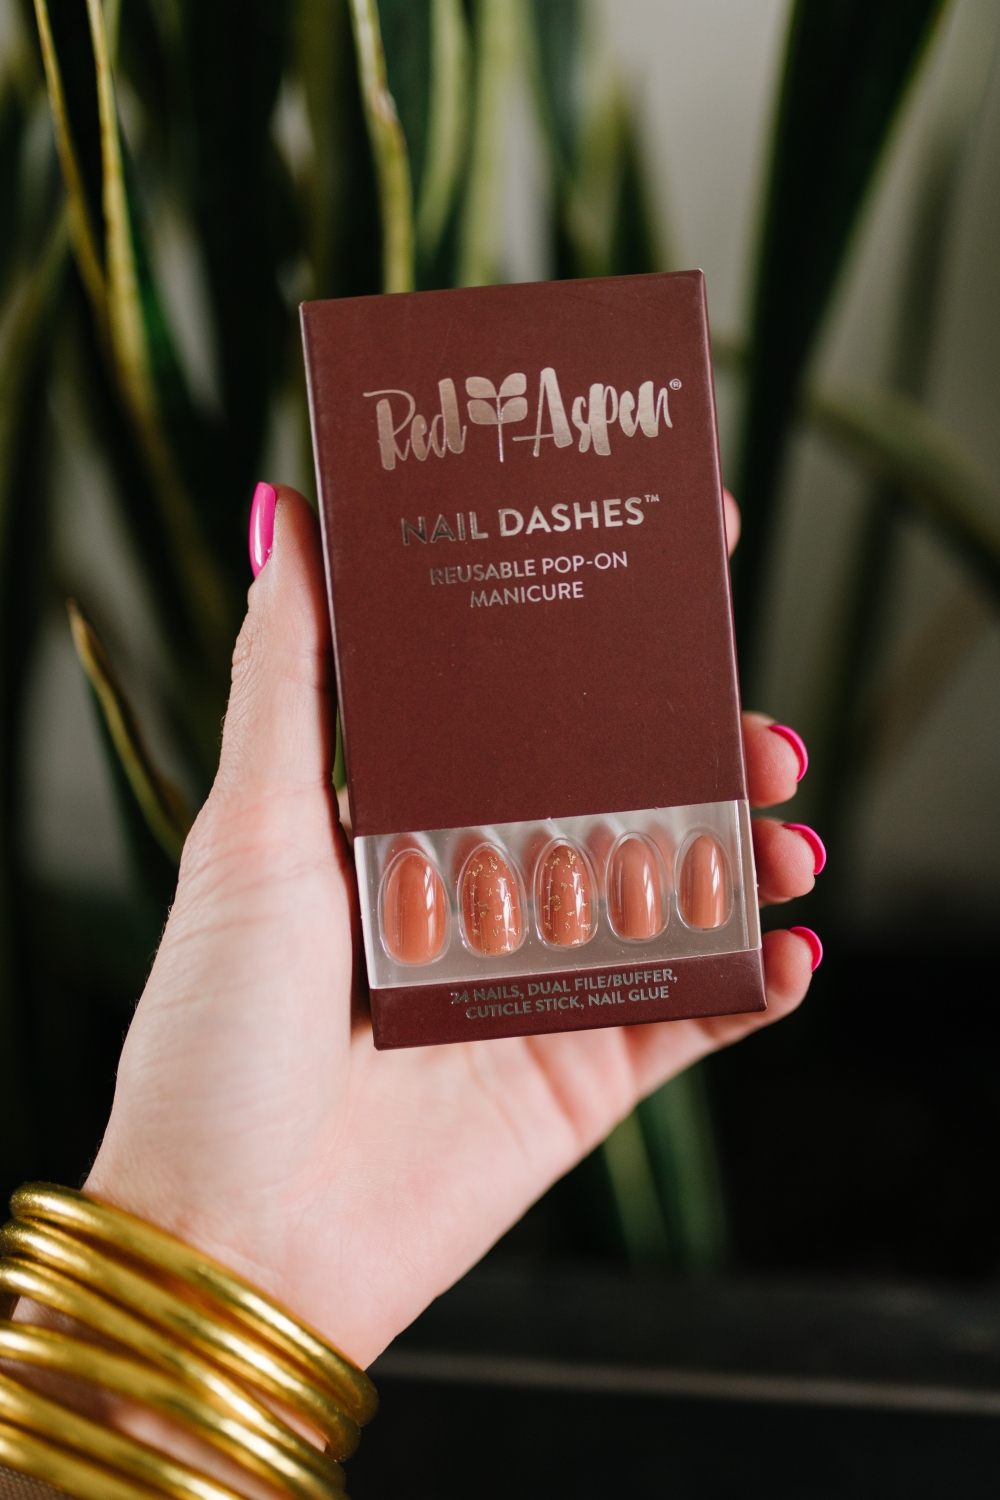
Each Dash pack comes with at least 24 nails (you’ll only need 10, which means you’ll have 14 backup nails), a mini cuticle stick, a mini dual buffer/ file combo, a nail glue, and a silver mat.
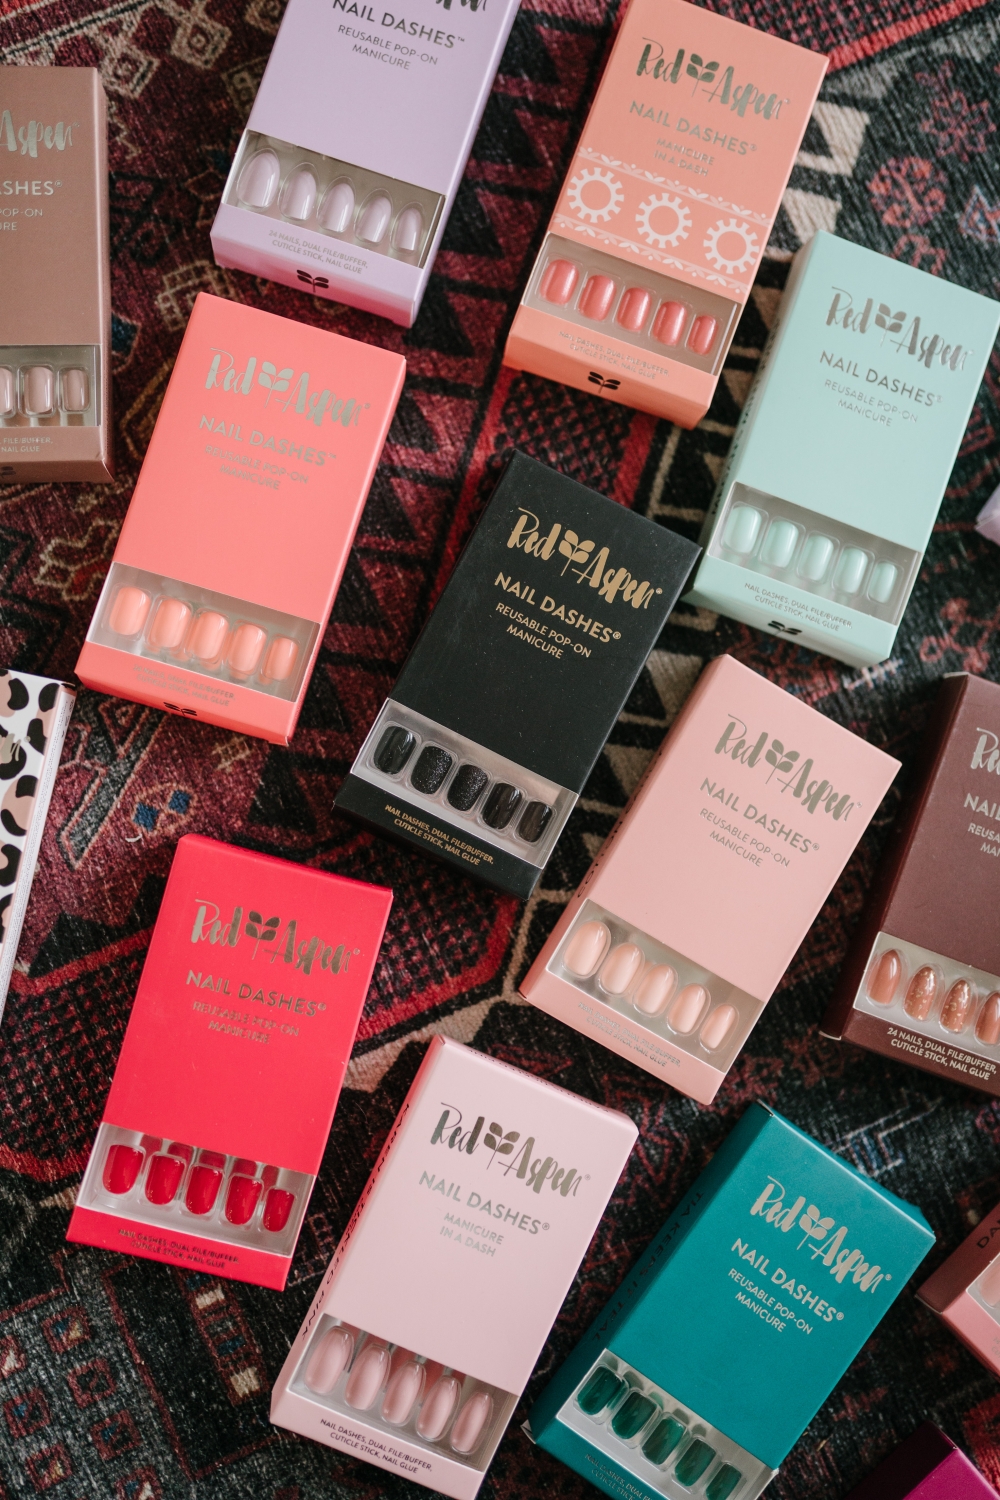
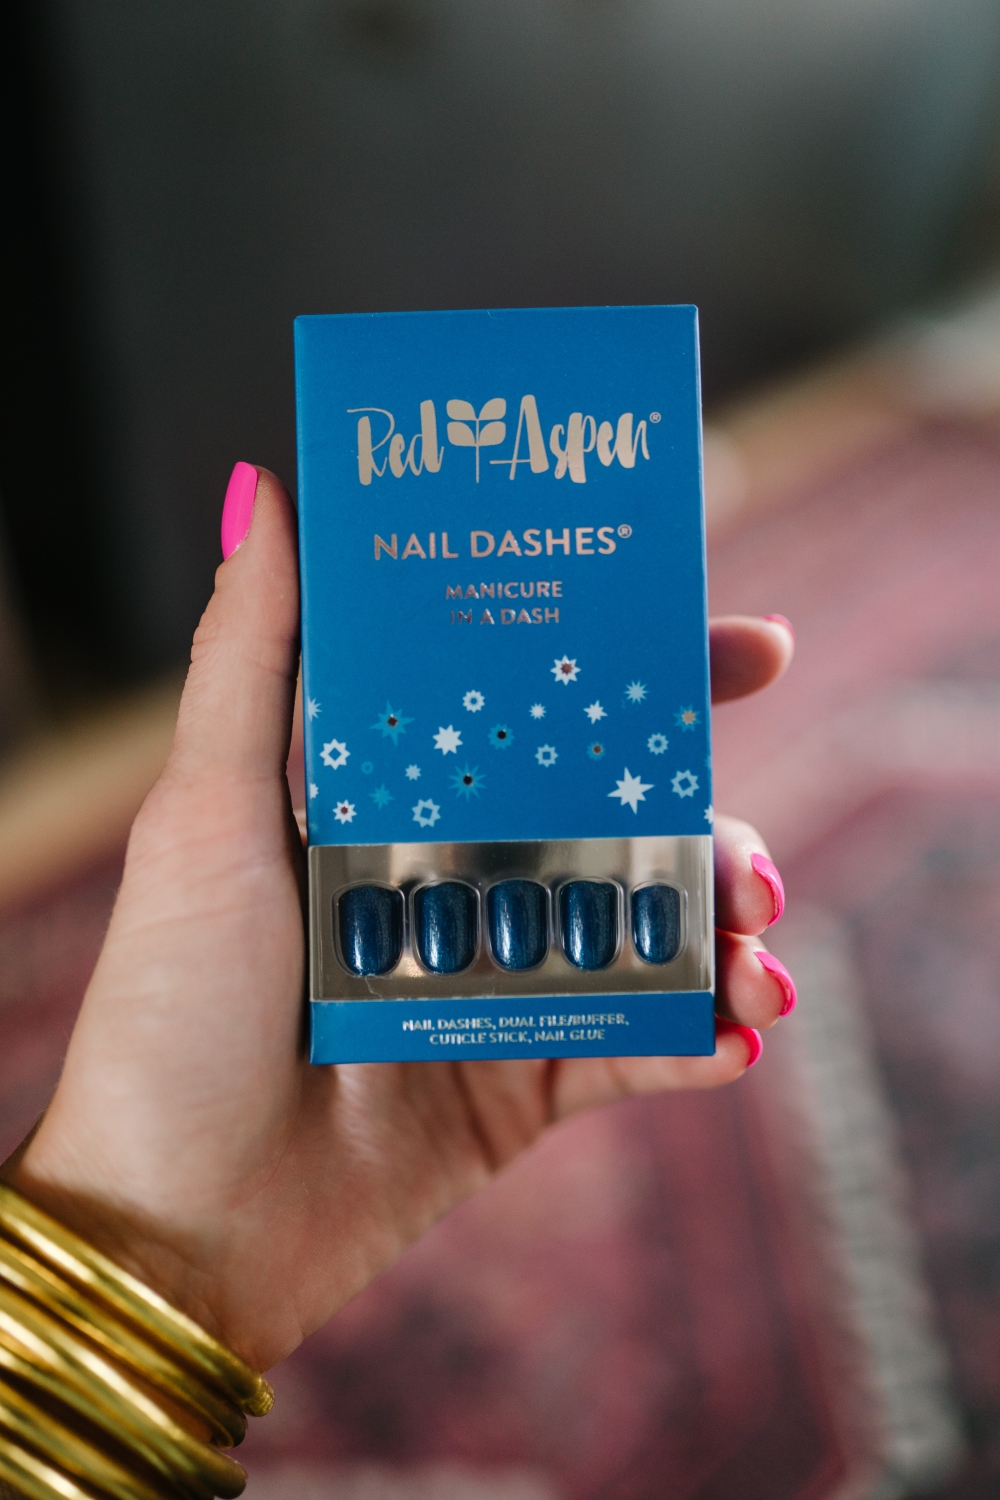
Dashes currently come in petite (for small nail beds/kids), short, medium, long, and extra-long length for fingernails and one length for toenails. And they come in various shapes including square, round, coffin, stiletto & almond. Dashes can also be clipped and/or filed to achieve your desired length and shape.
When measuring to your nail, I prefer to go smaller vs bigger because I feel that makes them look more natural. They may hurt a little bit the first few hours after you put them on if they’re too small. But that goes away after a couple of hours!
THE QUALITY
I’m not going to feed ya full of crap. I have had 2 nails pop off in the 4 weeks I’ve worn them. It’s not a big deal at all to me when that happens because it’s a 30-second fix vs having to go to the salon and have it be a big process!
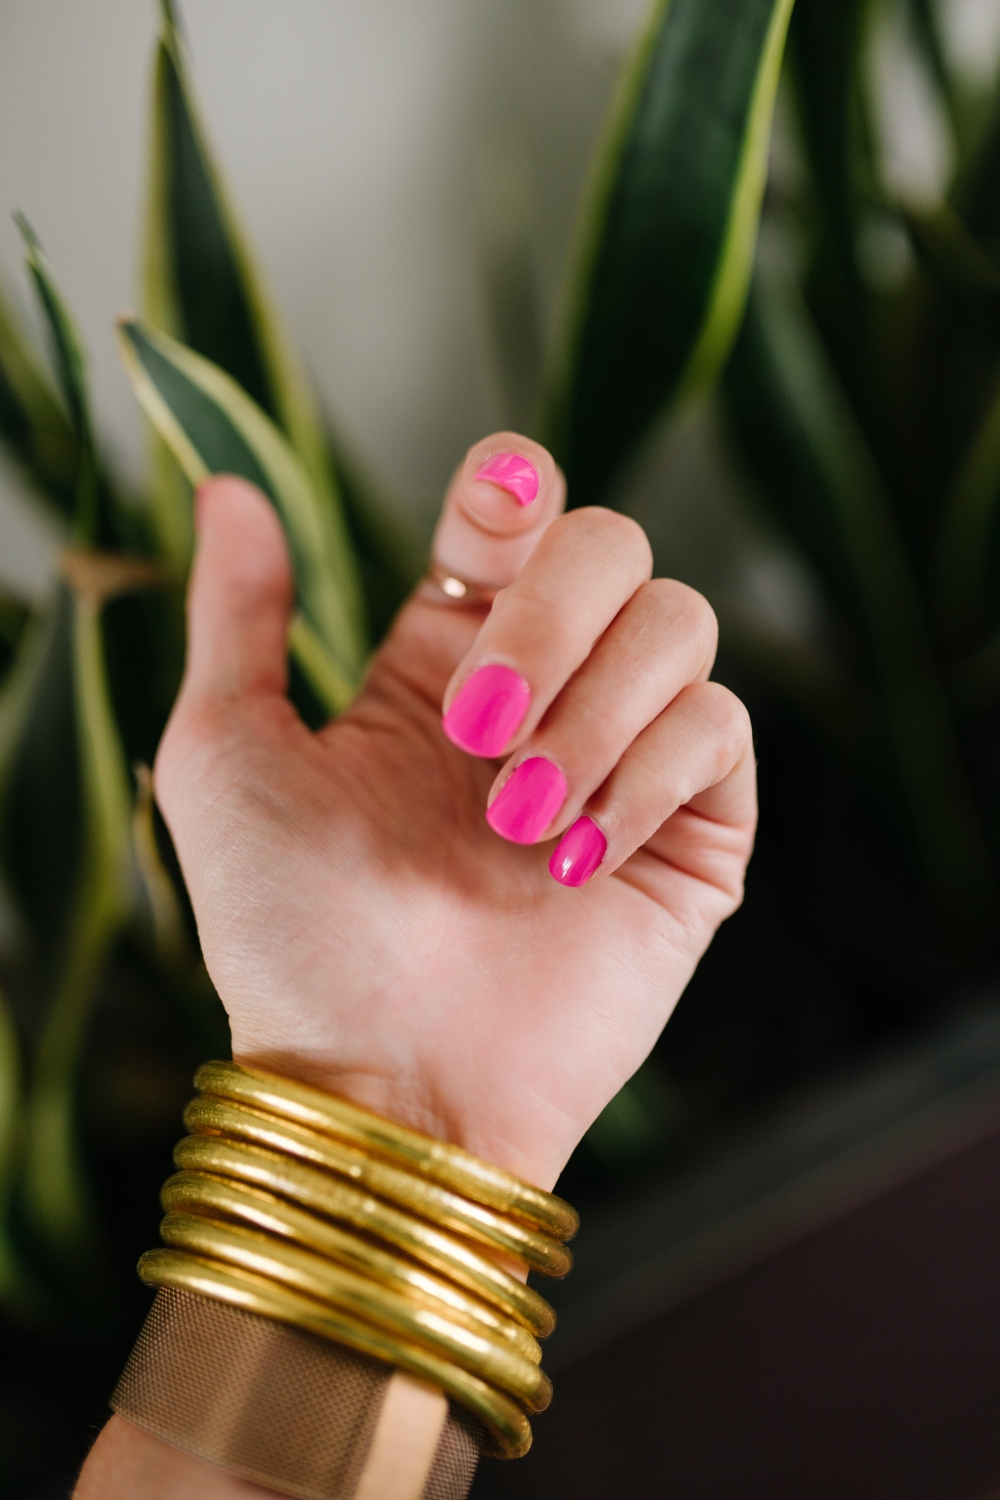
And I don’t feel like I’ve had to be careful with them at all. I’ve moved boxes, shampooed hair (no hair has ever gotten caught either!) + they feel just as strong as my dip nails.

HOW TO APPLY NAIL DASHES
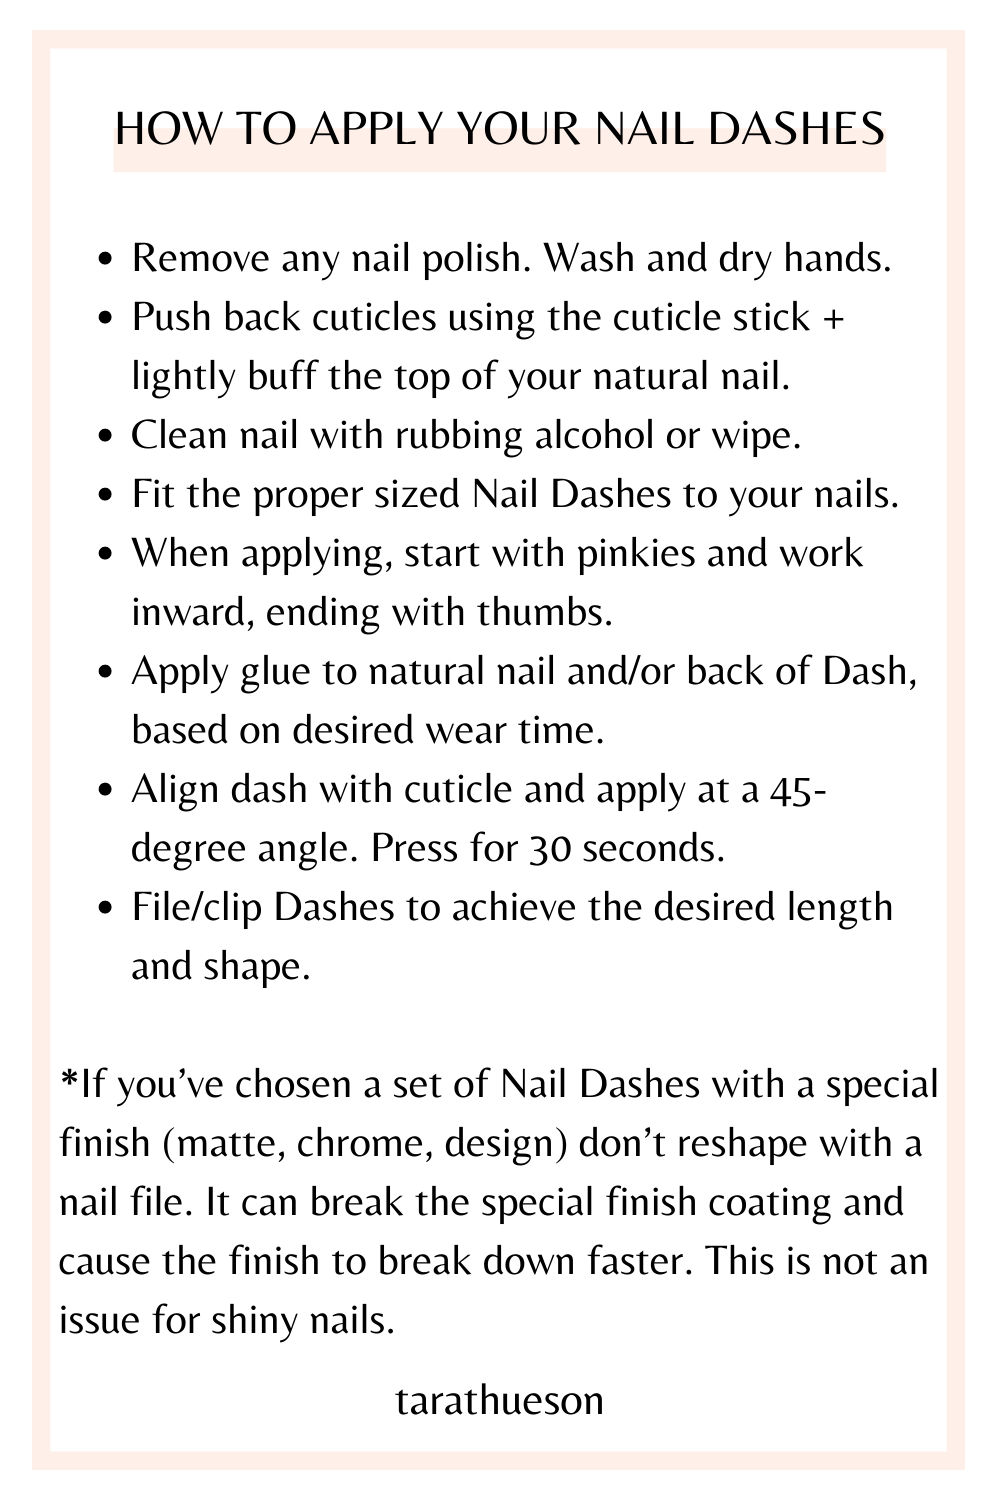
The trick is to press the nail on and hold down firmly for 30 seconds – the harder/longer you press, the better the nail stays! Then, file or clip the tip into whatever shape and length your heart desires and get ready to shock everyone when you tell them your manicure isn’t gel!
SHOP MY FAVORITE NAIL TOOLS

• • •
HOW TO REMOVE YOUR NAIL DASHES
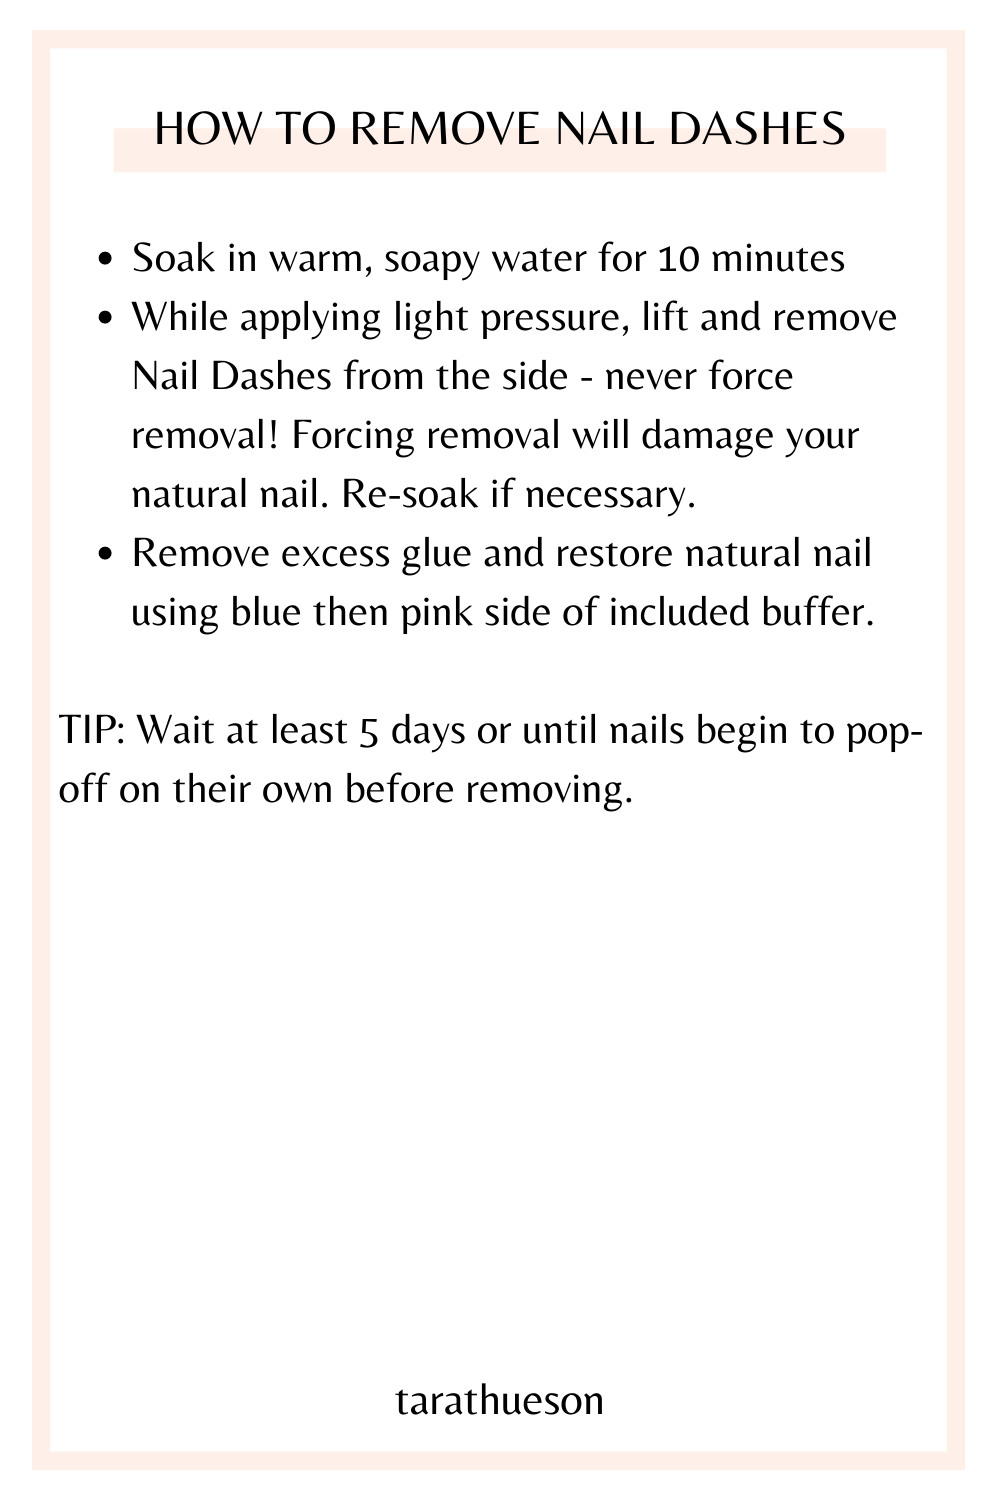
The trick is to make sure they’re as loose as possible – I love to use a flossing stick to lift up the side of my nail and slide it underneath the rest of the nail!
Whether you want to go short with a neutral squoval (square oval) or long and bold with multicolored glitter, Nail Dashes have something for everyone!
• • •

If you’ve fallen in love with Nail Dashes and want to make money each time you share, make sure you get your own custom affiliate link!
It’s FREE to join and you can make anywhere from 10-15% commission every time someone purchases through your link AND you can earn FREE product!

I hope you love your Nail Dashes as much as I do! Make sure you leave any questions you have in the comments below!
