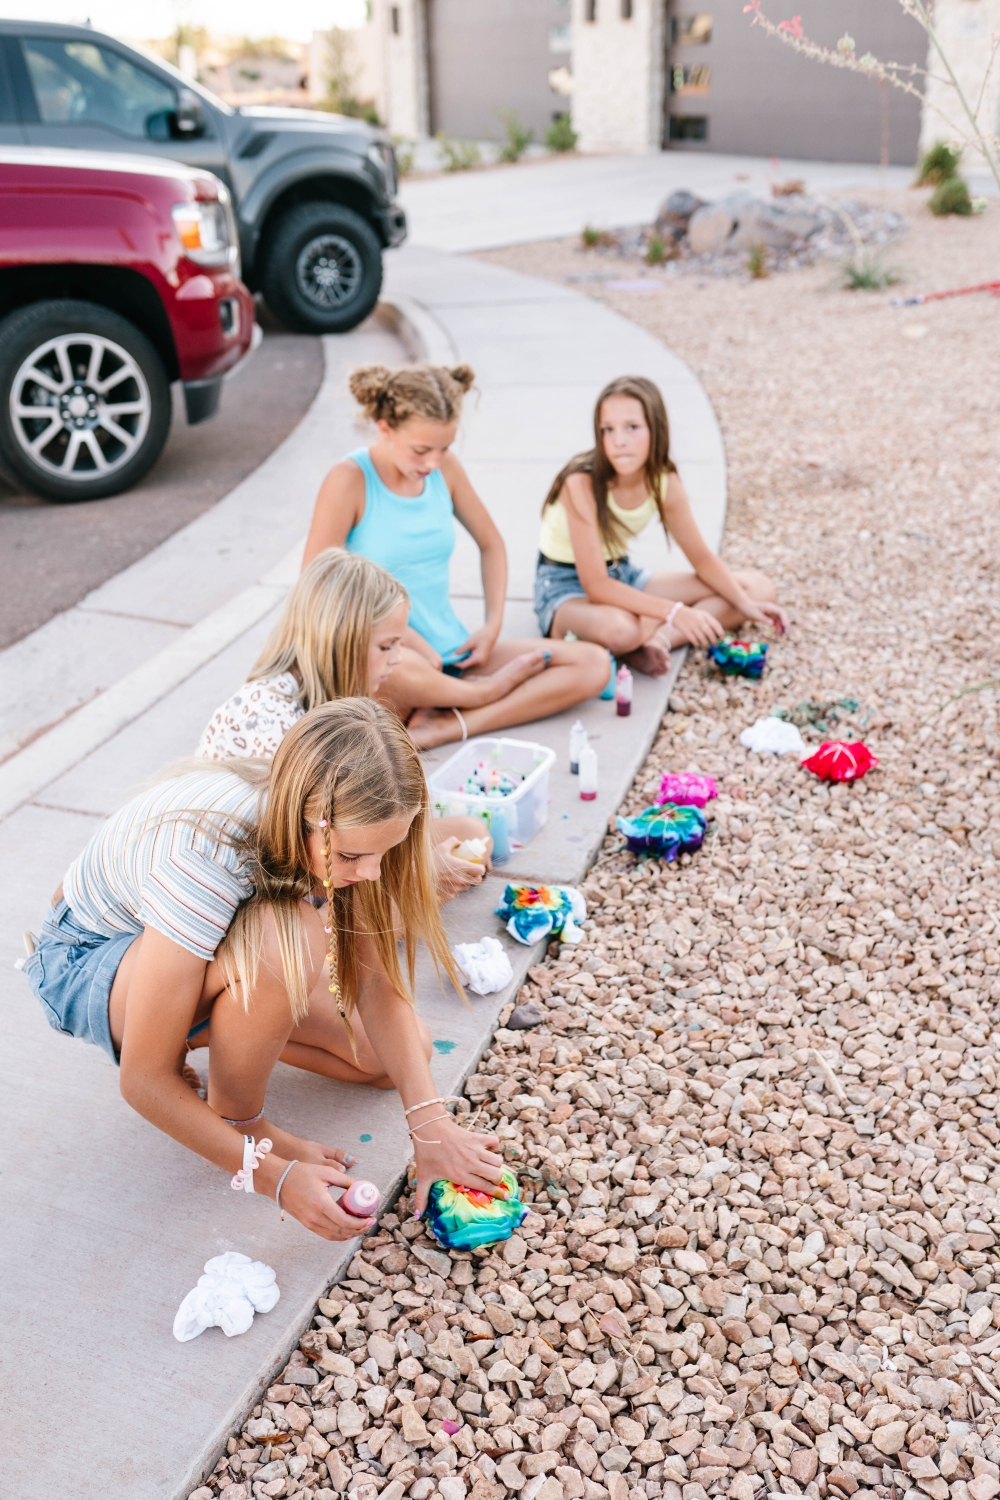
While tie-dying isn’t new, it’s definitely gotten a whole new generation of fans the last few months. And why not? It’s super fun, relatively inexpensive, and (almost) instantly gratifying. All of these + the idea that you can create something all your own has made tie-dying an evergreen staple of sleepovers, summer camps, and birthday parties.
And I really love that you basically can never go wrong. I always enjoy seeing the surprise as the design is revealed. However, there is some technique that goes into making sure that the greens don’t mix with the yellows to form a not-so-flattering brown hue you’ll never want to wear.
But the best part? You don’t need to buy any new clothing — just use whatever’s at home. Think of it as giving something you already own a second life.
Step 1: Pick your materials
Before any dyeing can commence, you have to pick out what exactly it is that you’re going to tie-dye (sweatshirts, T-shirts, tube socks, and cotton underwear are easy to come by and perfect for at-home wear), and what materials you’re going to use to do it. If you don’t have anything at home that you feel might work, I’ve put together a bunch of inexpensive items you can grab from Amazon:
TIE DYE READY ITEMS

• • •
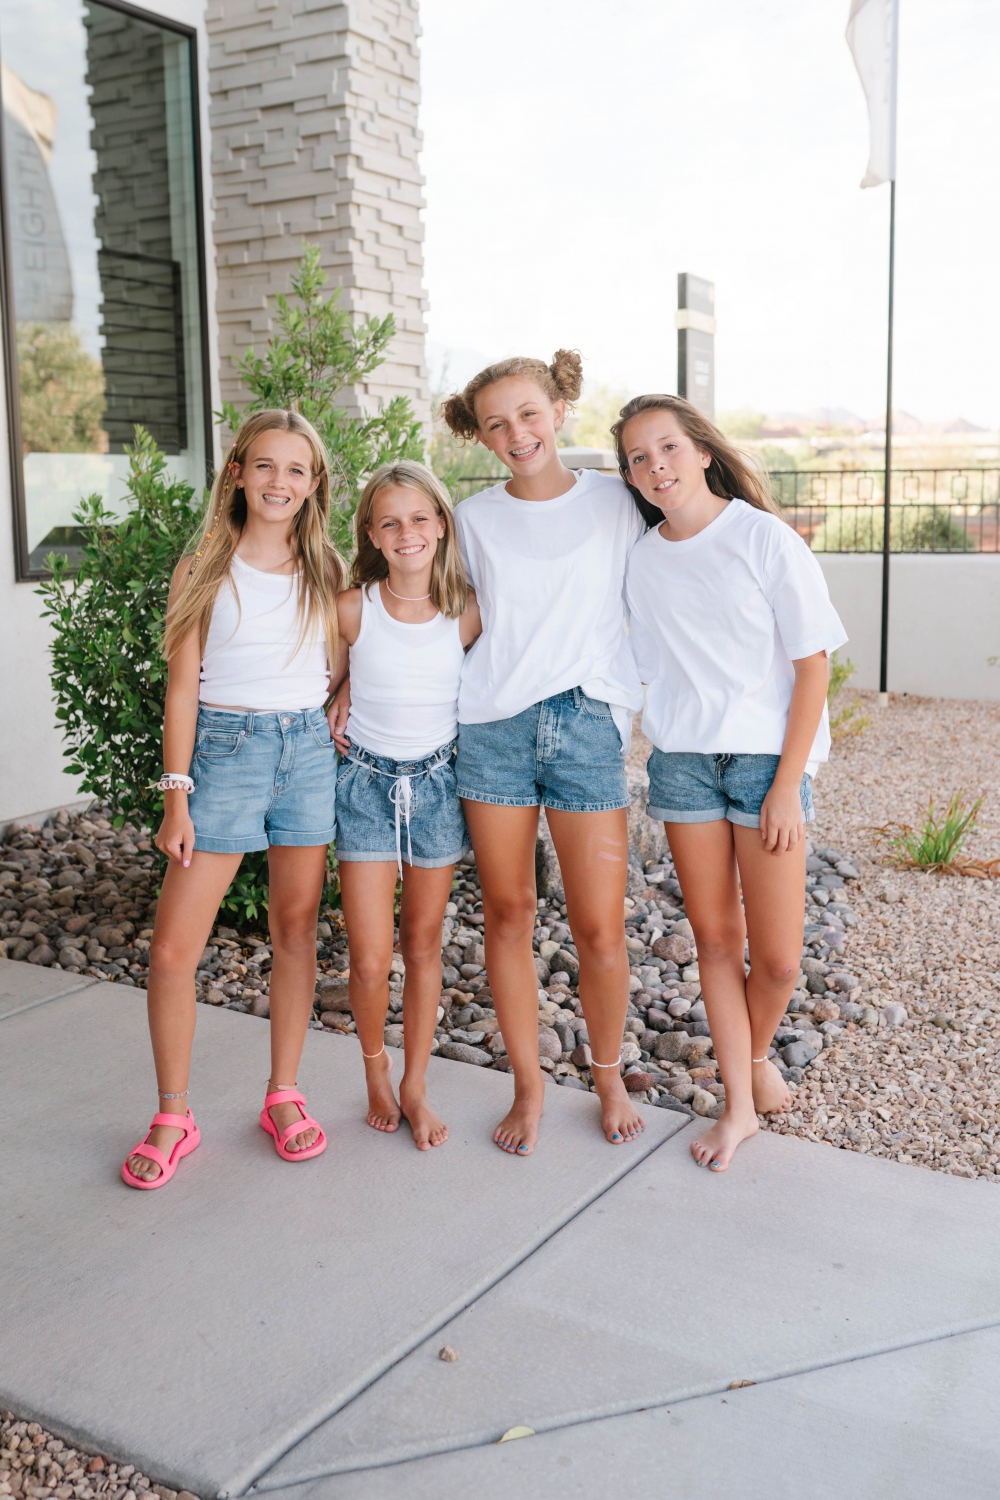
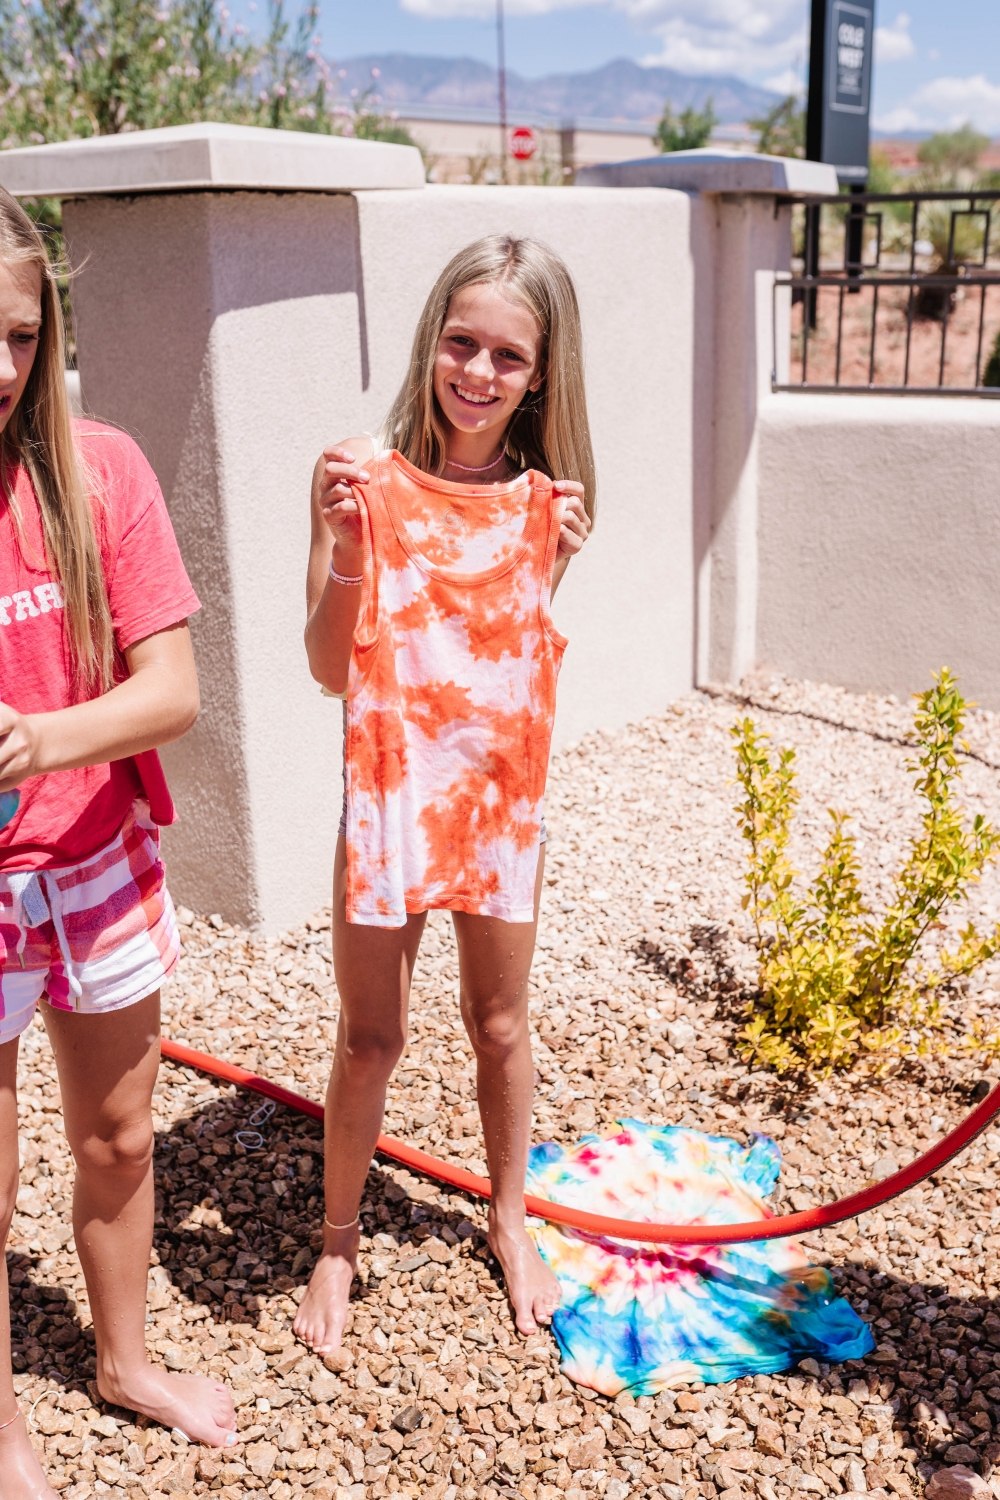
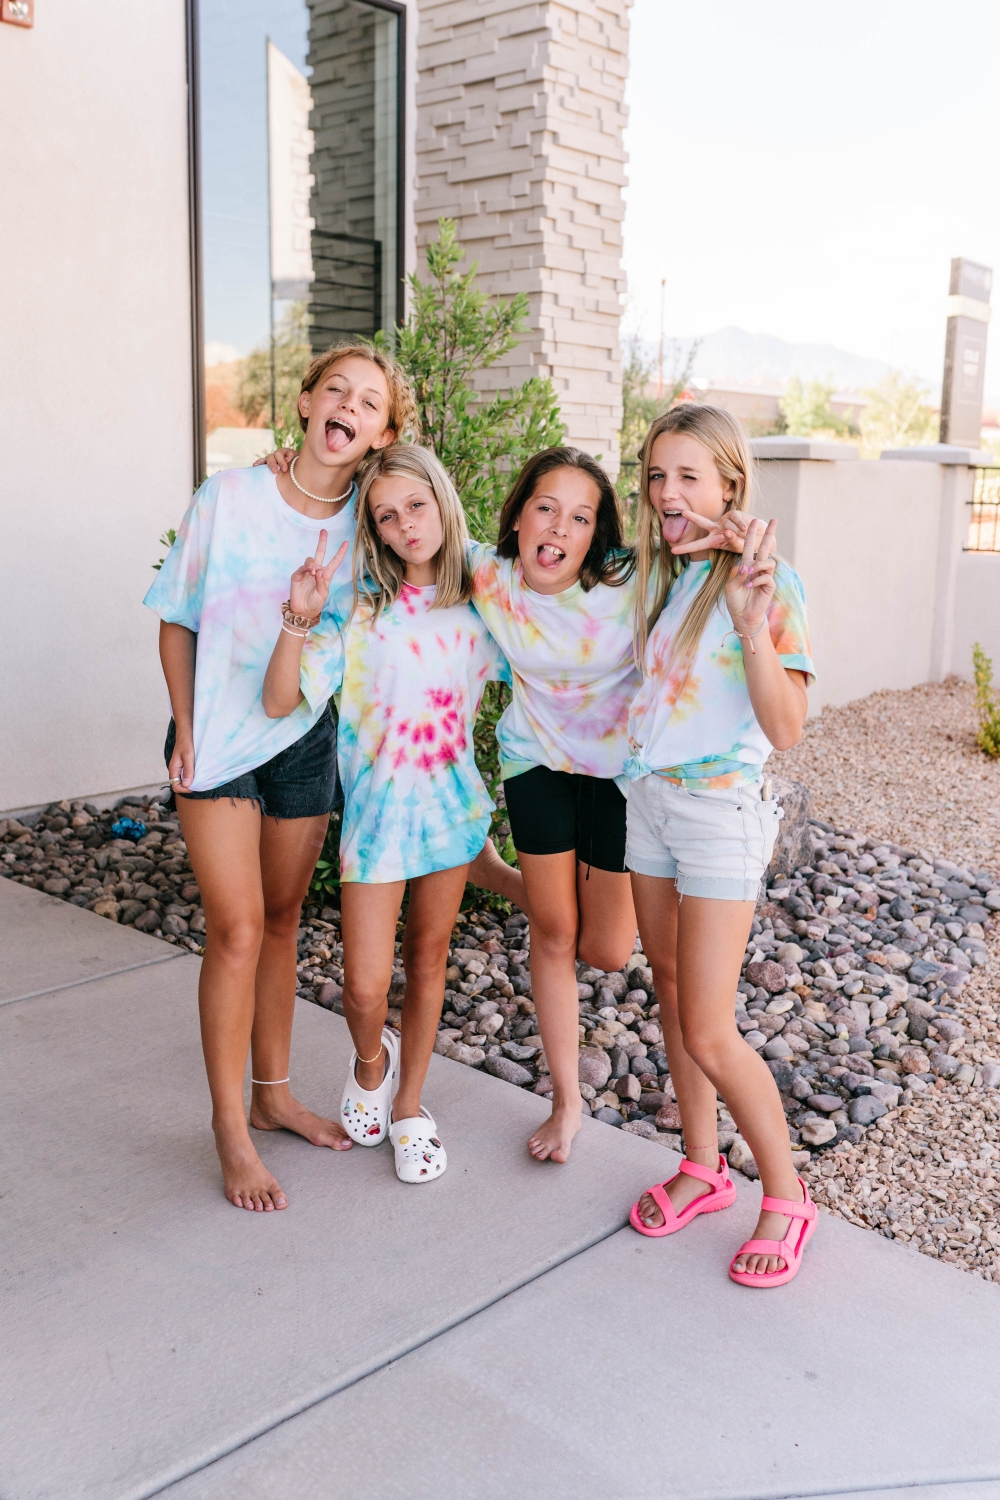
My girls love the Wonder Nation t-shirts (boys) & tanks from Walmart for this activity! They size up for that oversized fit and they’re super inexpensive.
To get the color to stick, you want to work with 100% cotton fabrics, or as close to. 5% spandex or lycra won’t kill you. Hemp and linen also take color really well! Once you’ve selected the items you want to dye, you’re going to need supplies. I love the all-in-one kits on Amazon. It makes everything so much easier. But if you’re more than a hobbyist, you may want to opt for your own singular supplies:
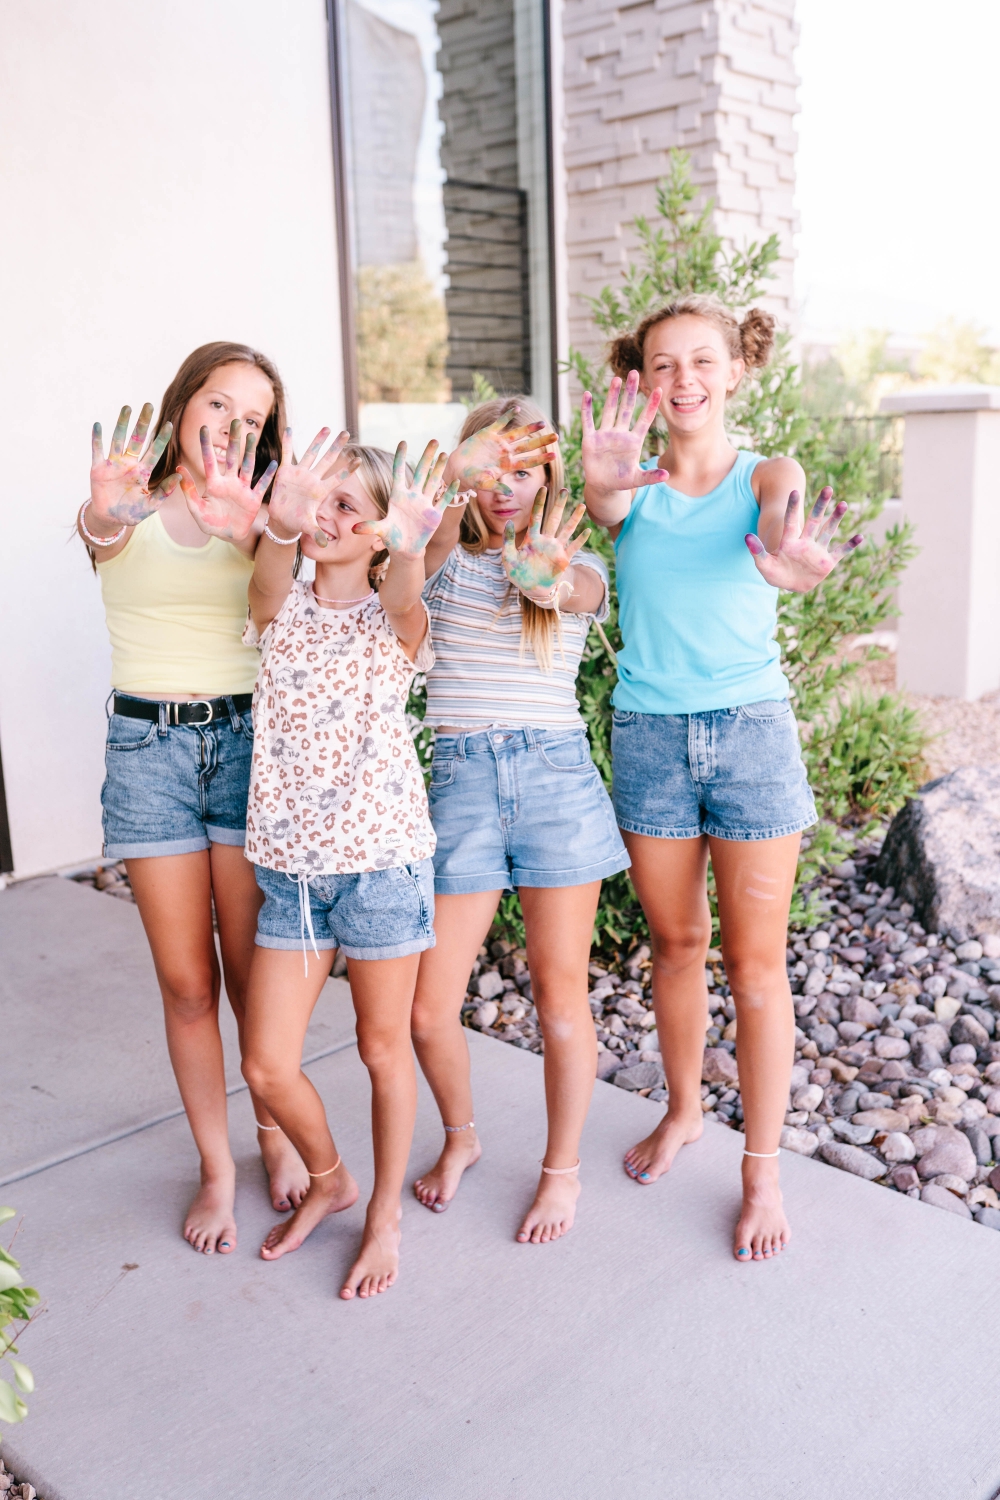
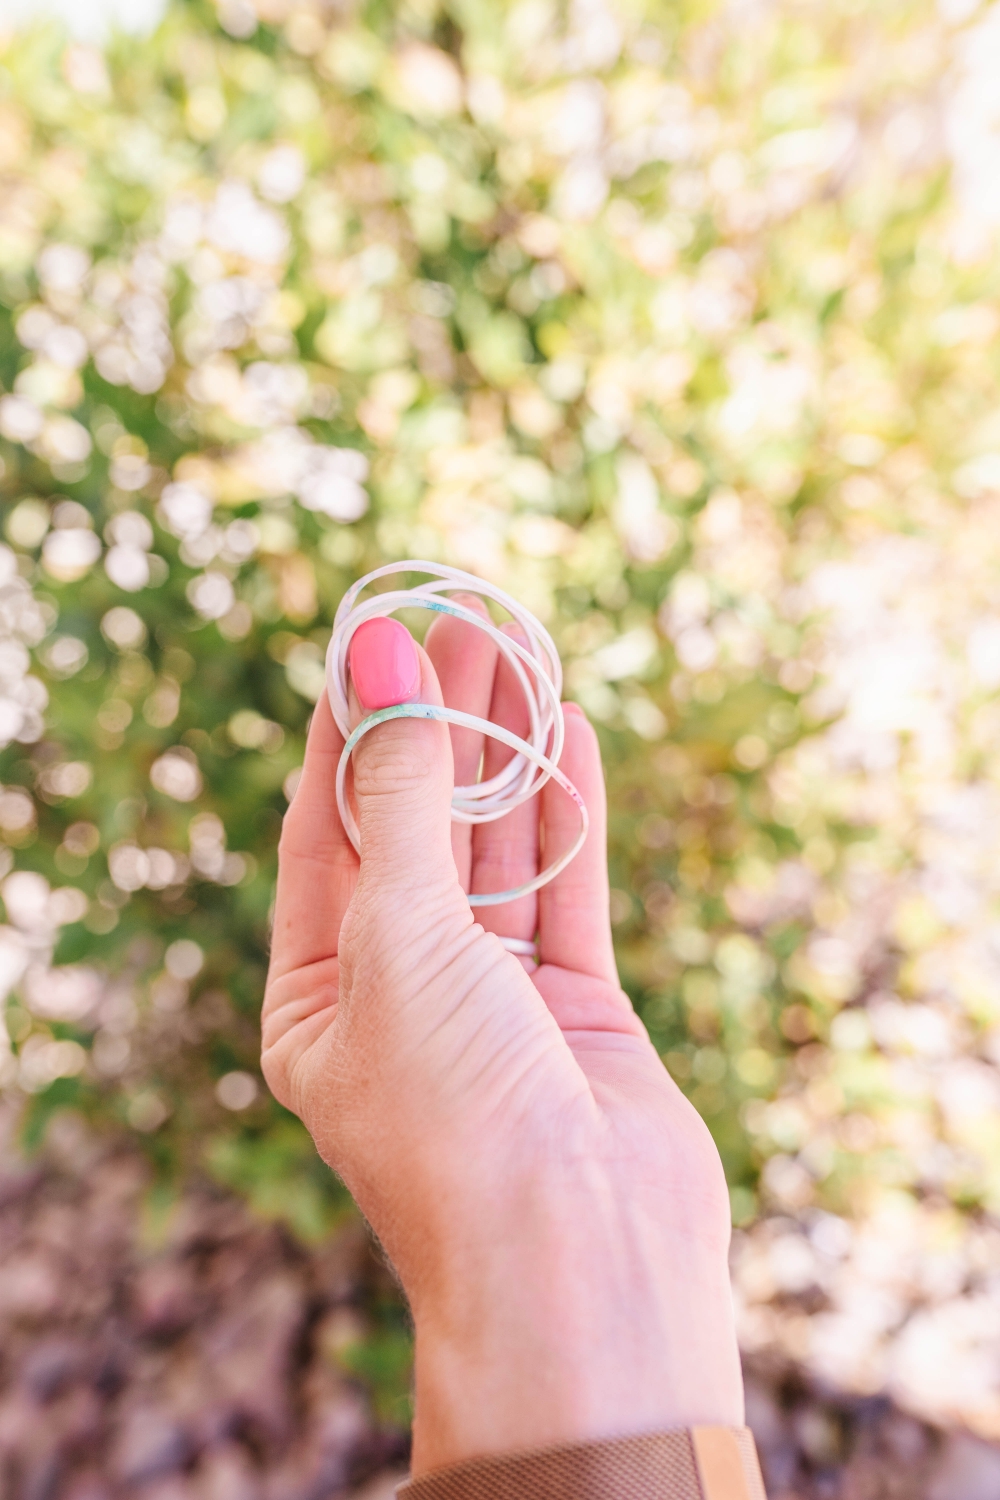
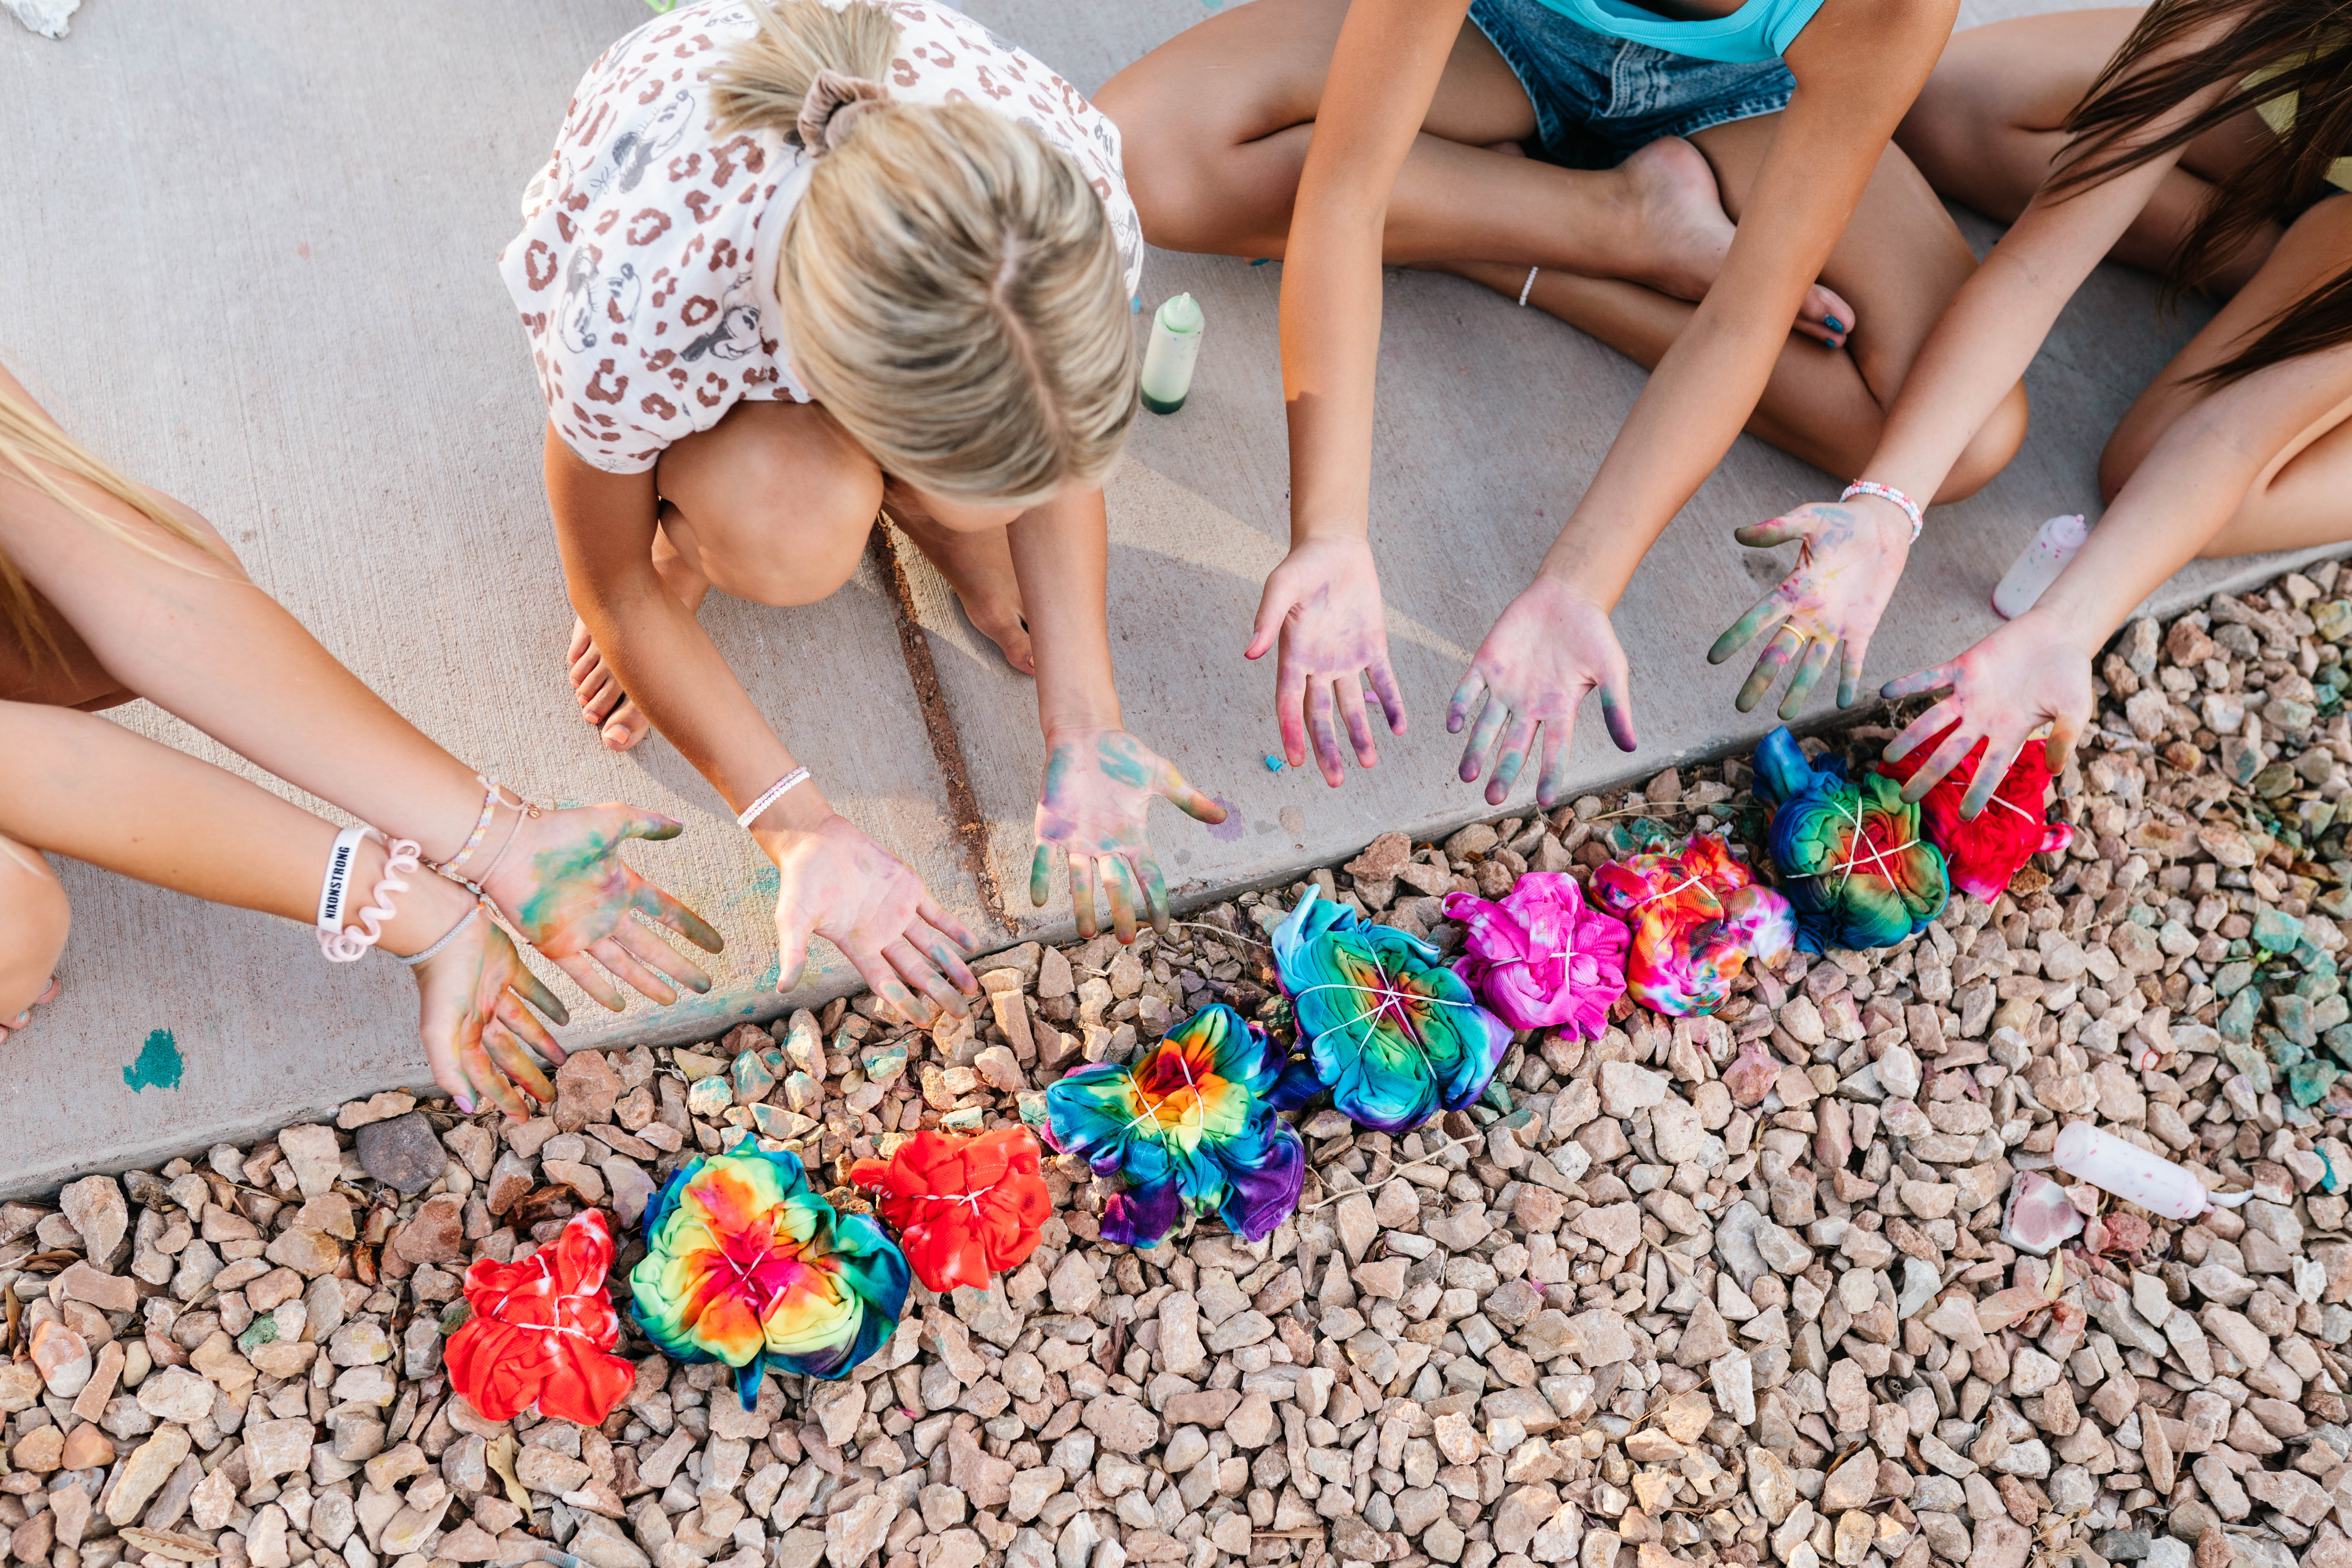
1) plastic gloves (or you end up with hands like the ones above)
2) rubber bands
3) string (optional – just creates a different look than rubber bands)
4) spray bottles or spray bottles
5) squeeze bottles (again, optional. You can even use a turkey baster – it’s all dependent on how you want your color applied)
6) dye (love the kits but you can also buy the individual Rit Dye packs at Walmart. Or go the natural route and use veggies.)
ALL-IN-ONE TIE DYE KITS
• • •
Buckets or plastic tubs to dye in and a place to dry your finished products (a clothing line or drying rack will work), and you’re good to go!
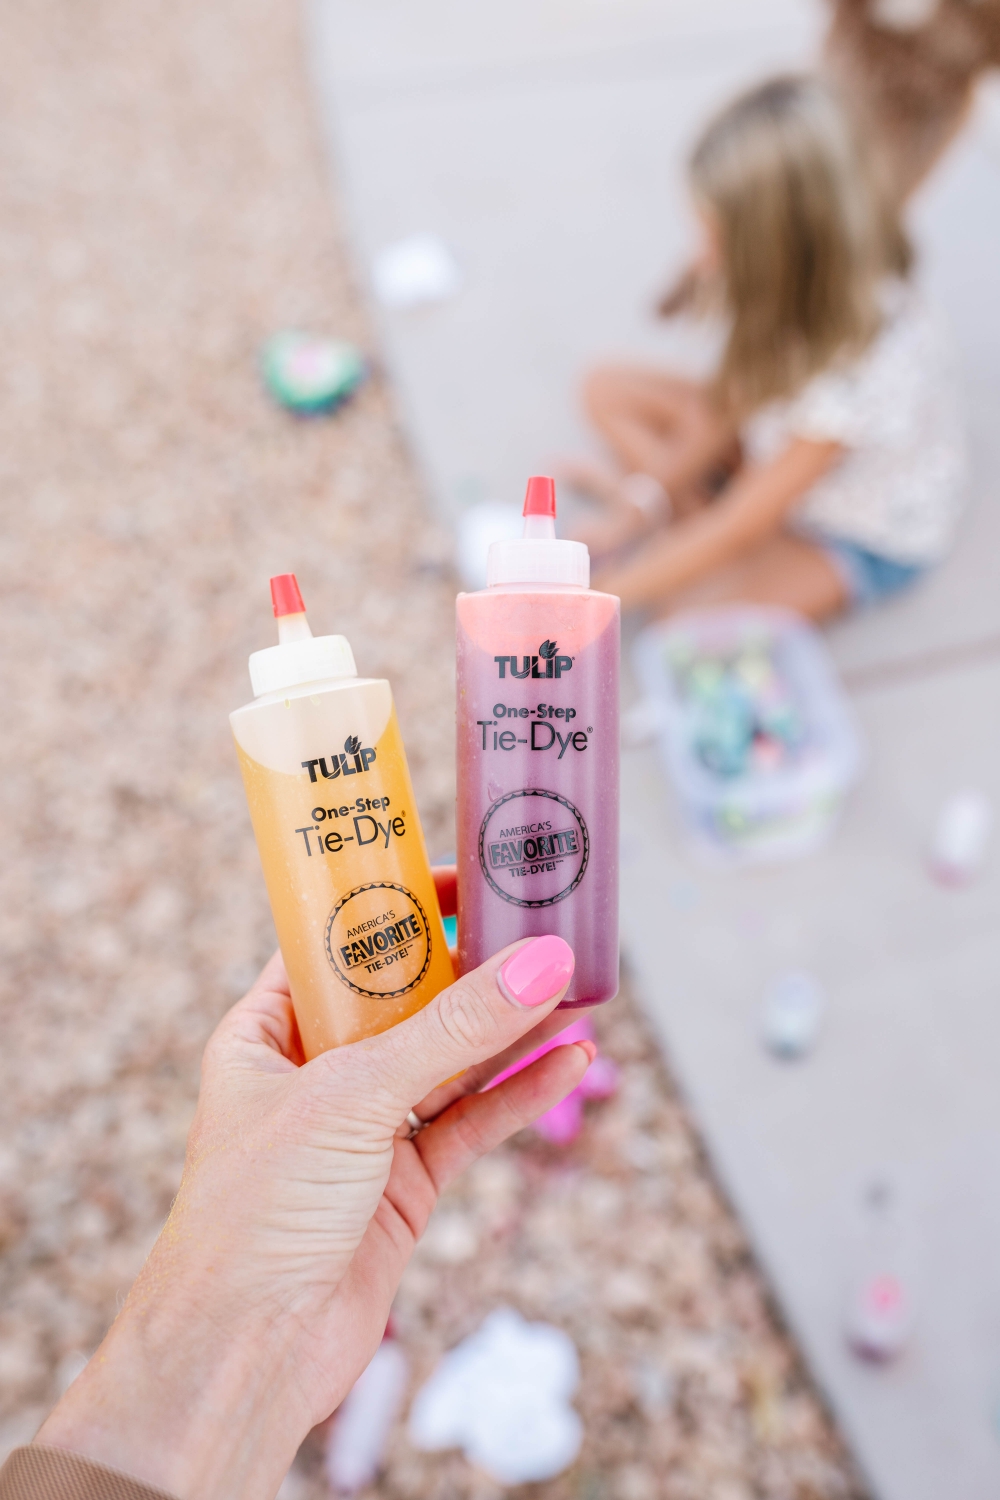
Step 2: Mix your dye with warm water
Once you’ve chosen what dyes to use, just add them to a squirt bottle or pot/bucket with warm water and mix together. If using the Tulip dyes, simply add water. Make sure you read the directions on the individual dyes you’ve chosen. Some will have you add salt as a binding agent between the color and the fabric. And then stir until completely mixed. You don’t want any chunks of dye sitting at the bottom or flecks sitting at the top.
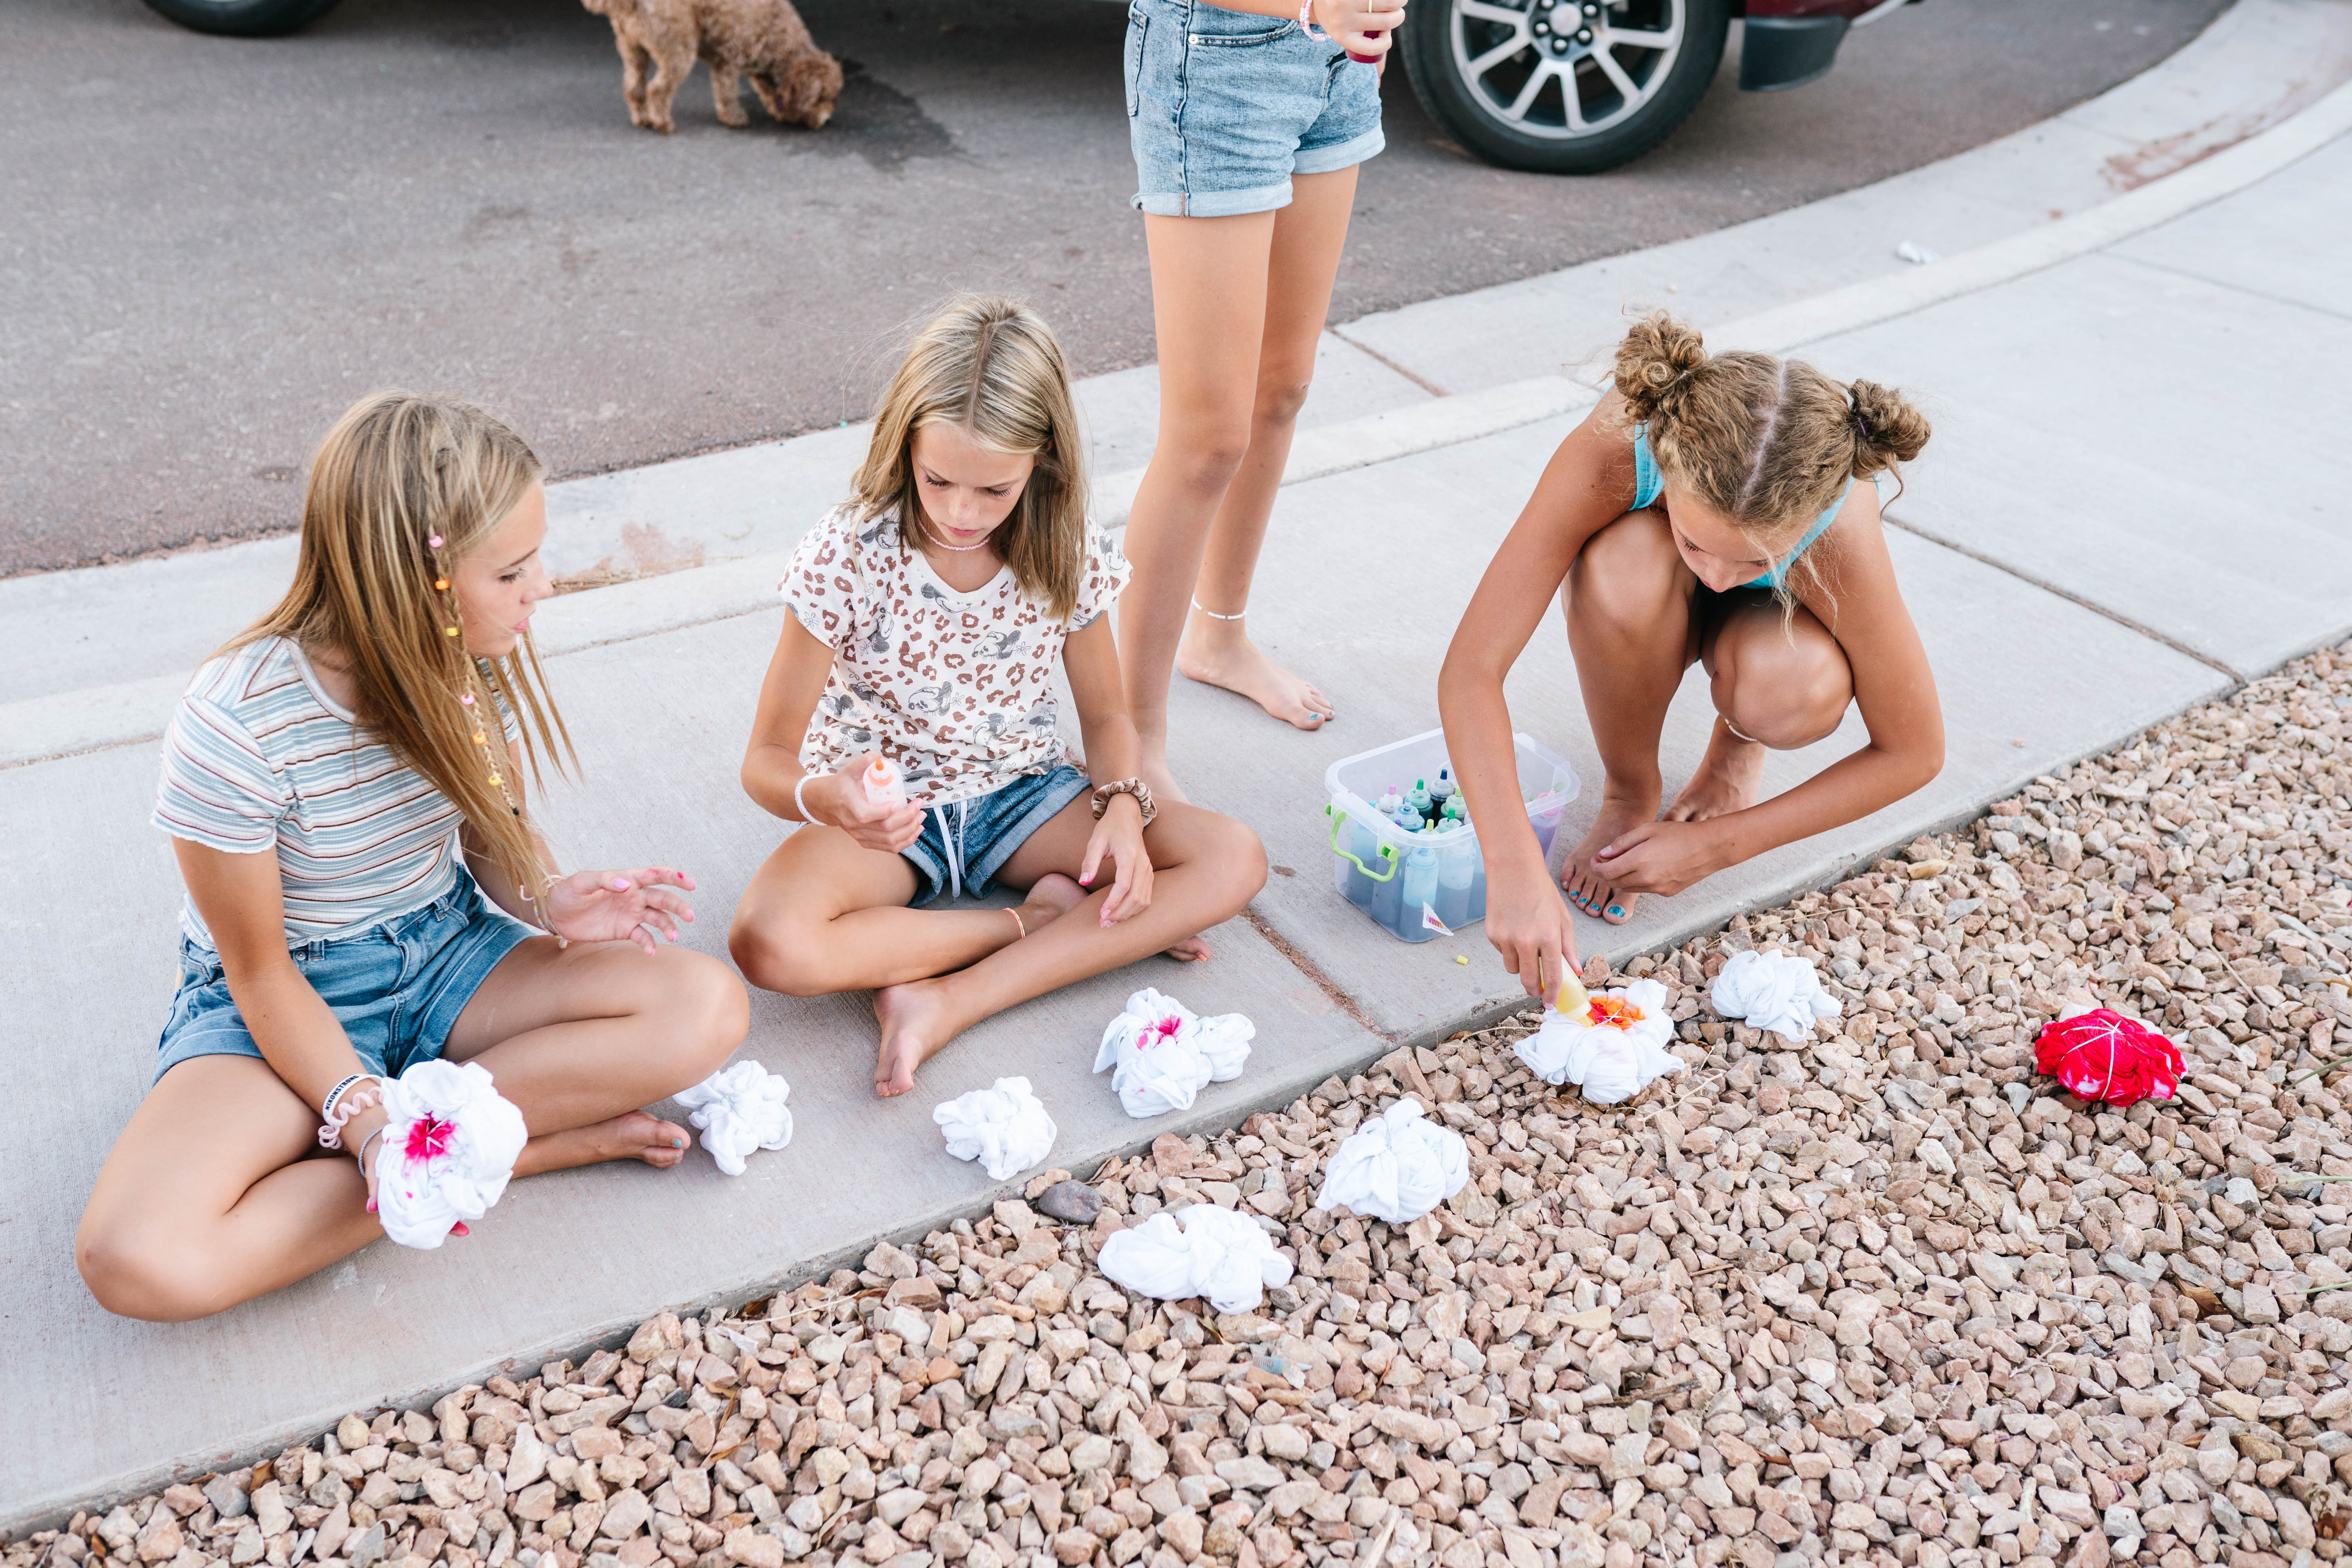
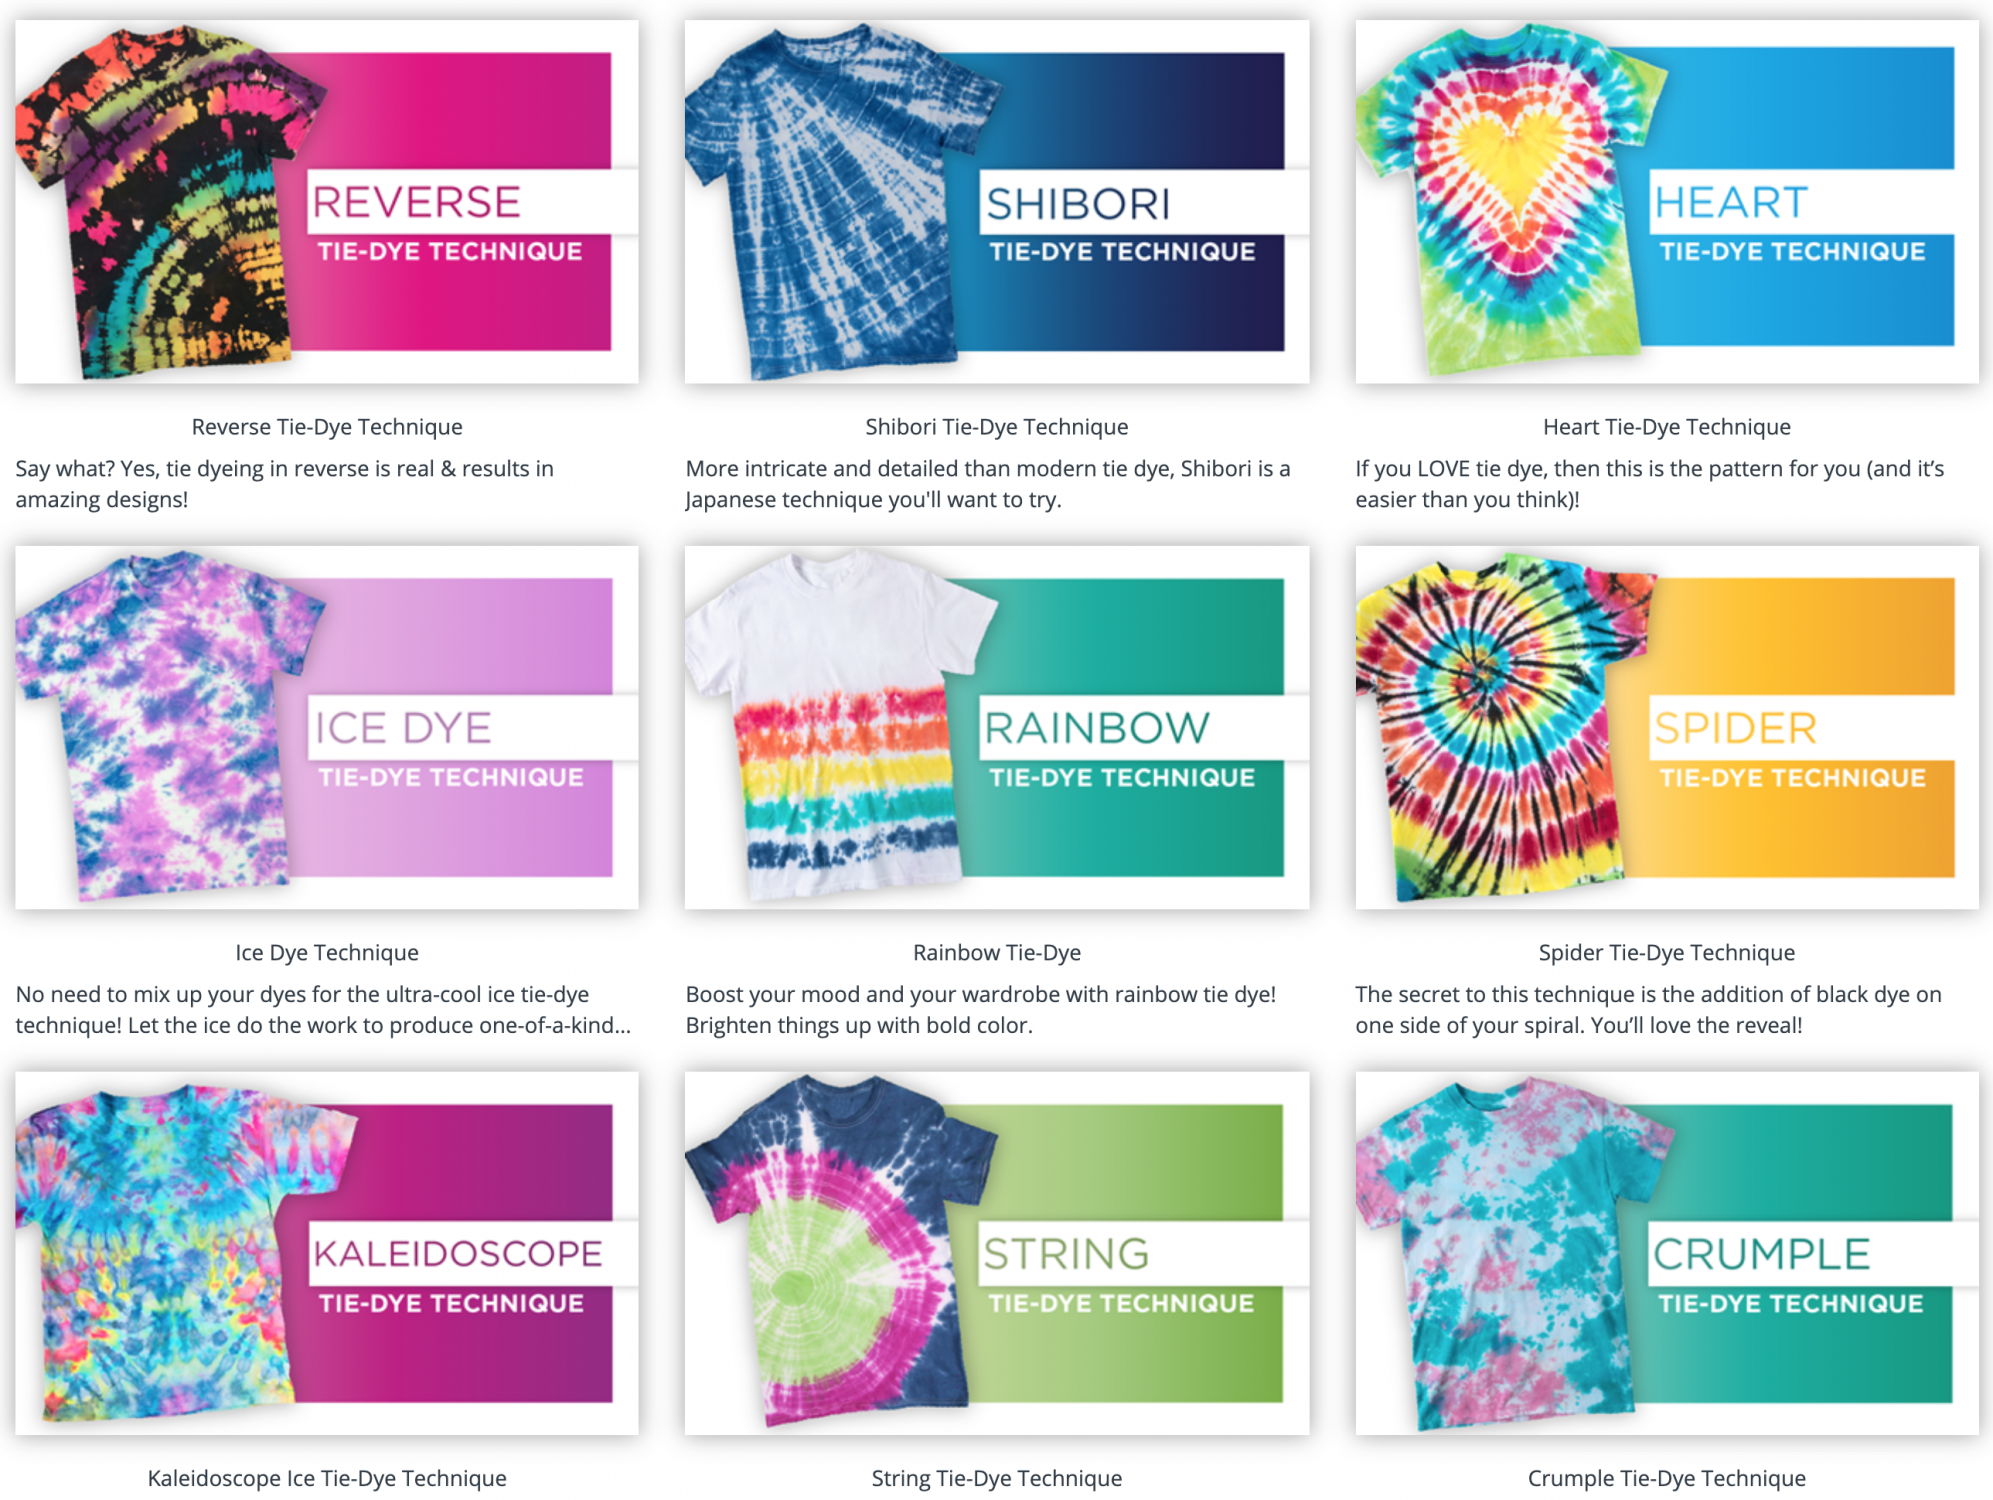
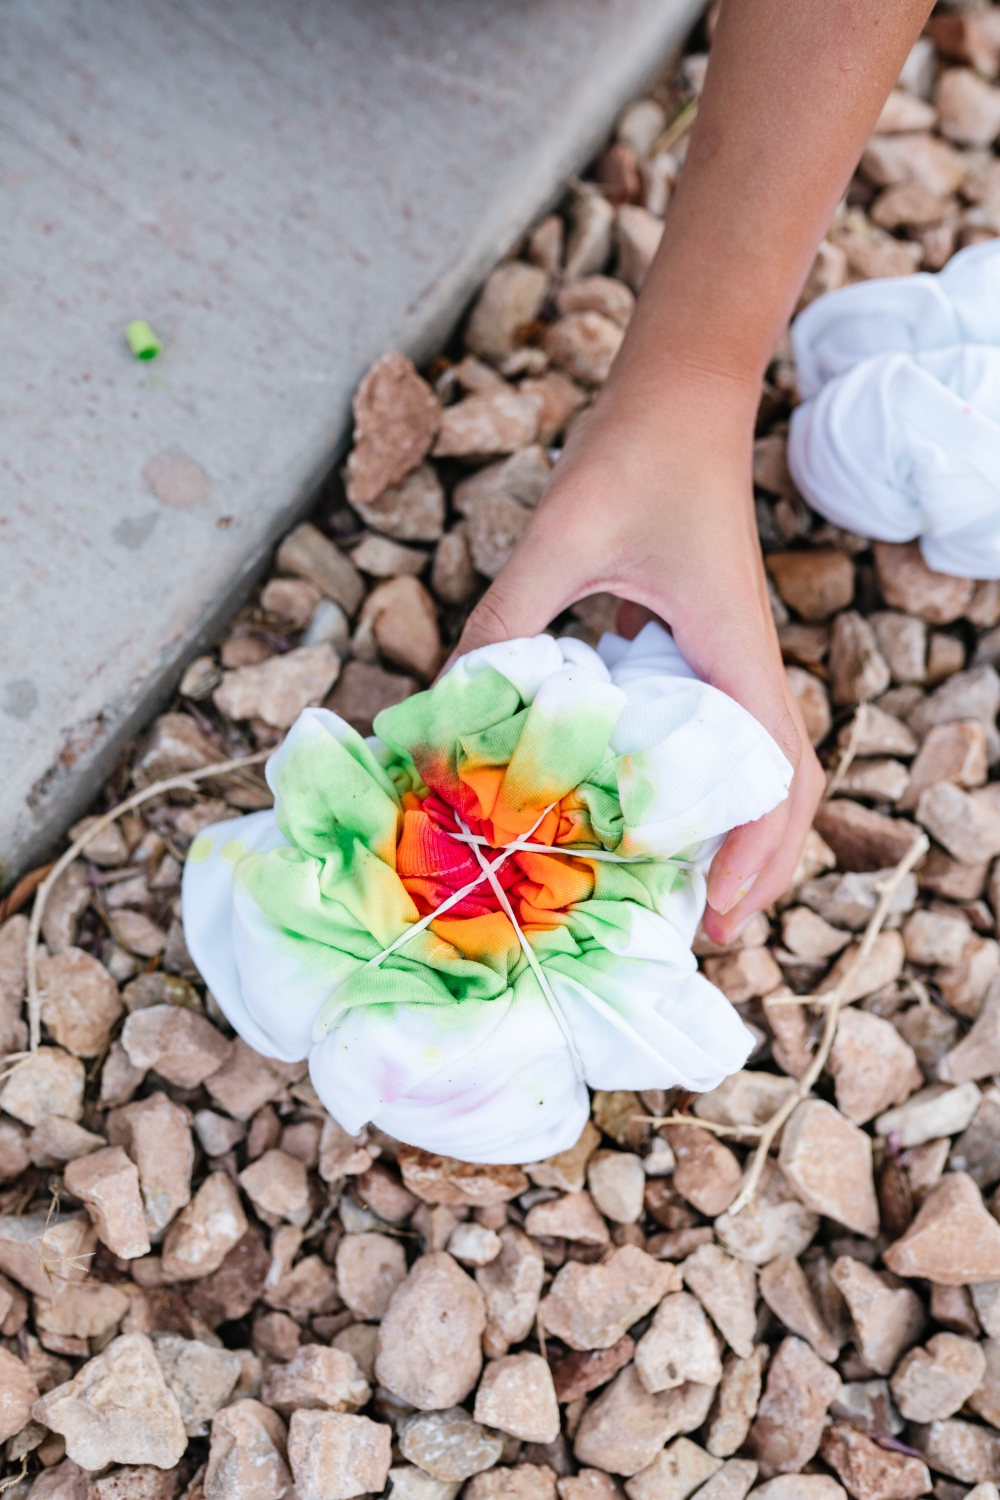
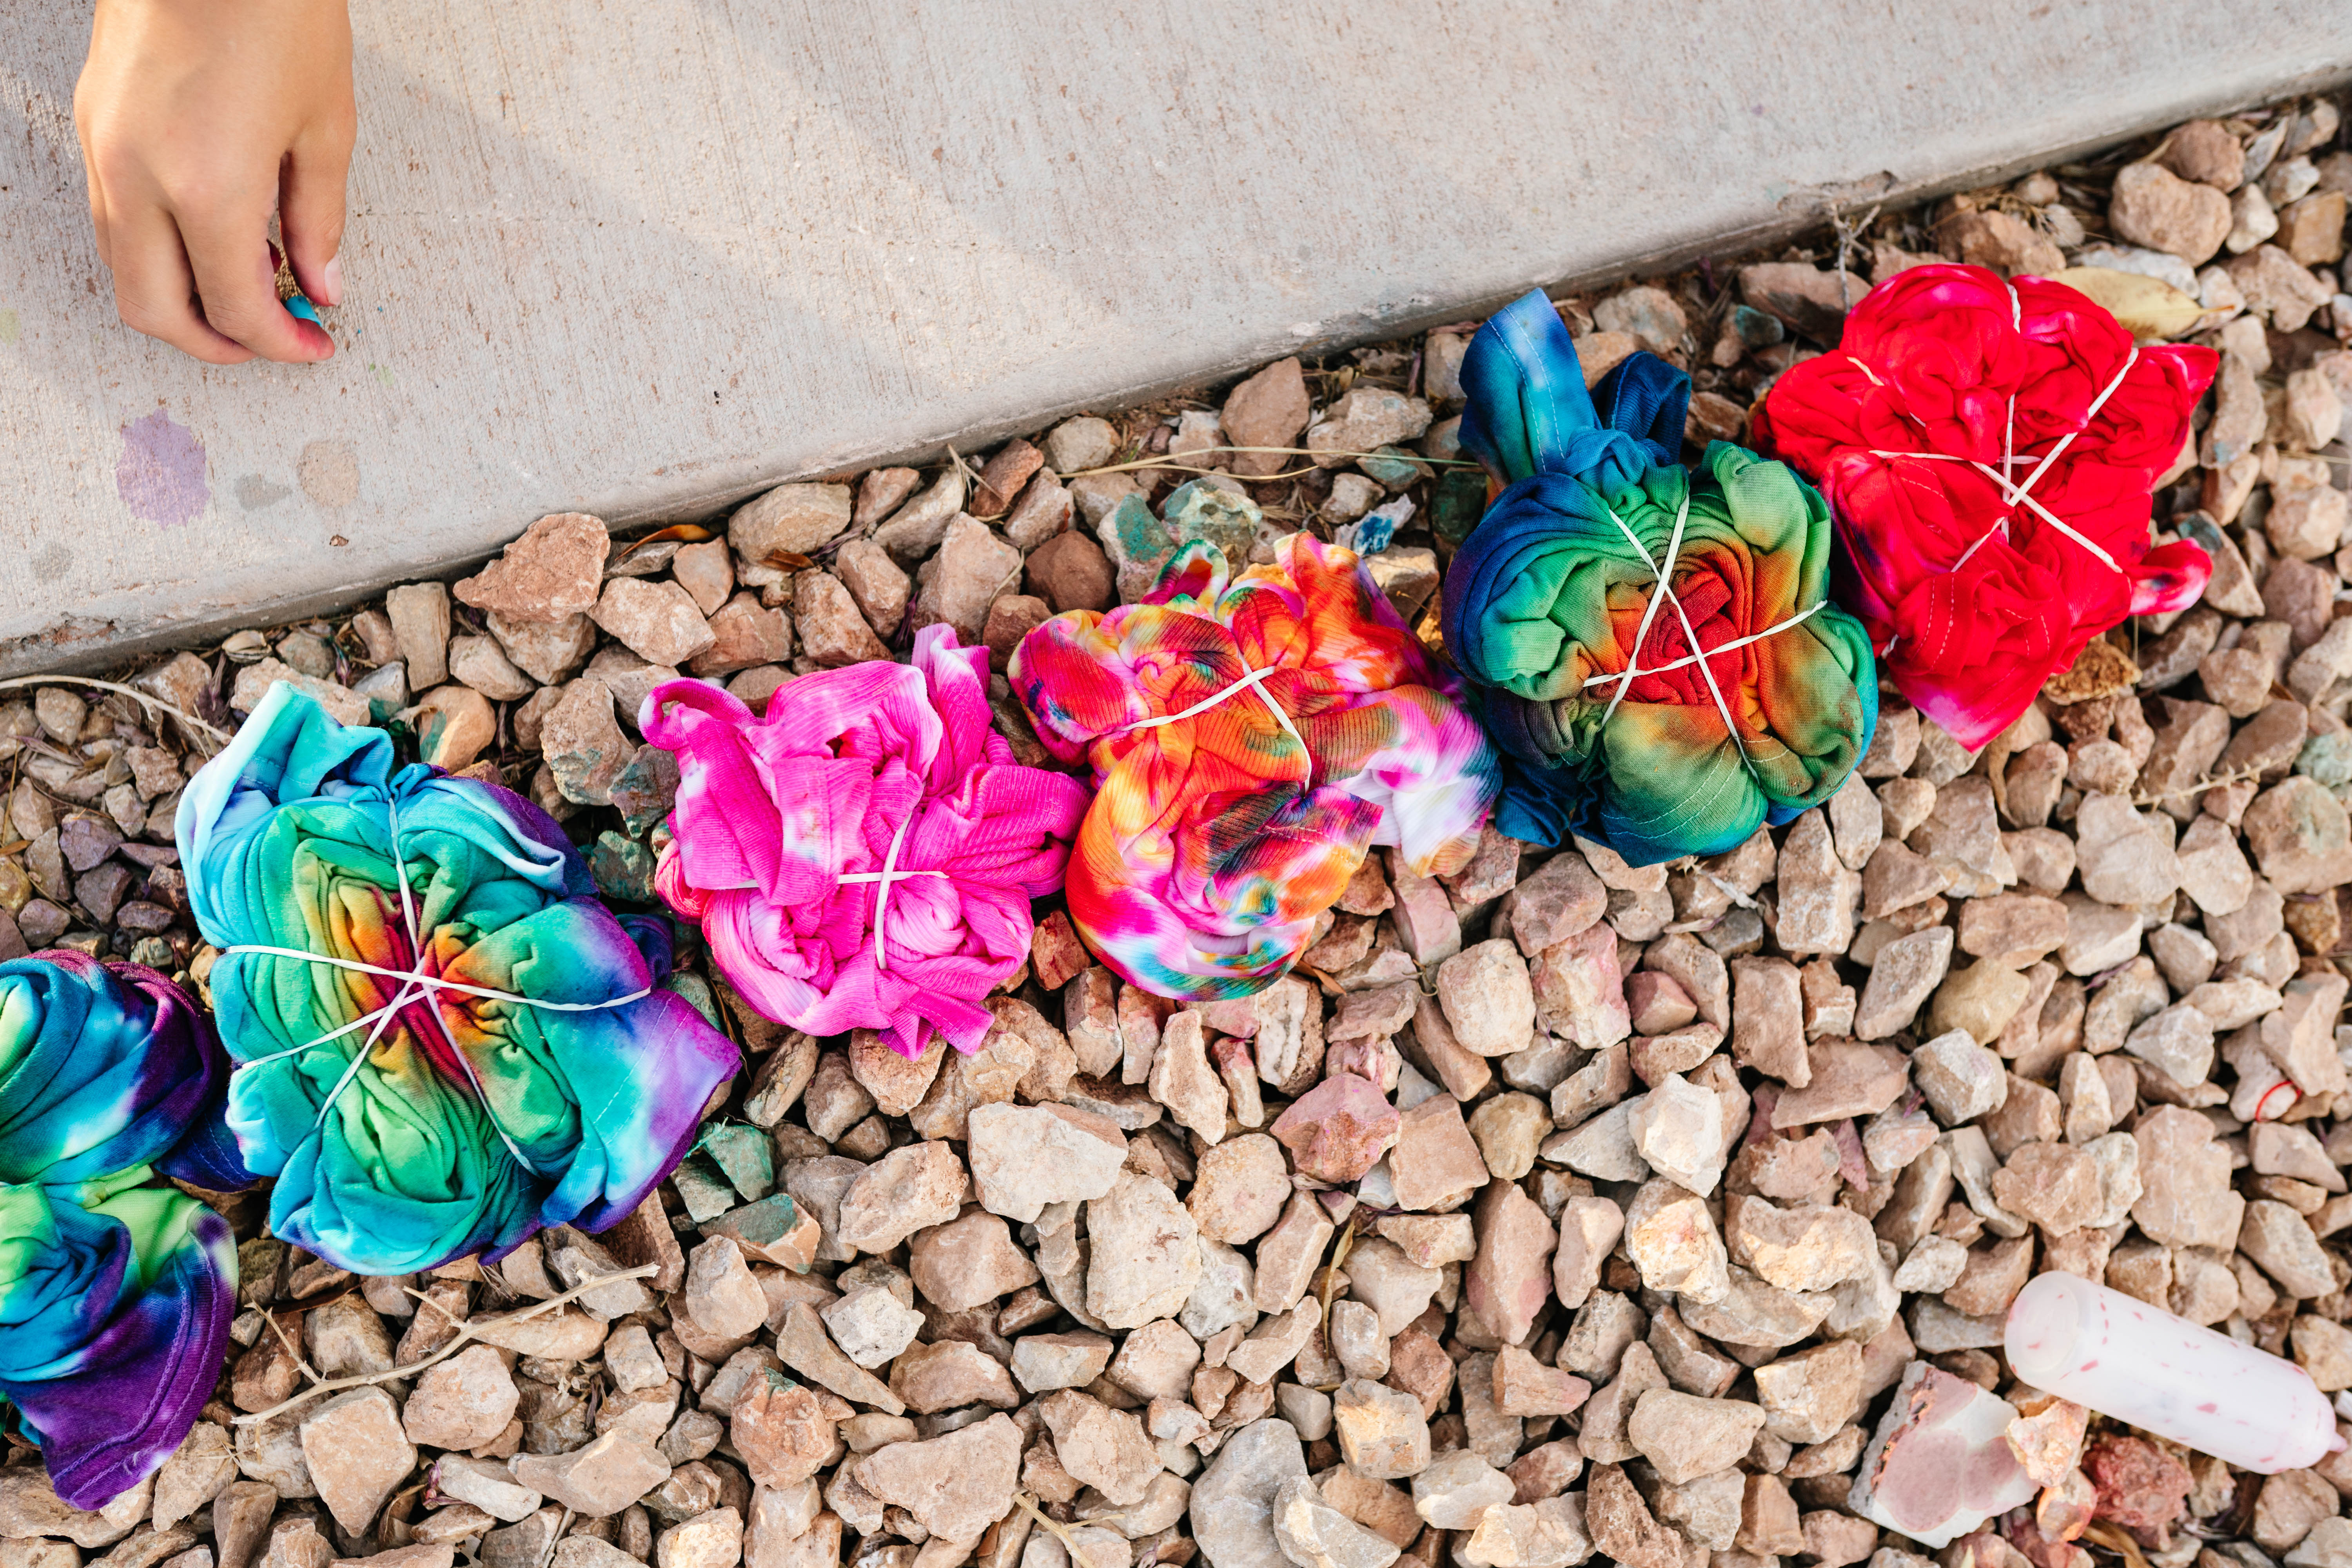
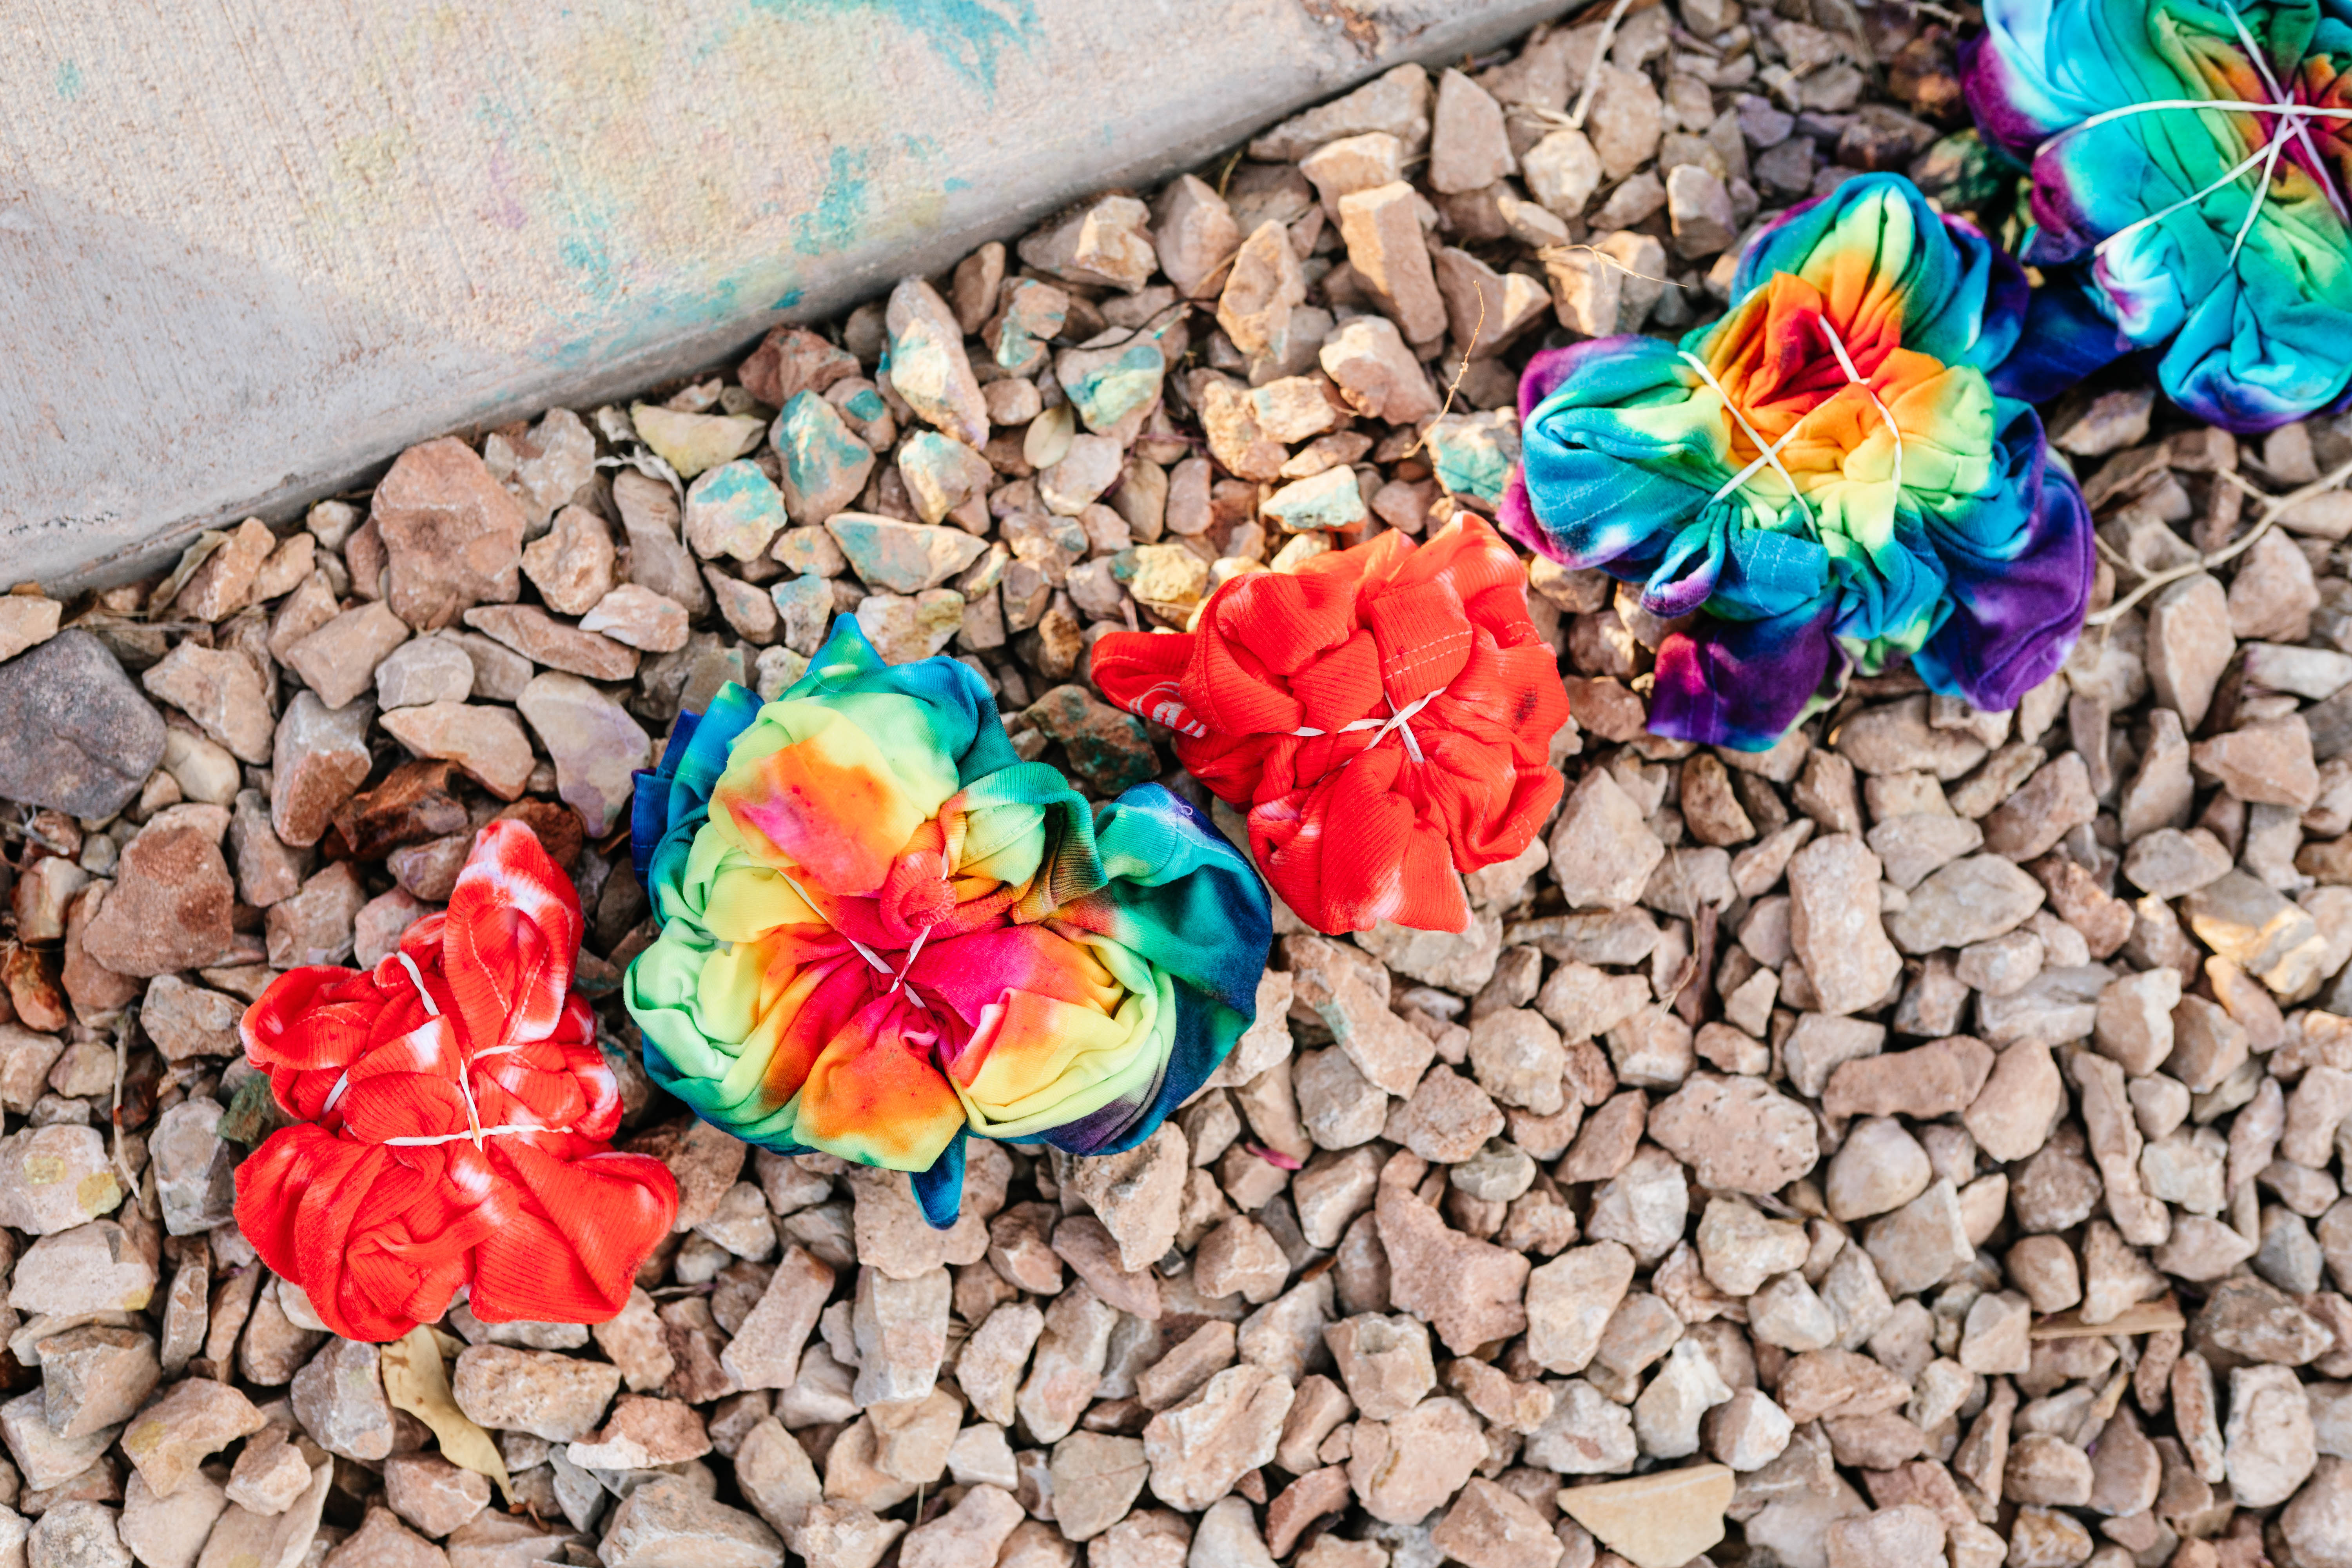
Step 3: Create a tie-dye pattern of your choice
There are tons of different patterns to choose from when tie-dyeing. You can use rubber bands, fold your garment accordian-style and clamp it together, or even just scrunch it up to create various effects.
The Tulip website actually has so many different technique-based tutorials all around the styles you’ve seen in major stores. Check out their Techniques page to get some fun ideas!
Step 4: Soak your rubber-banded garment in water to prepare it for dyeing
Before dying, it’s important to soak your garment in warm water to get the fibers ready to take in the dye.
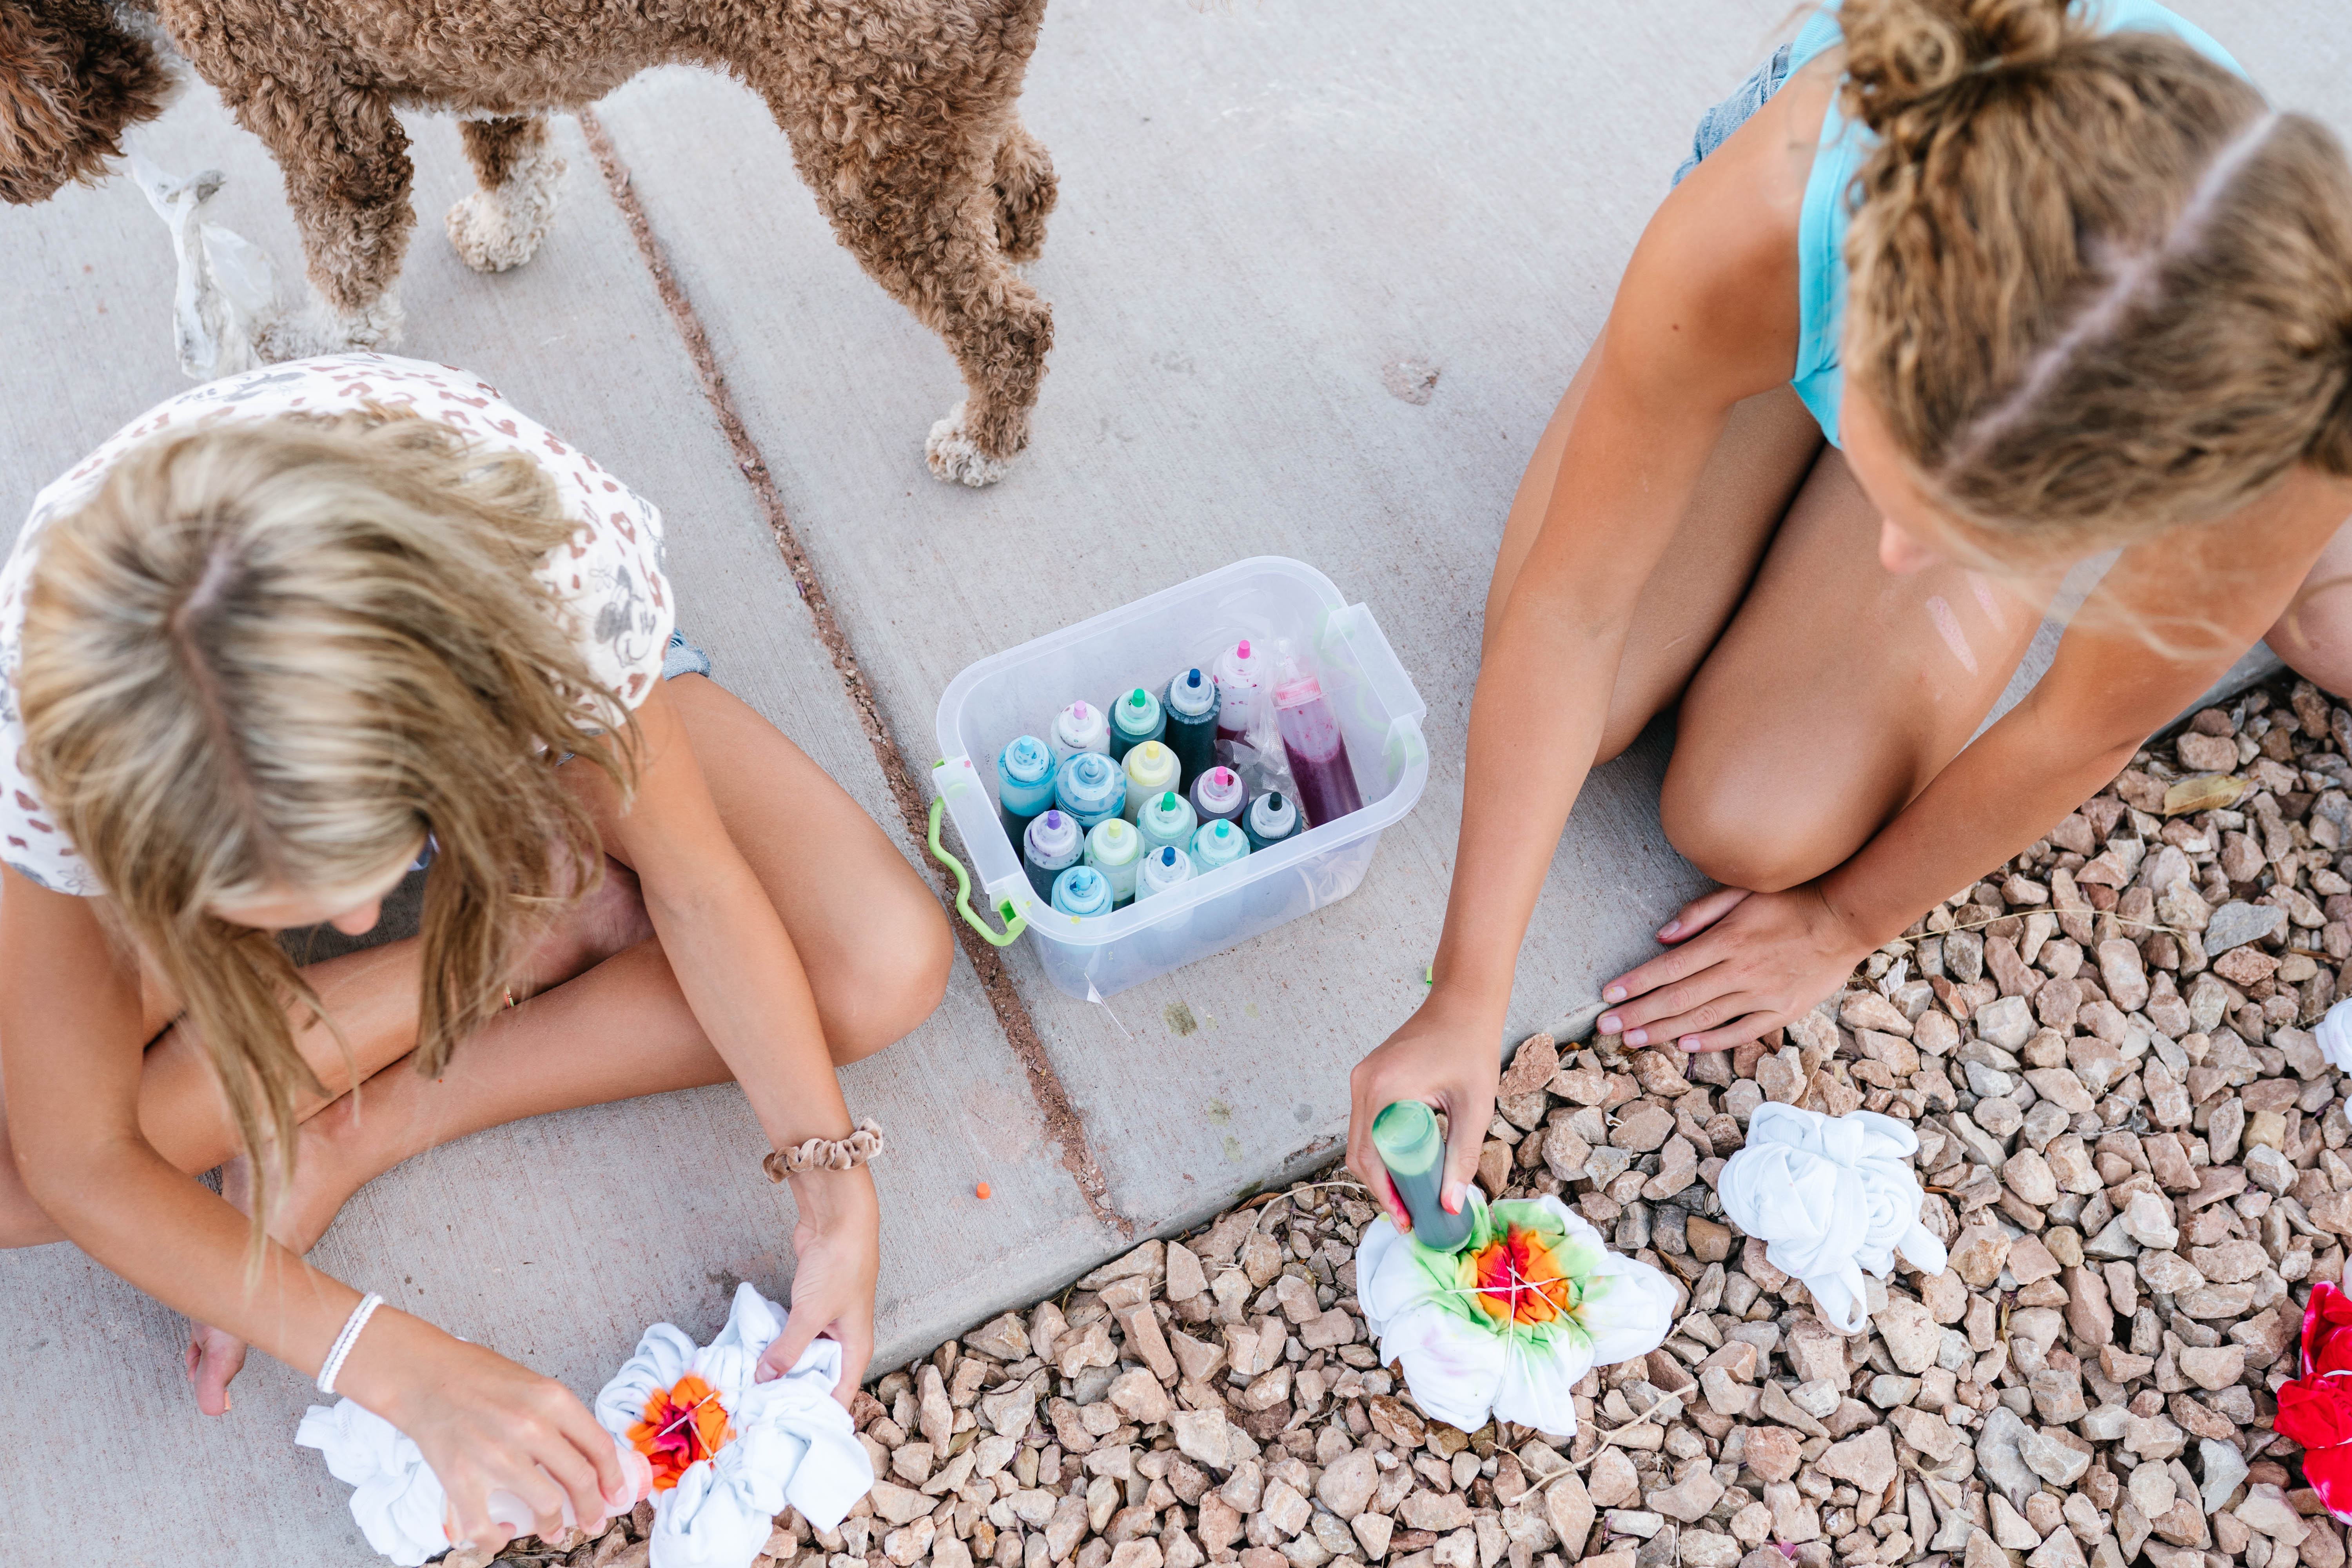
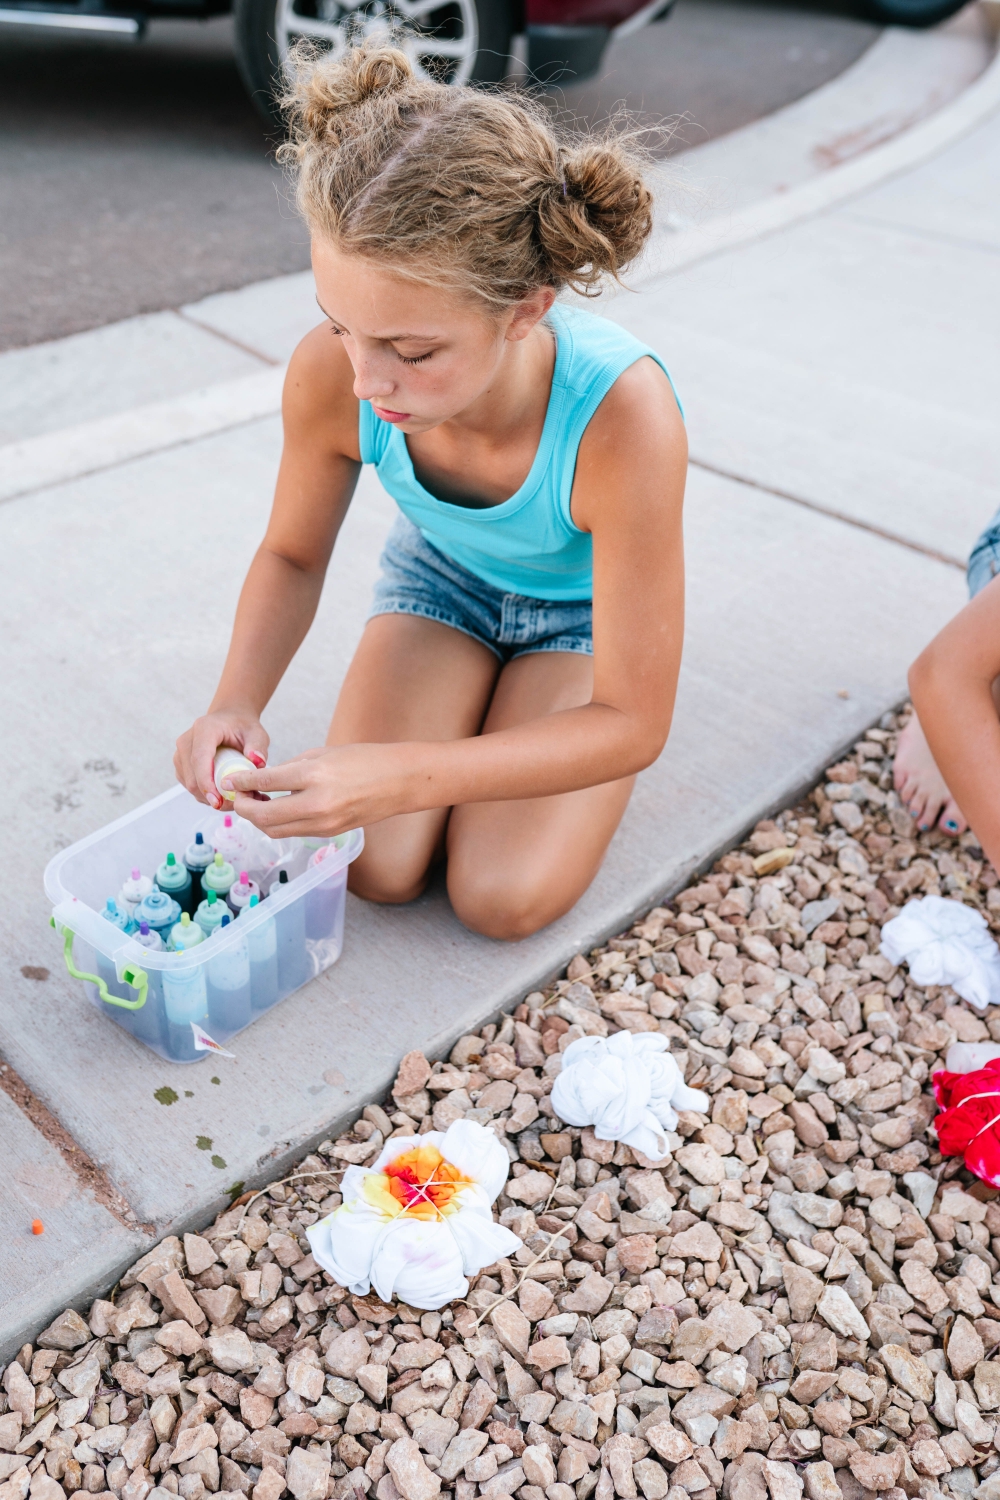
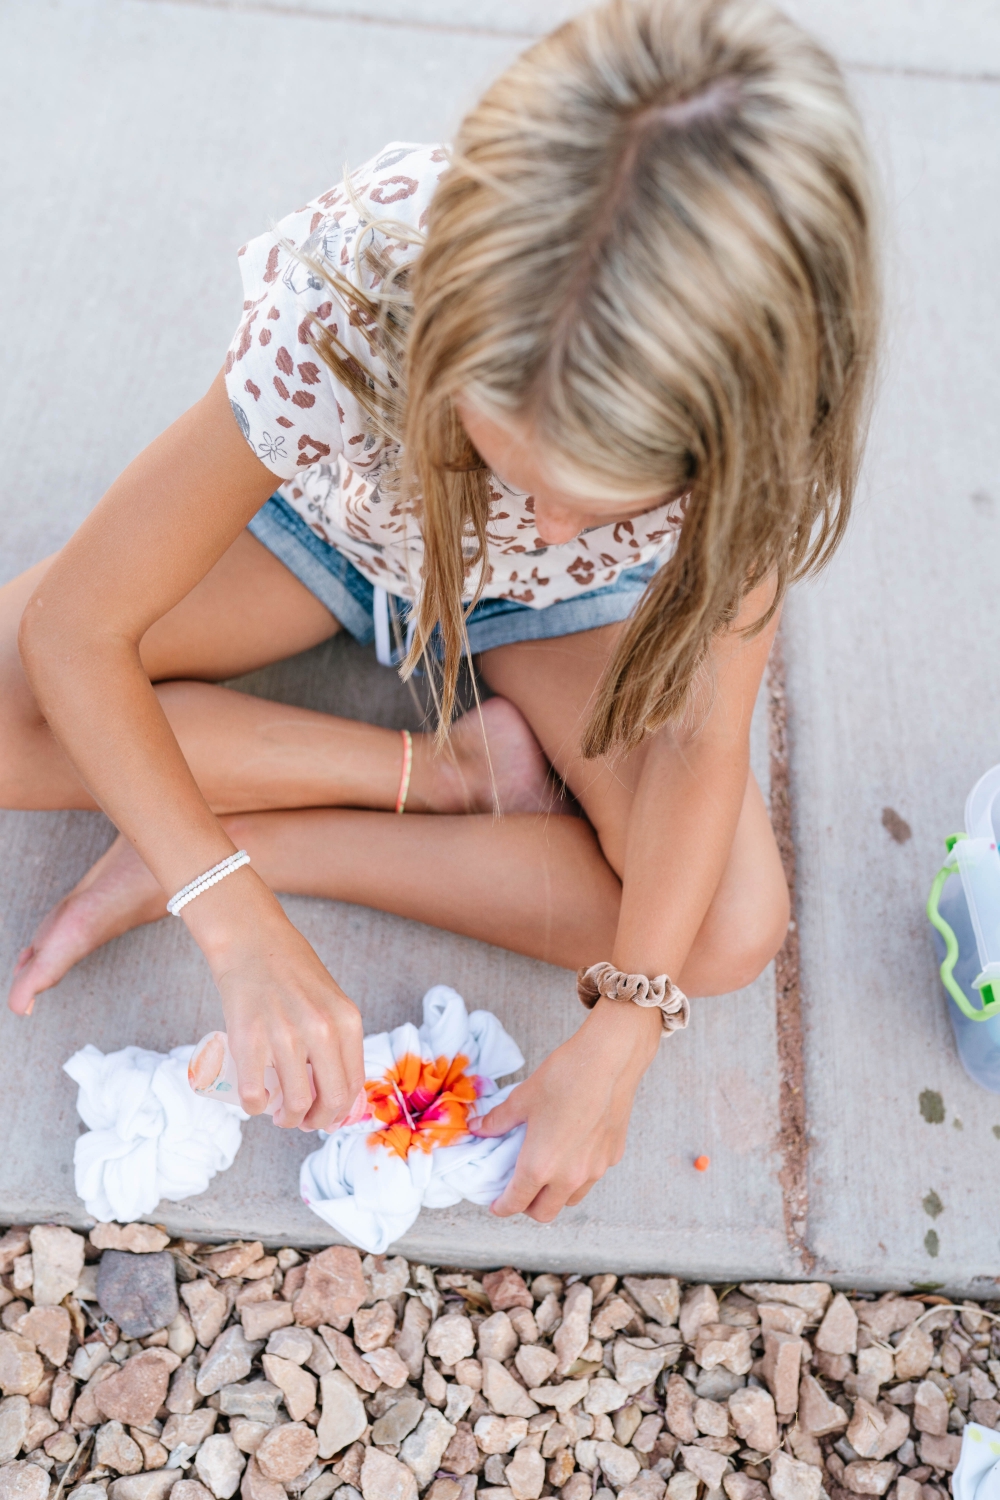
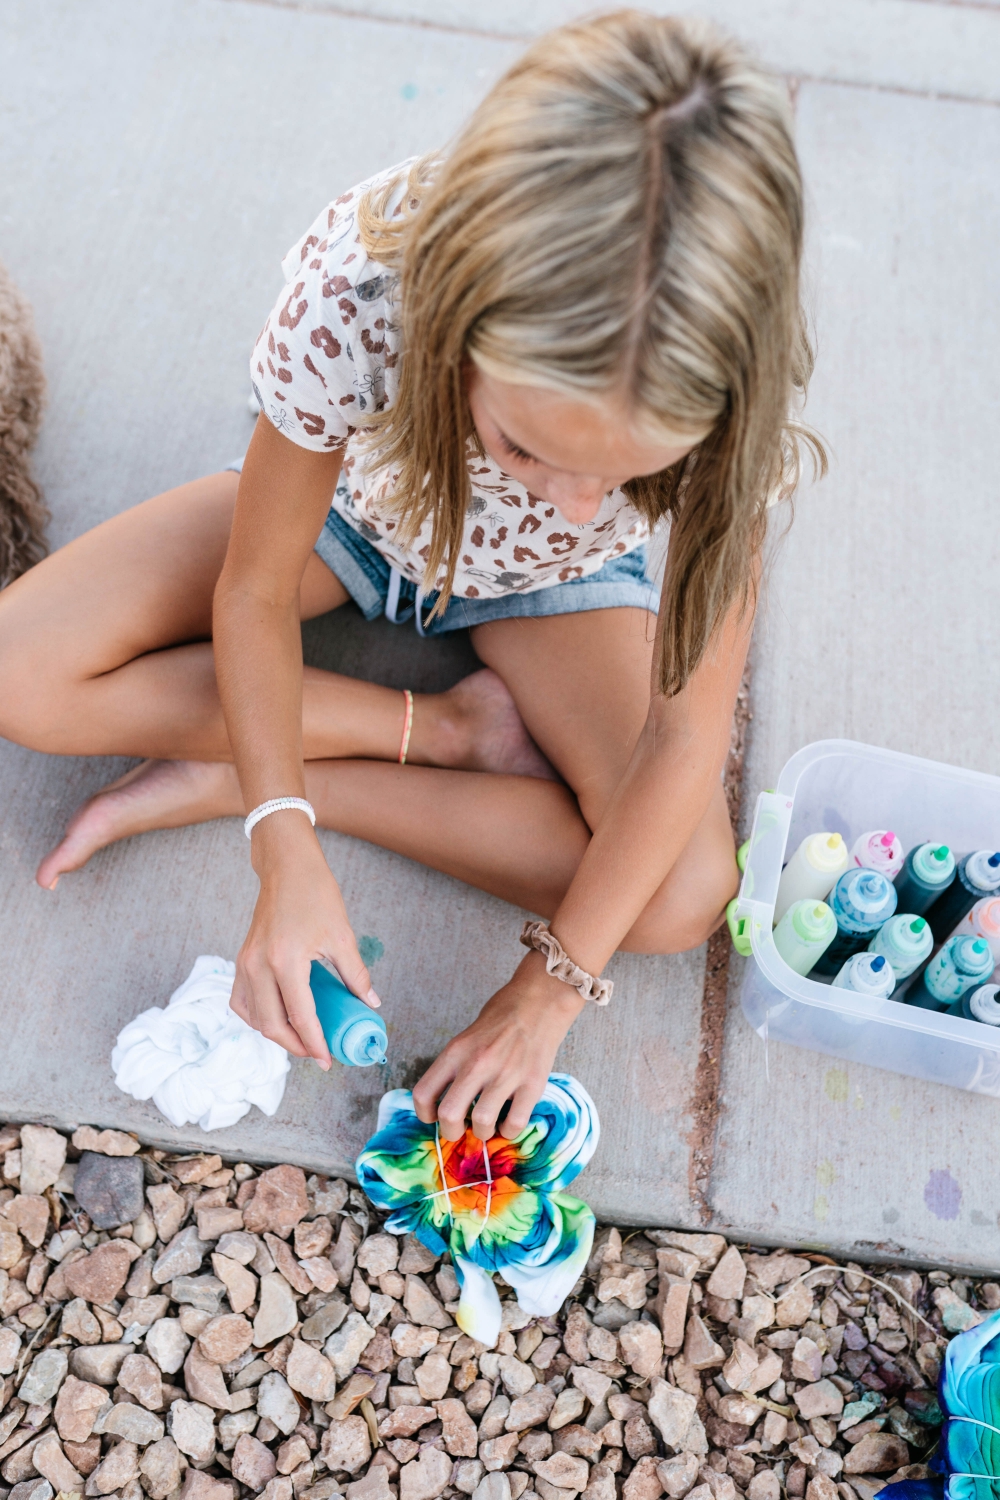
Step 5: Start Tie-Dying! (and this is where gloves are a great idea)
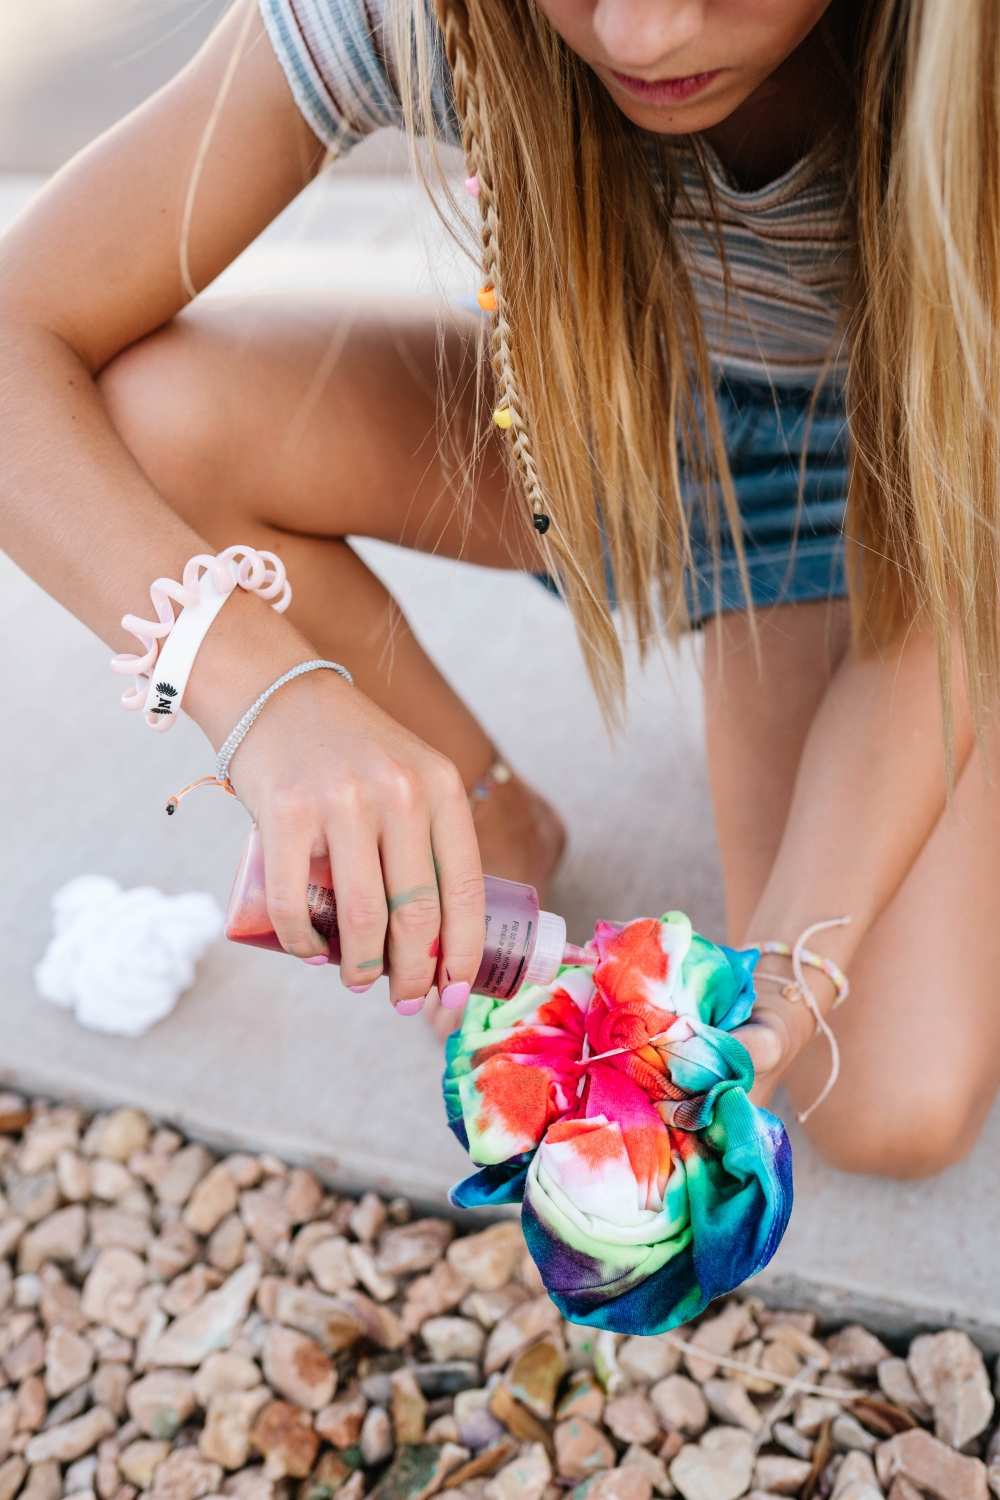
The girls got a little lazy and didn’t wear gloves, so their hands looked like they’d gotten into a fight! So, once your gloves are on, start dipping your garment or pouring the dye mixture onto it. For darker shades, you can soak your garment in a bath of dye. The longer you let it soak, the darker your garment will become. You can also spray, squeeze, drip, and pour dye onto different sections of your bound fabric to your liking. You might need to rotate and/or flip your fabric as you are applying dye to make sure you cover all sections.
SHOP TIE DYE KITS
• • •
Step 6: Wrap in plastic and let sit
Once you feel like your design is finished, wrap it in plastic wrap to keep the moisture locked in. As for how long to let it sit, it’s up to you. Letting it set for 6 to 8 hours is optimal. Or let it set longer for brighter colors.
 If you want to speed up this process, you can also securely wrap you item in plastic wrap – make sure your item is 100% cotton before you go this route! And then stick it in the microwave for 2 minutes. It’s going to be very hot when you take it out so don’t let children do this! Always make sure an adult is present. Once done, rinse in cold water until the water runs clear. Remove any rubber bands/string. And then launder according to the instructions on your dye kit or box.
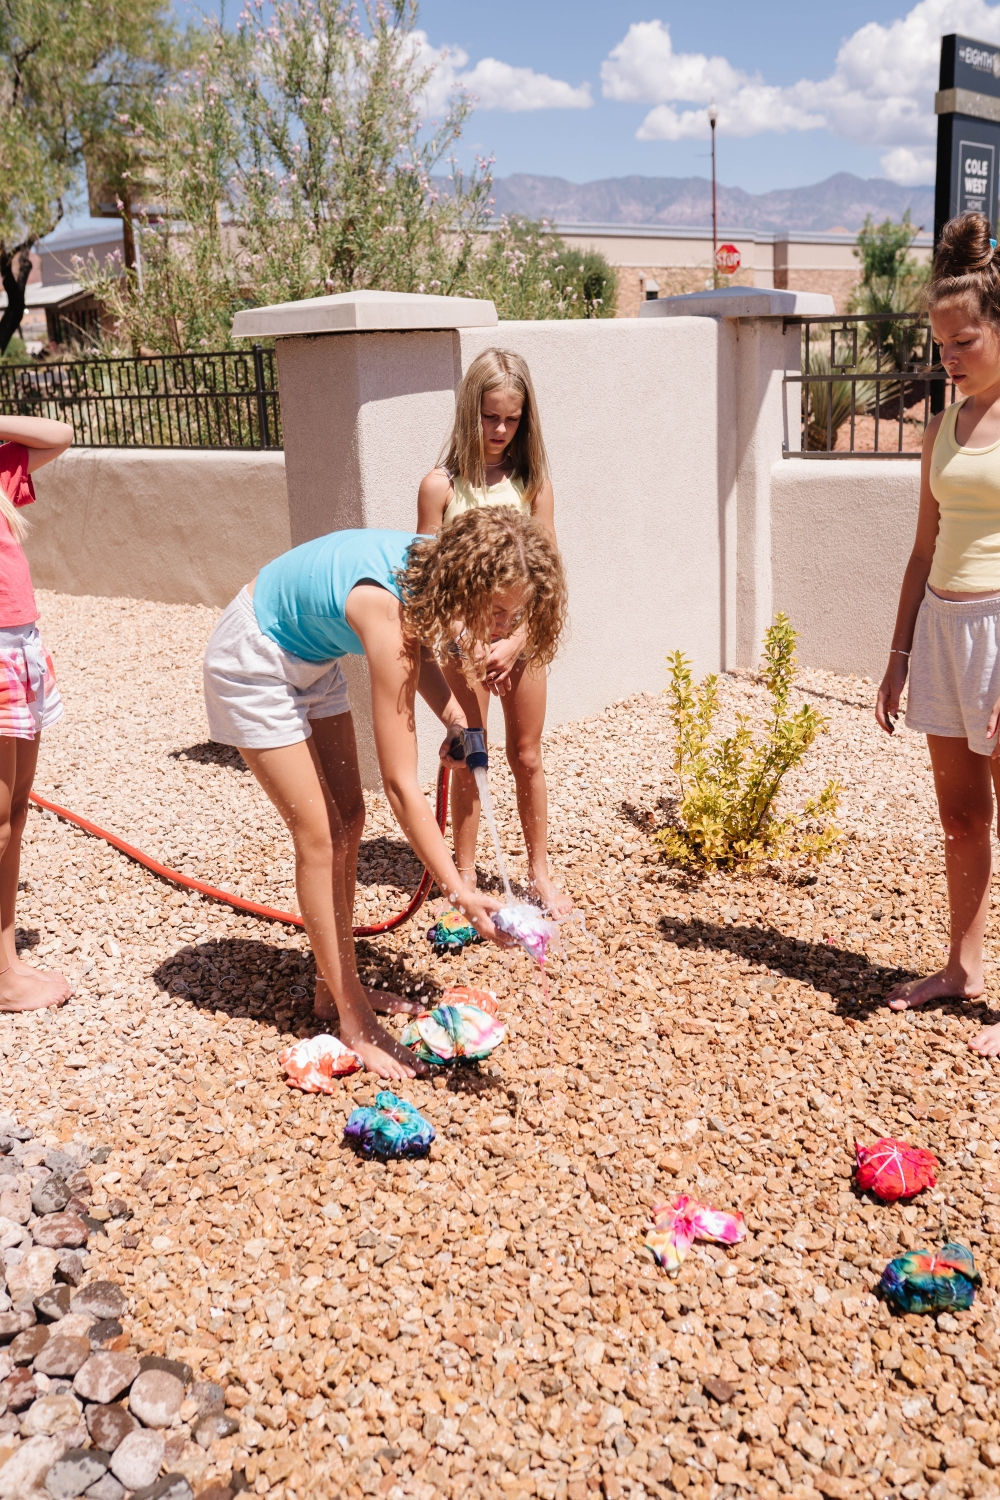
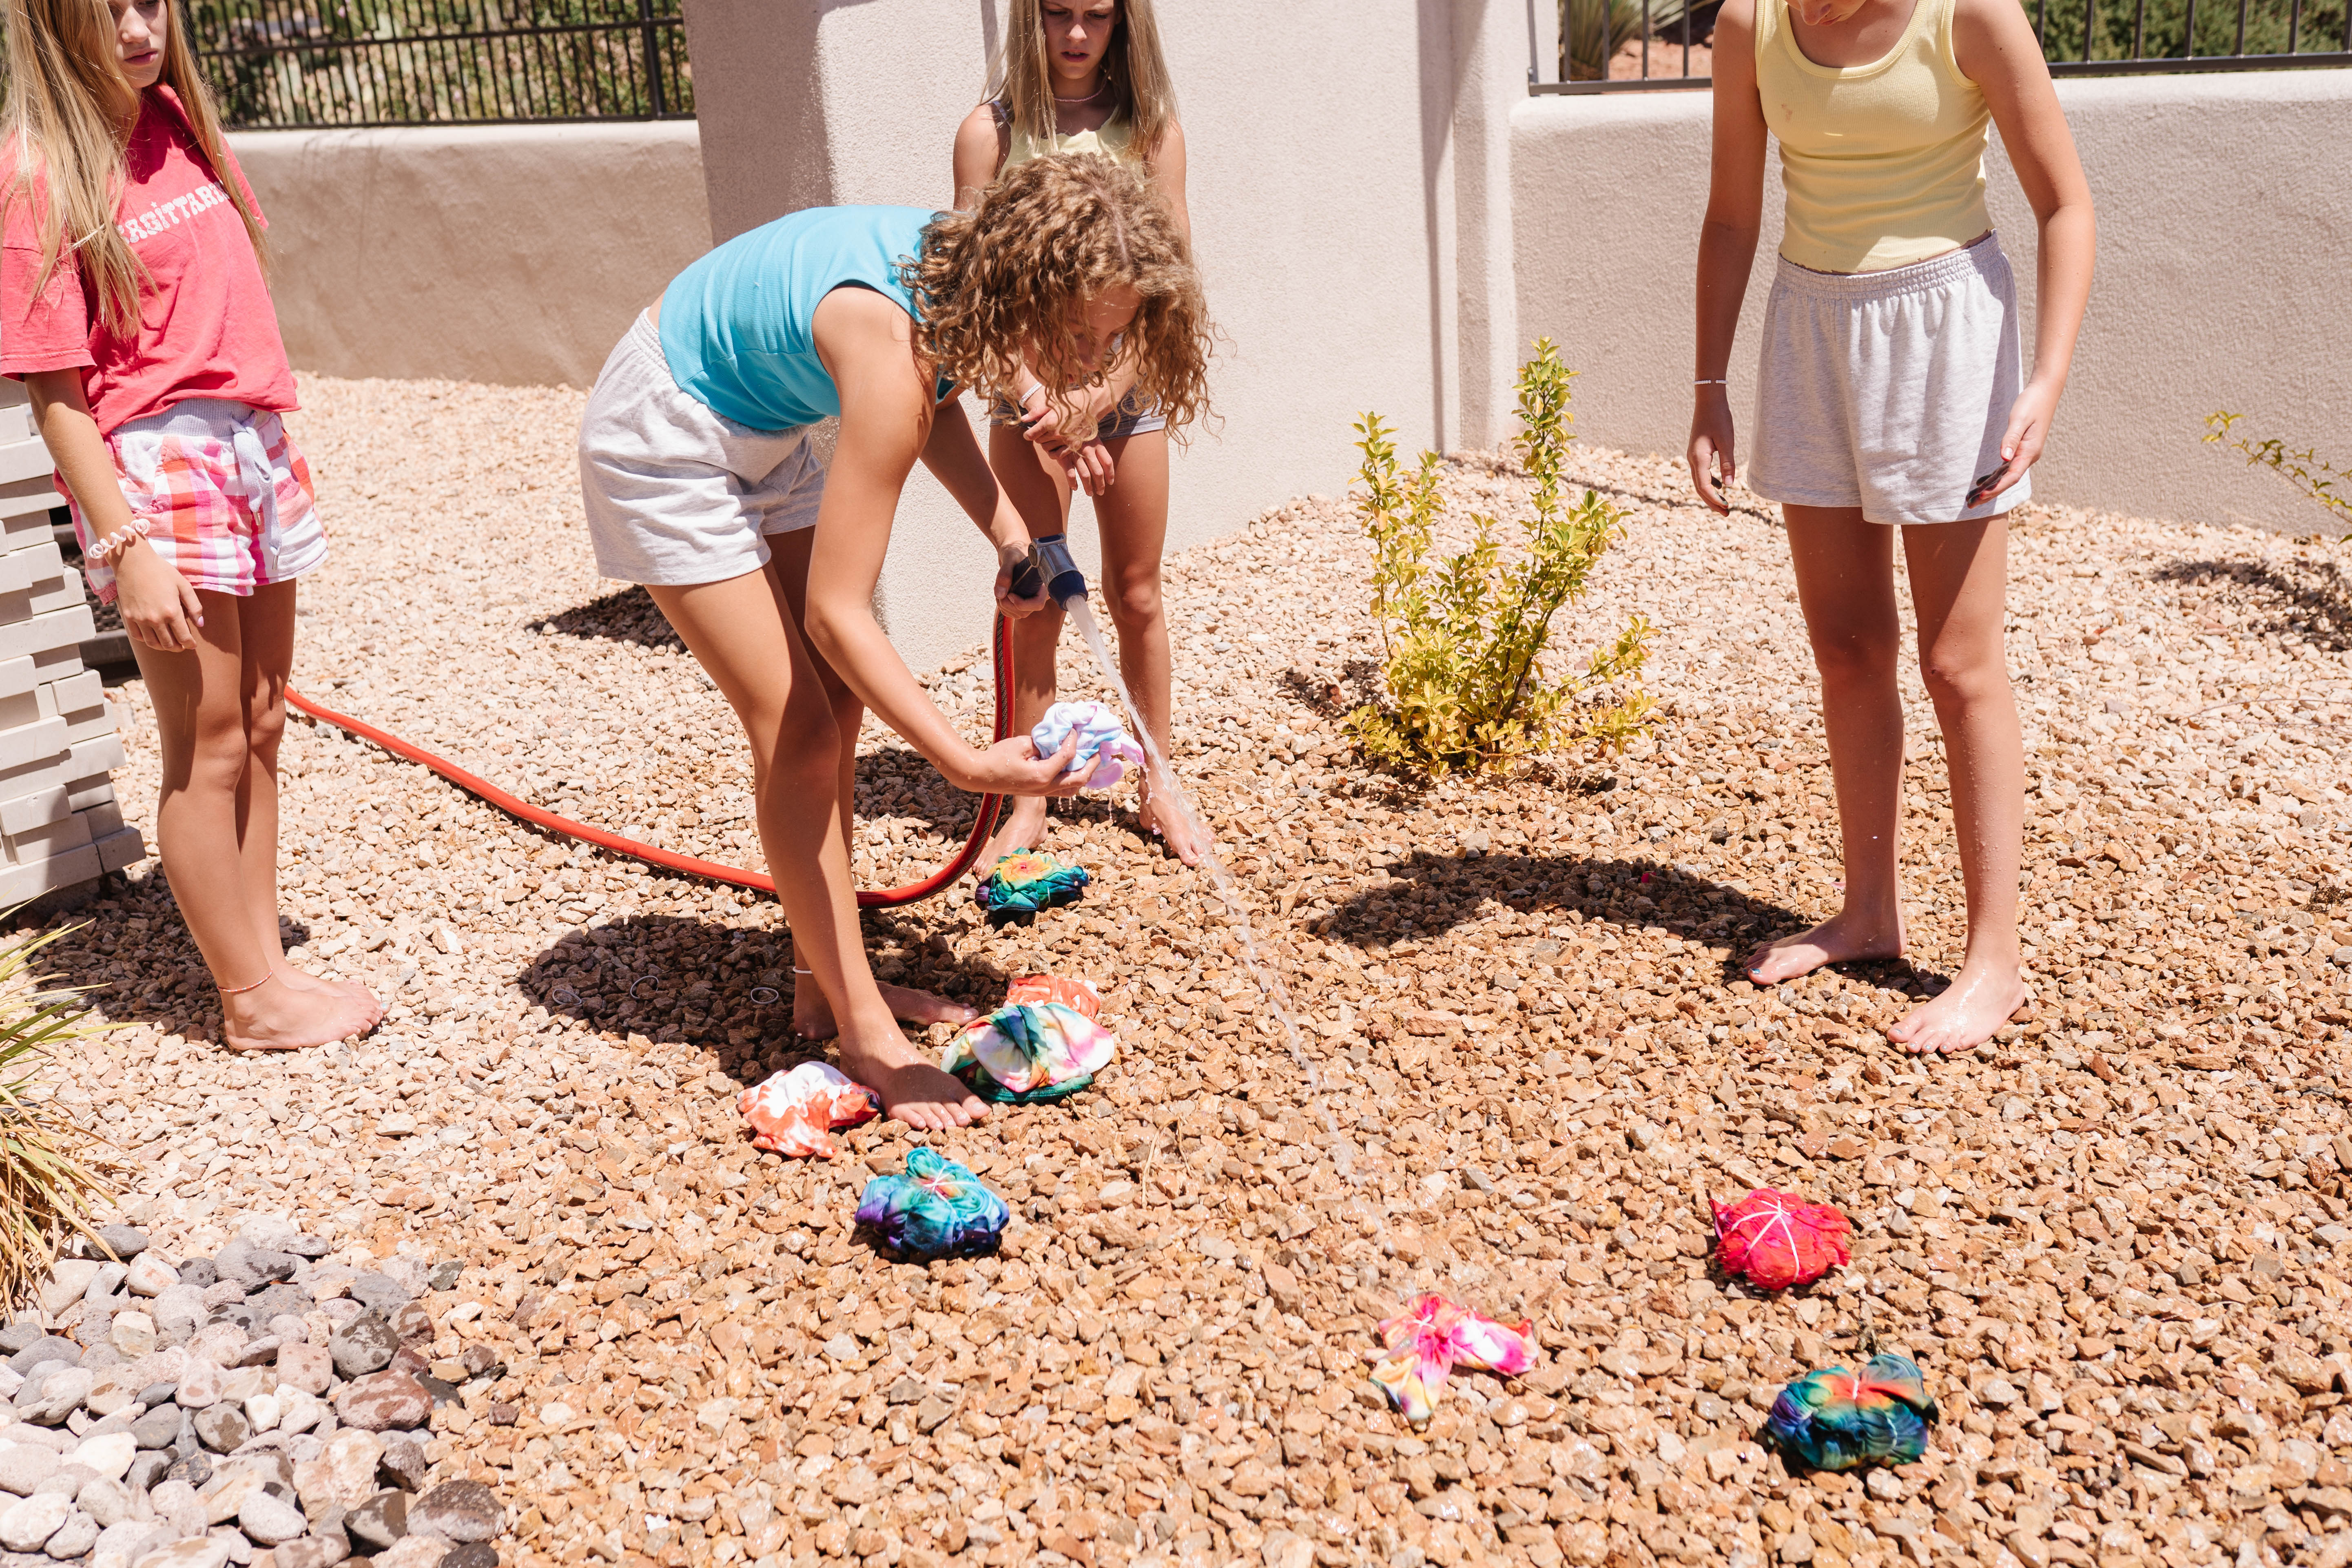
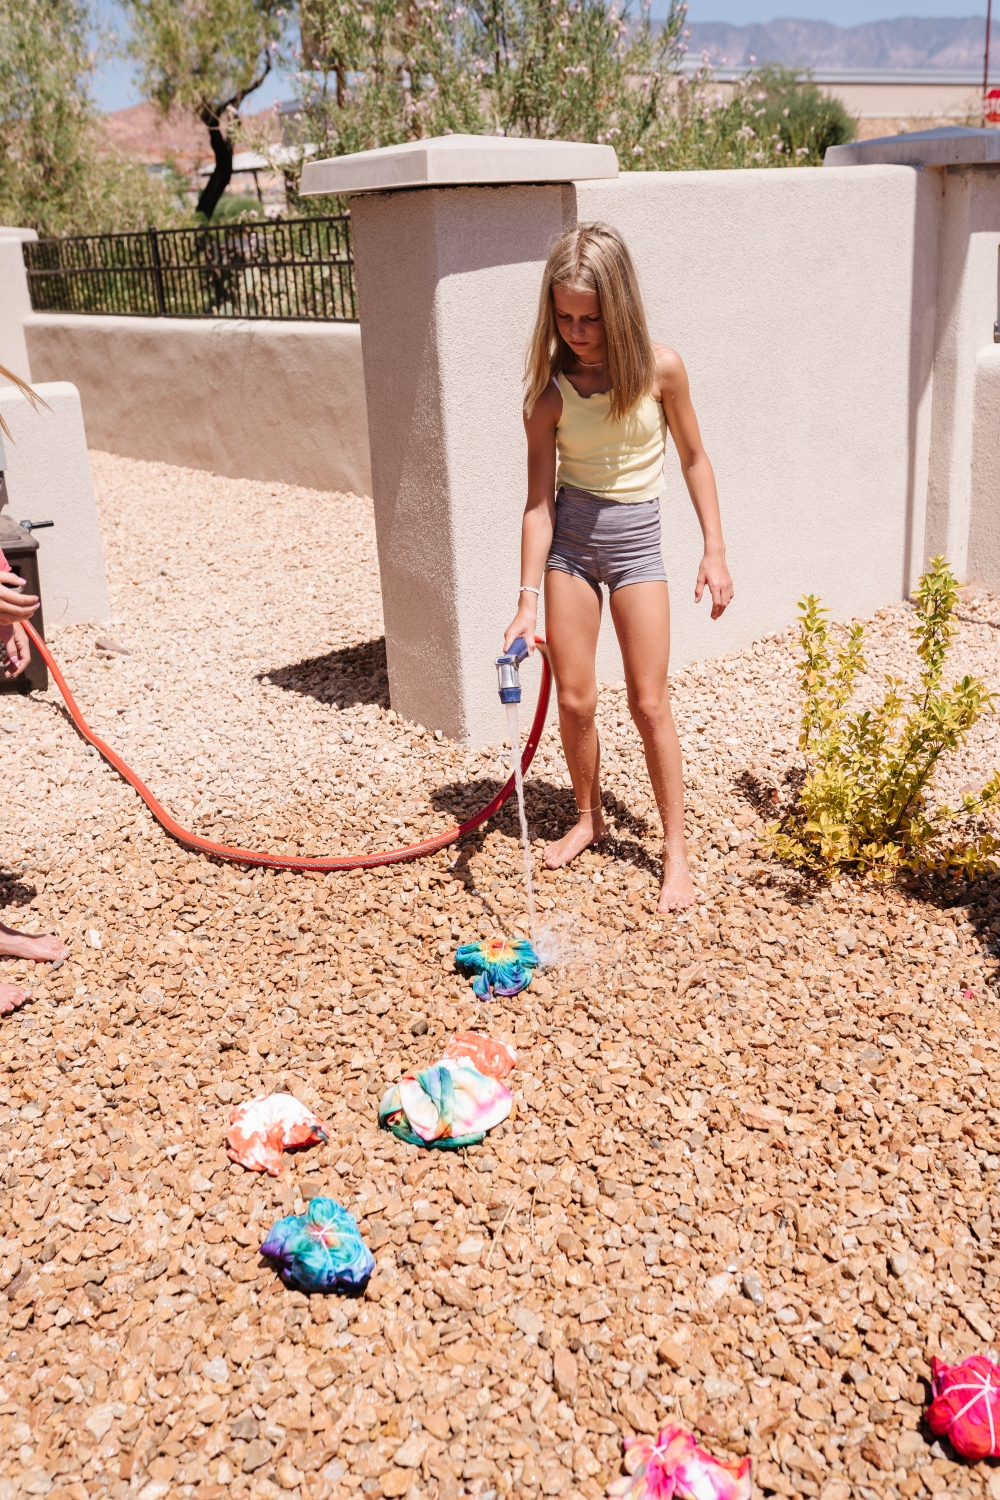
Step 7: Rinse out until the water runs clear and launder
Whether you chose to soak your design for 6 or 48 hours, once the buzzer buzzes, you need to then rinse out all of the dye using cold water. Take out the garment once the water runs clear.
The last step in the tie-dye process is to wash your newly technicolor garment in the washing machine using cold water. Important: wash it alone. Dyeing one item of clothing every color of the rainbow is one thing, dyeing an entire load is a whole other story.

SHOP ALL TIE DYE
• • •
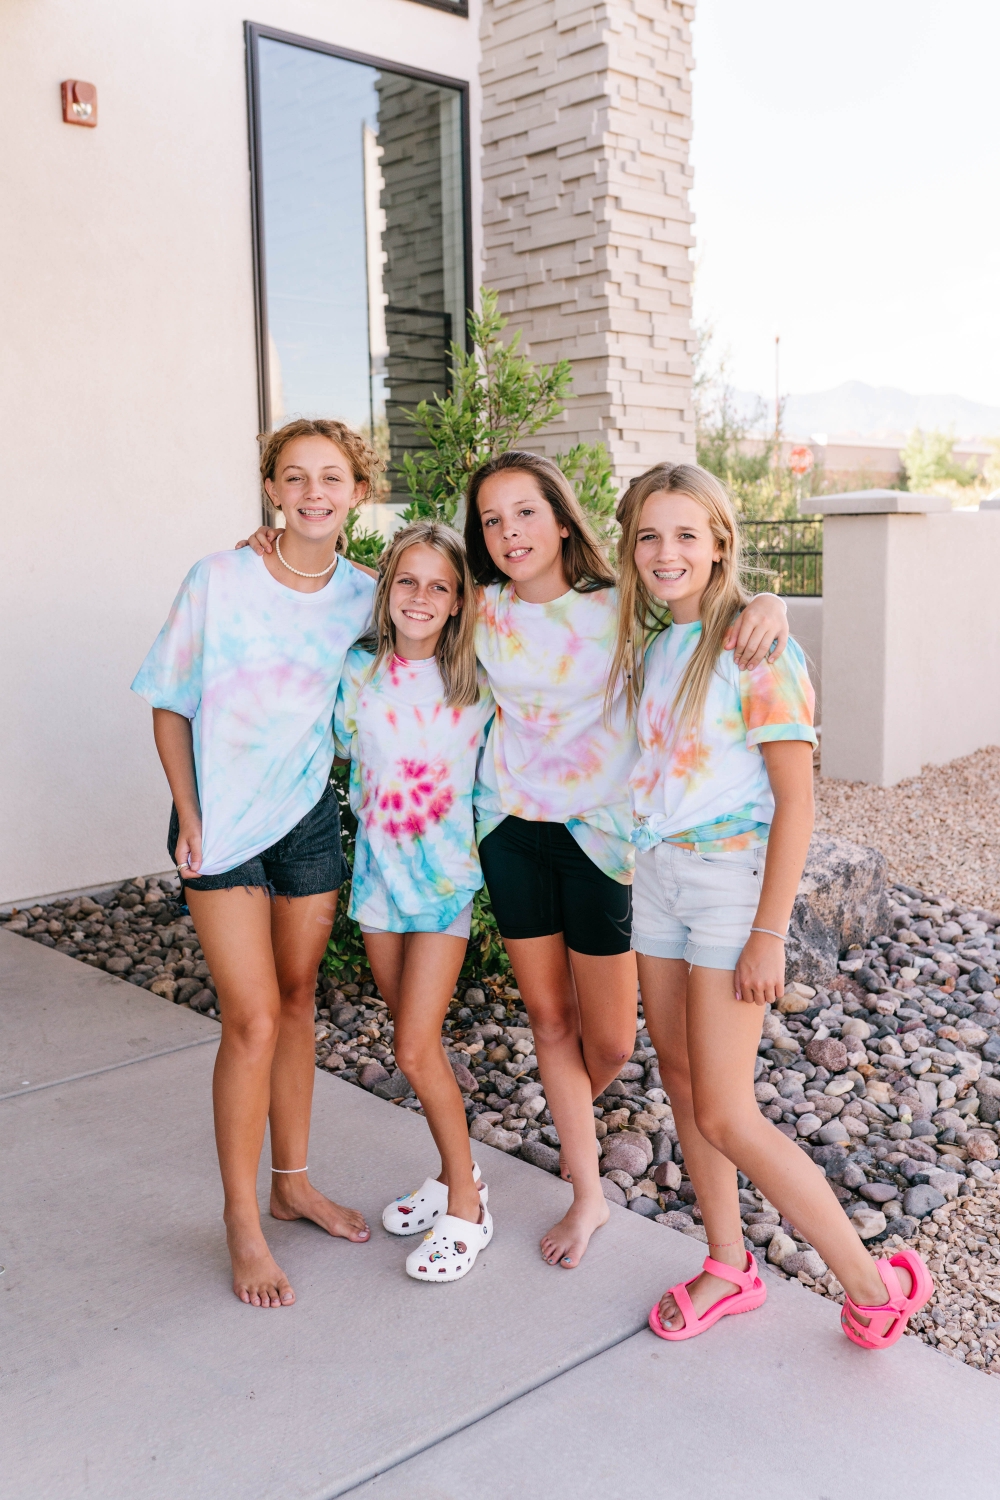
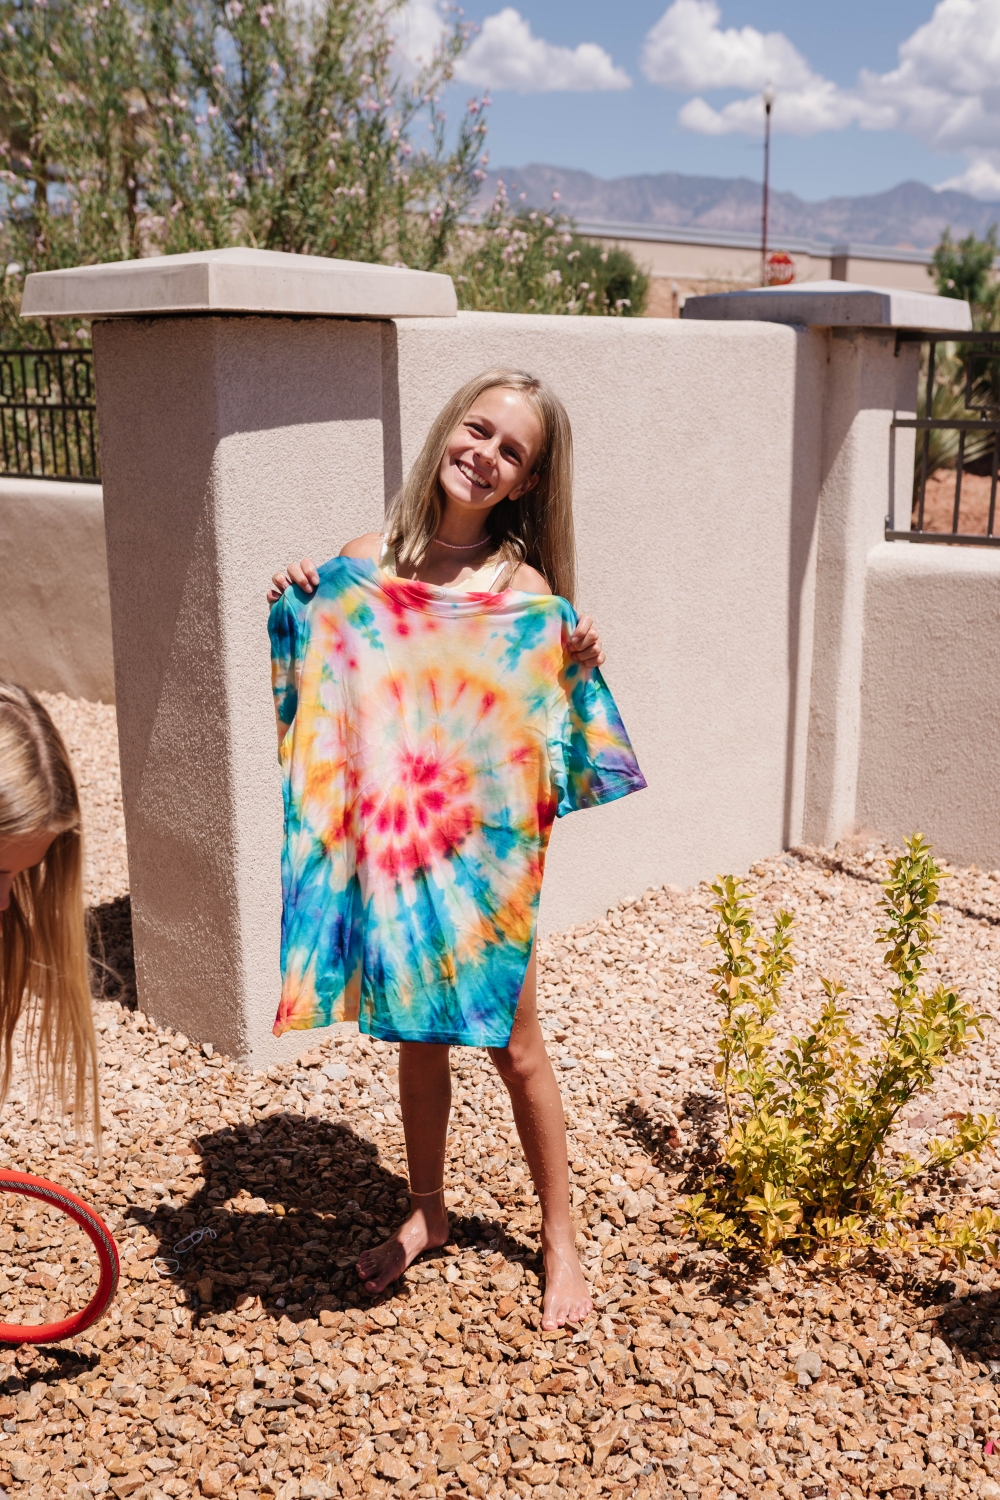
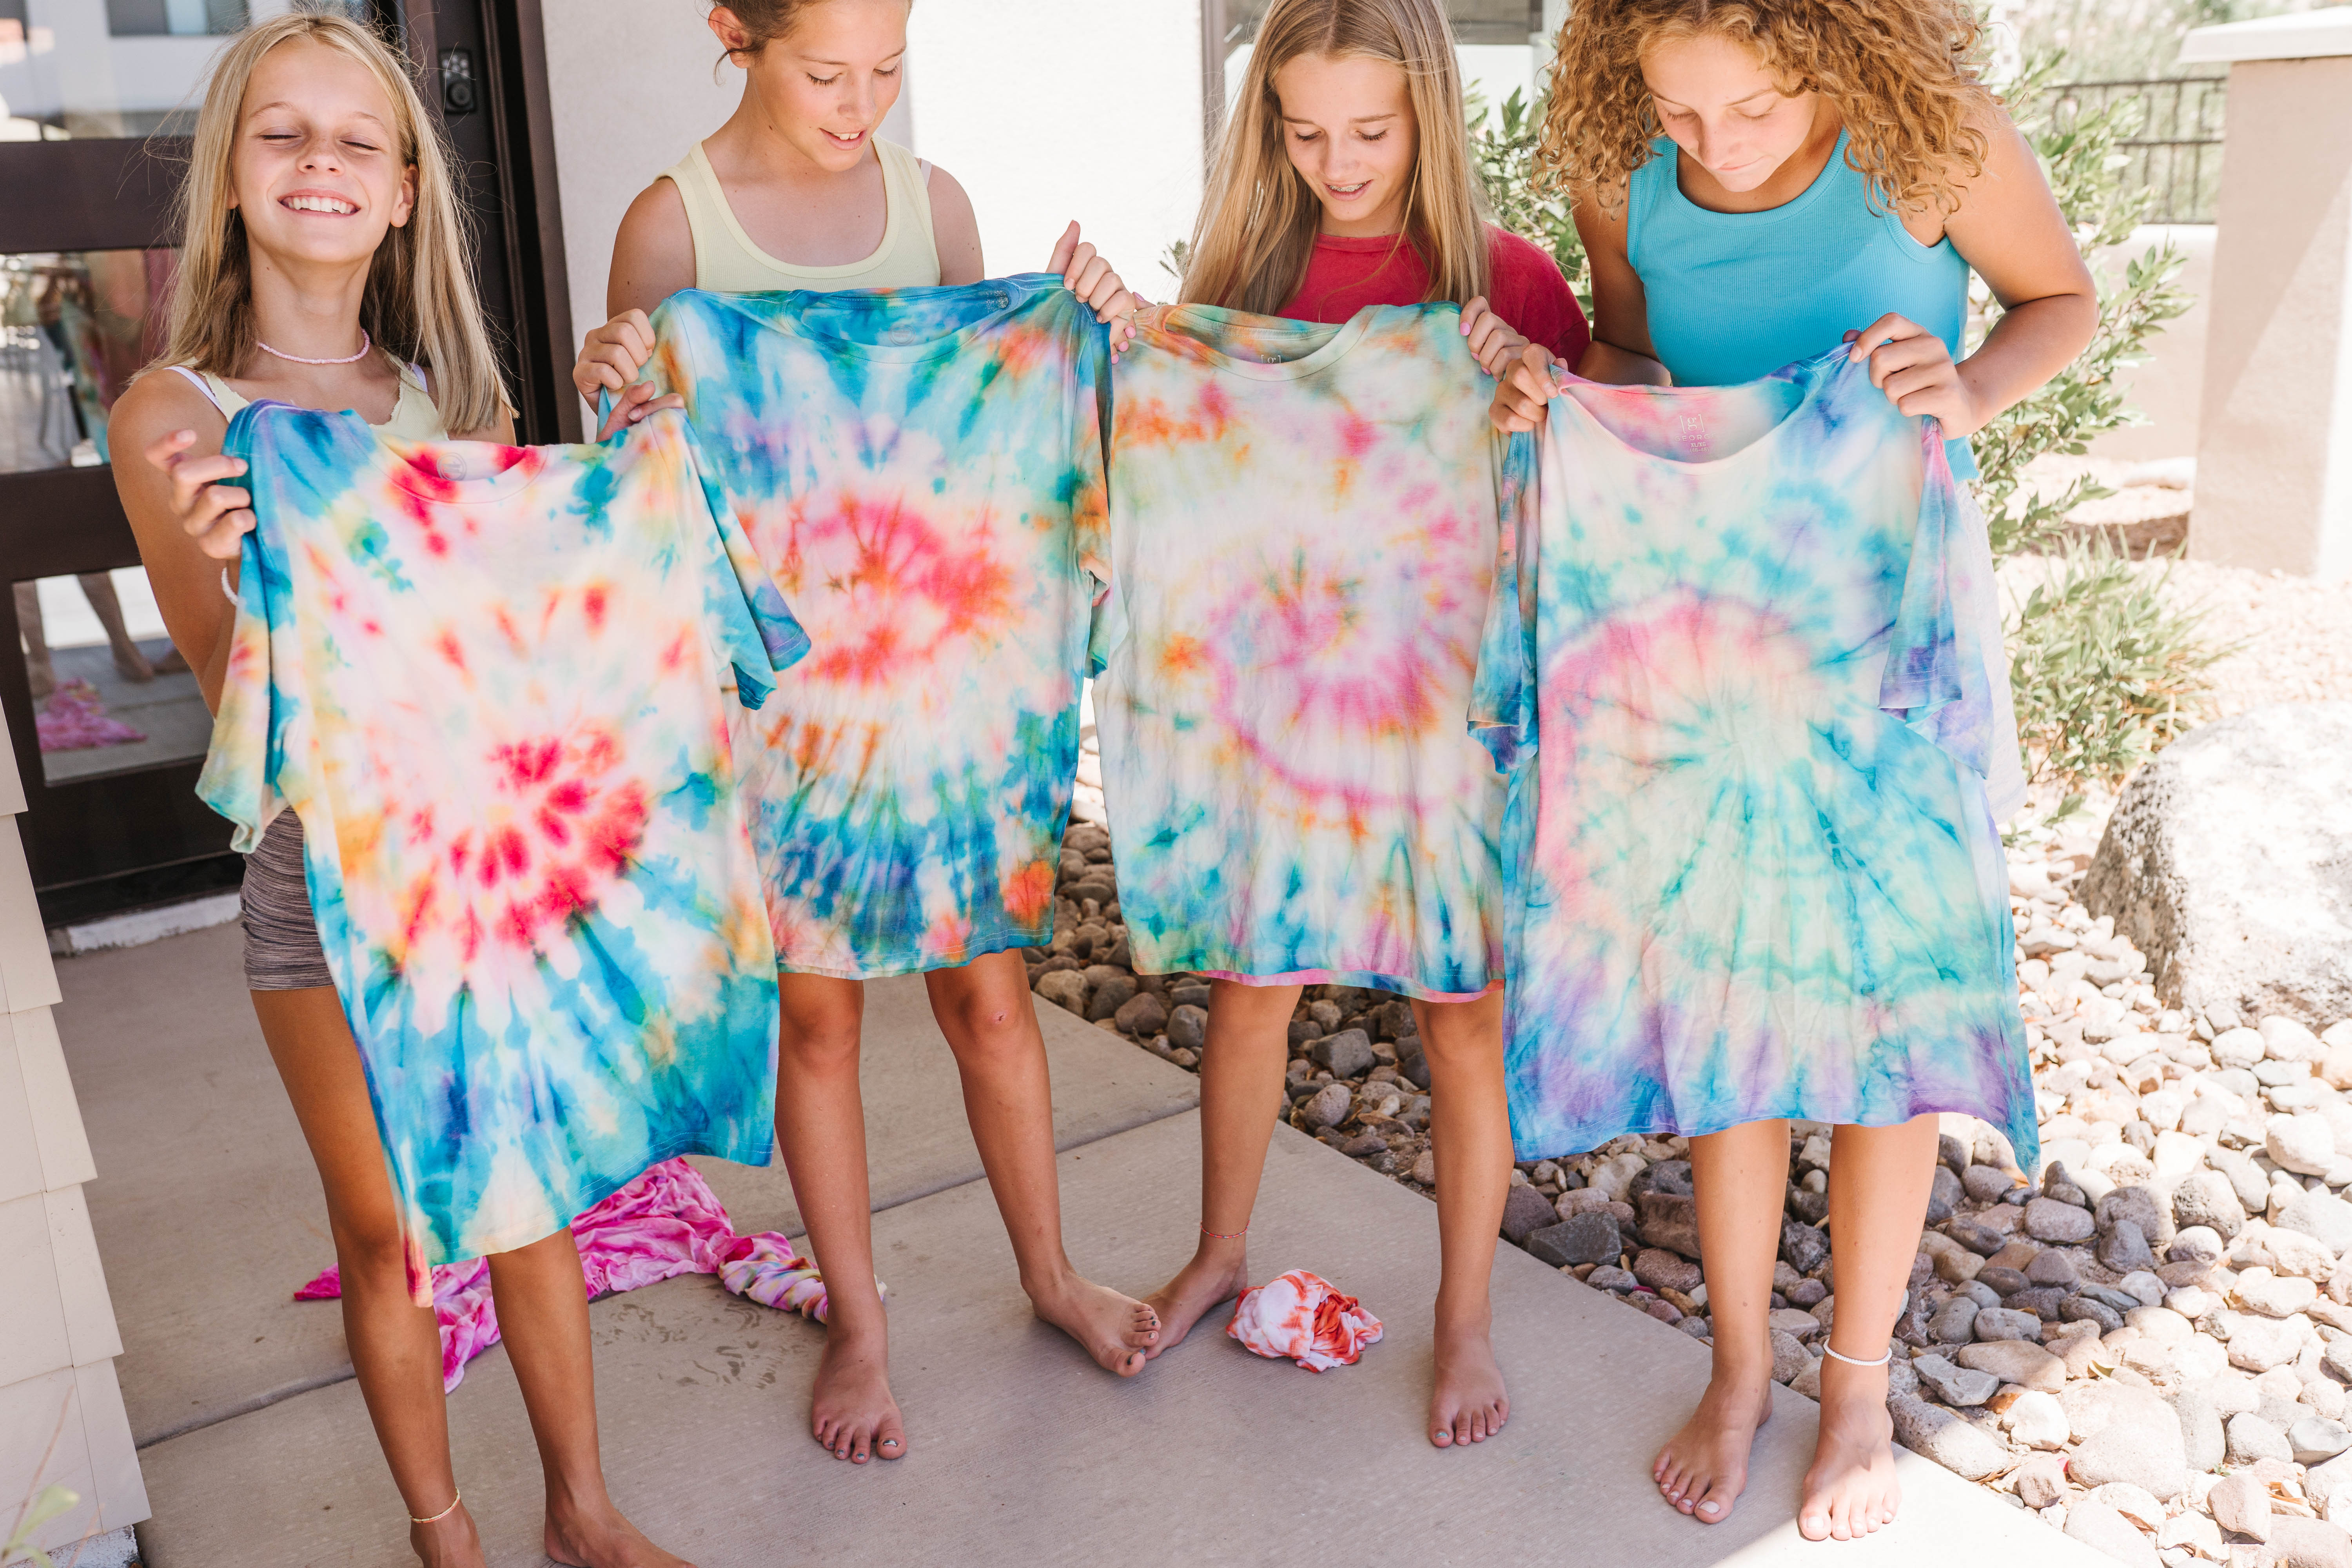
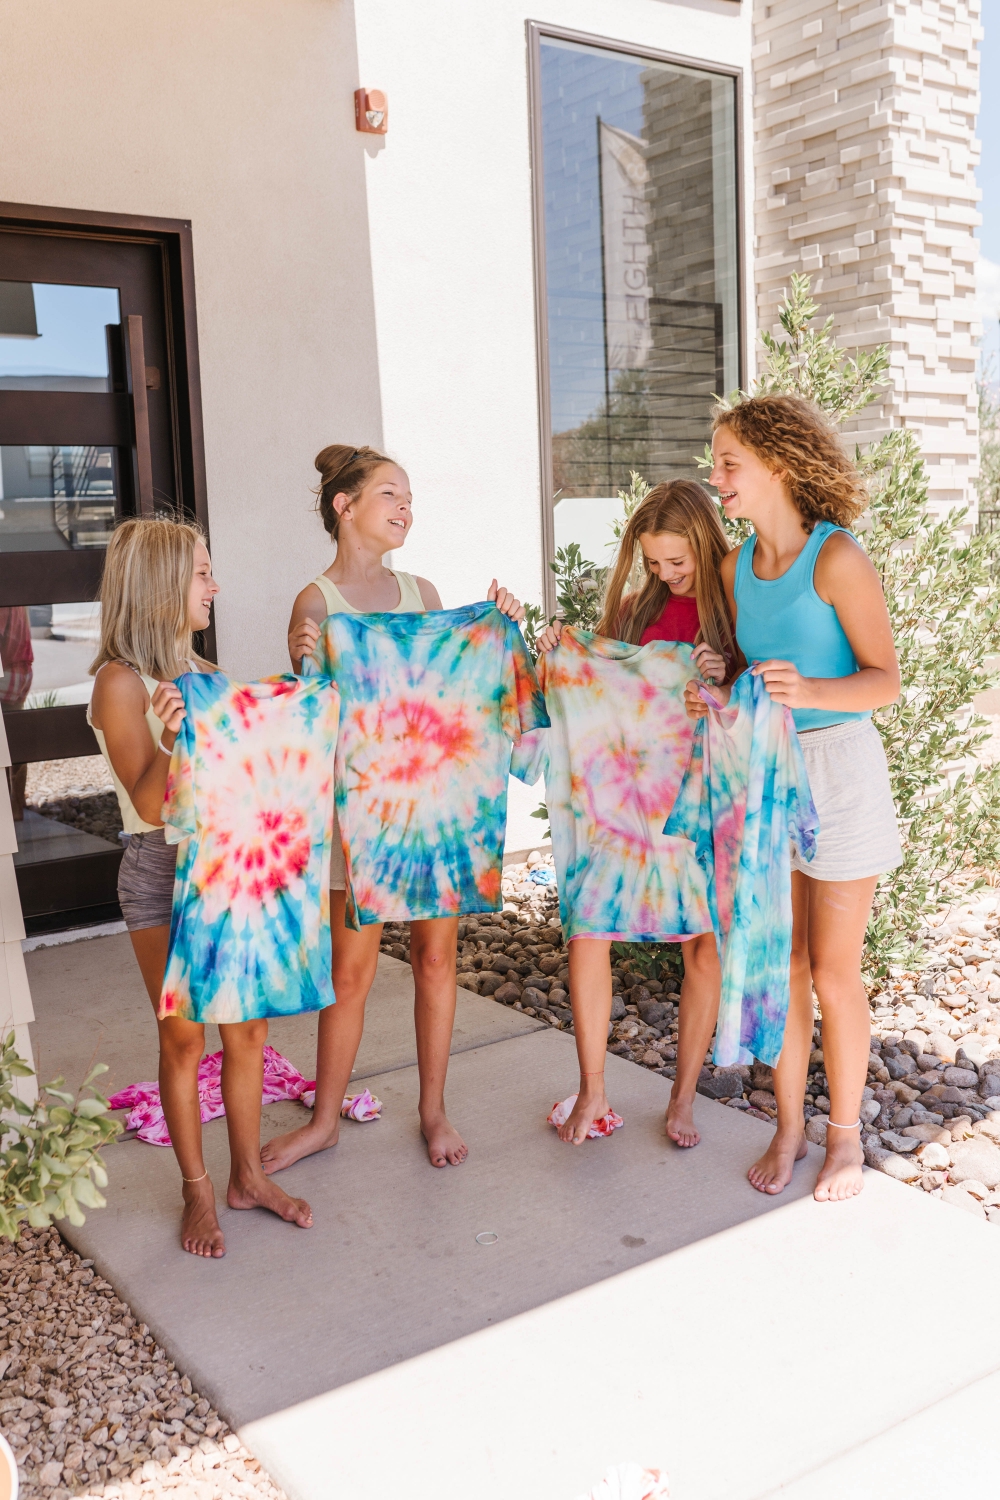
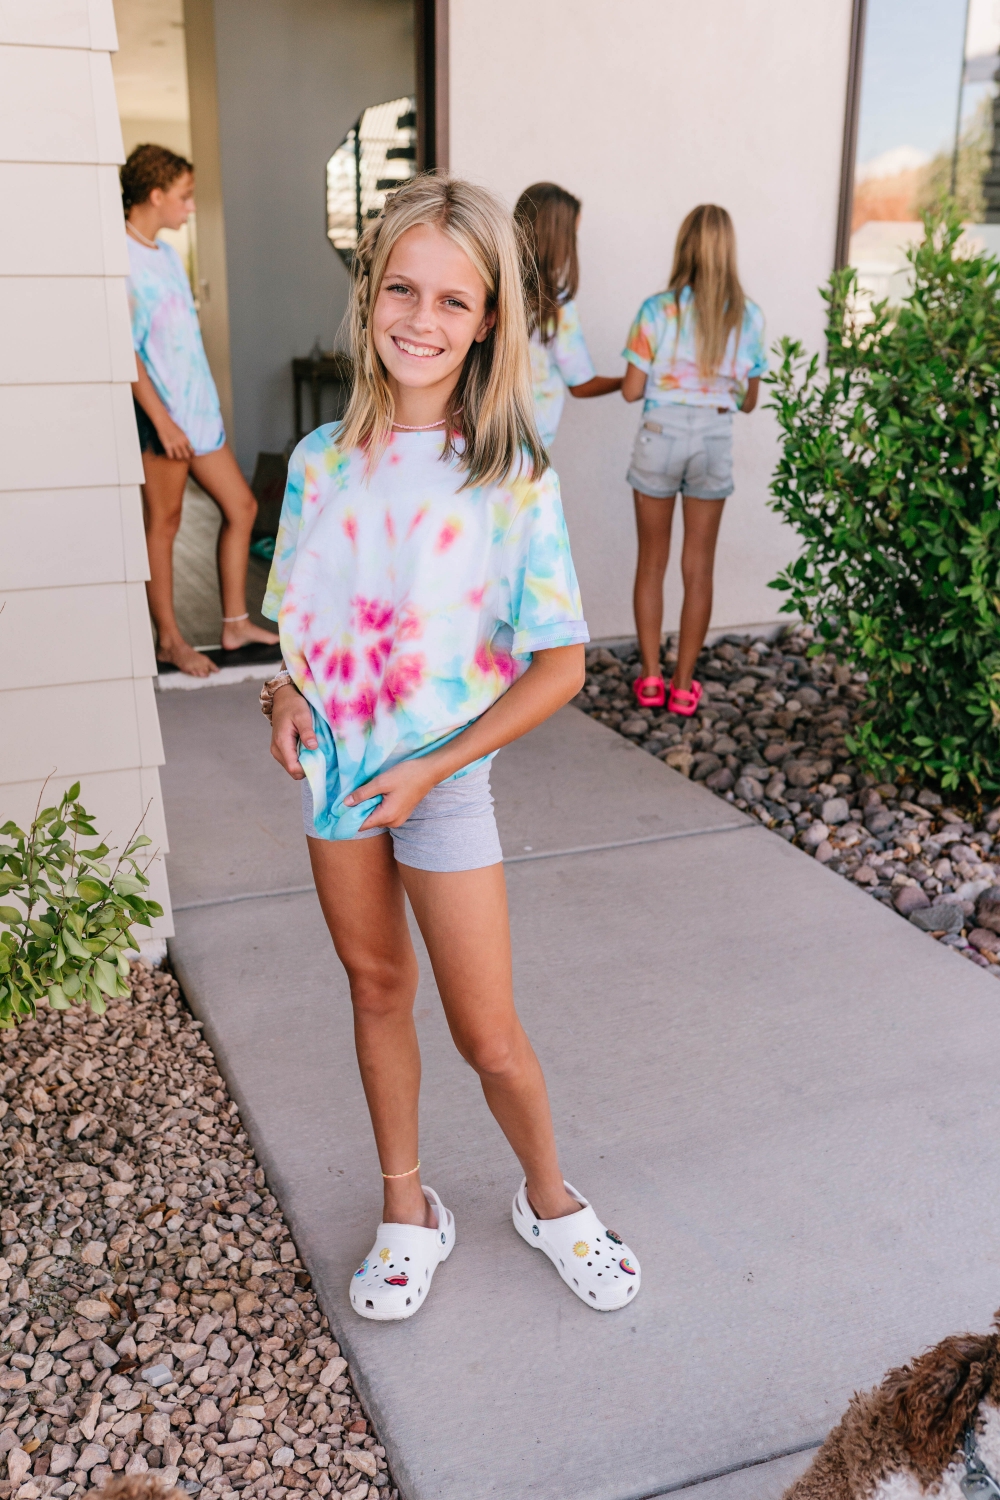
And there you have it! Perfectly tie-dyed items for you to enjoy all summer long. Let me know if you have any questions in the comments below!
Xx Tara


Hi Tara!! Can I wash all the of the tie dye garments together in one load? Or do you have to wash them separate? Thanks sooooo much
We washed them altogether! But if they are really saturated and LOTS of differing colors, a lot of websites tell you to wash them separate!