I think if you look through most parent’s photos, you will usually see 1 person missing. Either you’ve got mom huddled around with a bunch of kids because dad’s on the other side of the camera or vice-versa.
Or, you’re with a few couples getting a group shot but you look like a single rider because your better half is behind the camera. Where are our personal photographers when we need them, huh?
Well, it’s not perfect, but I have a great solution for just these moments!
Introducing: Juxtaposer
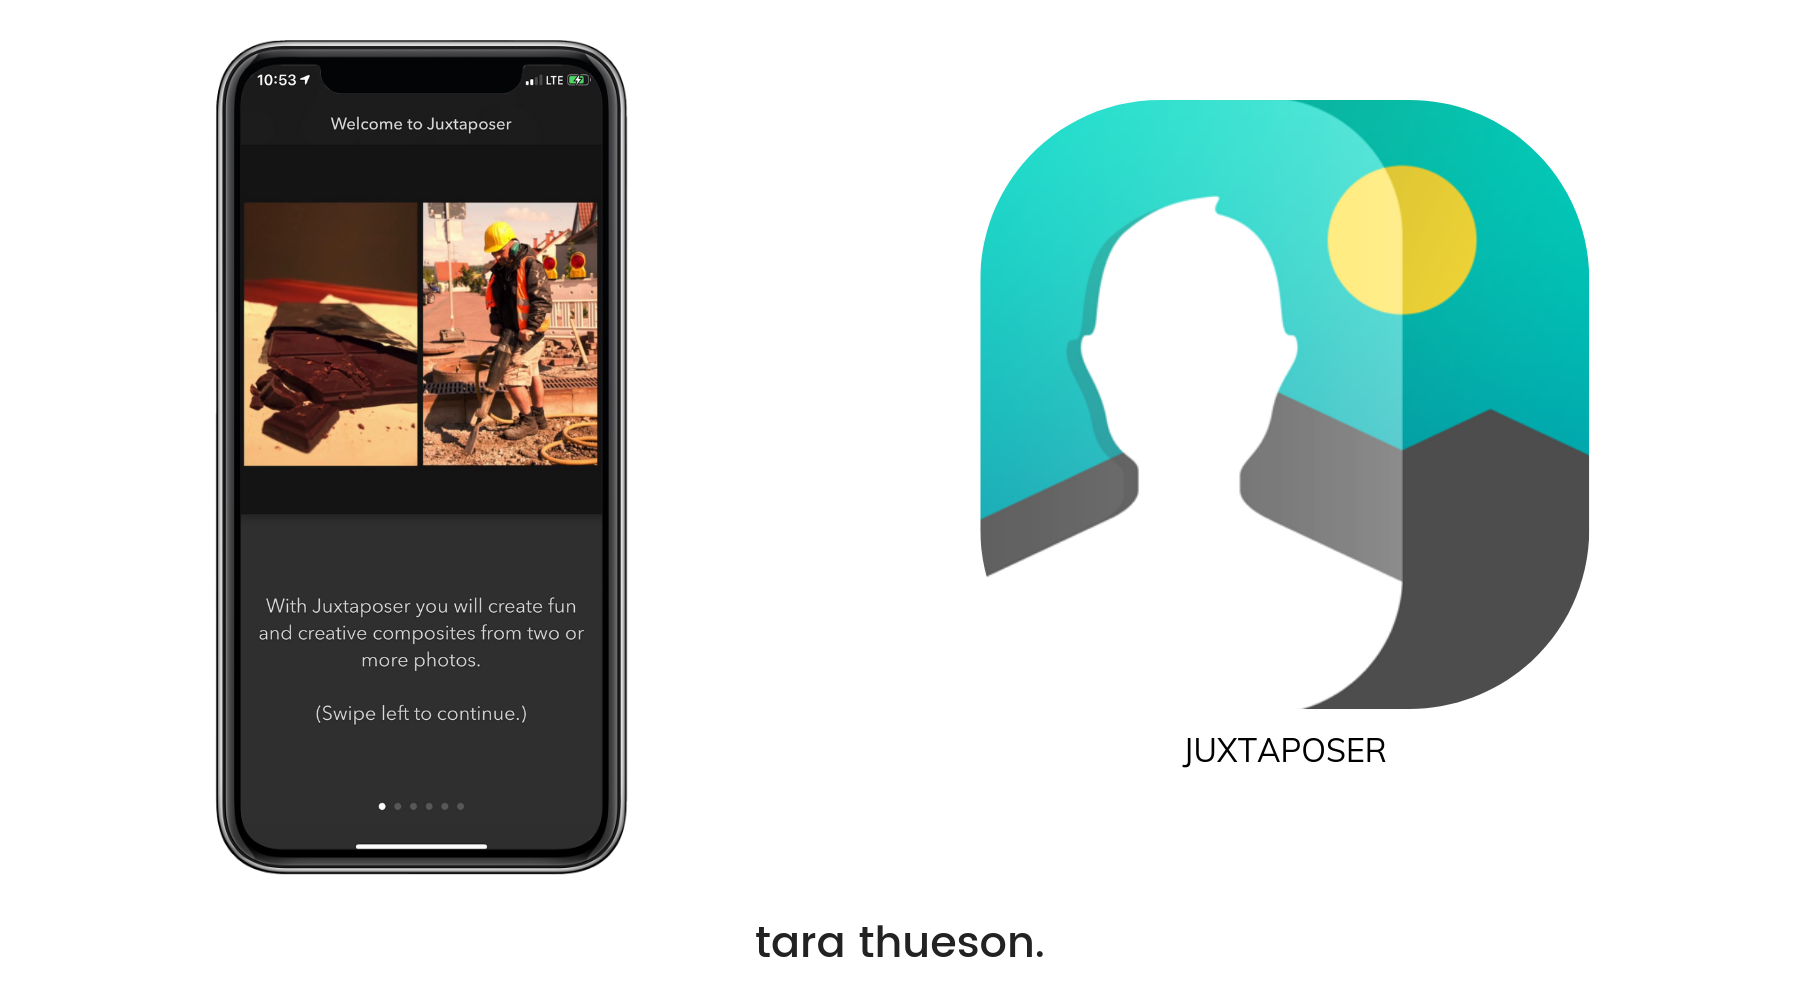
Juxtaposer is the one iPhone app that I have a ton of fun with! It makes the impossible possible. As I said, it’s not perfect, but it can save you in a pinch! So today I want to teach you how to use Juxtaposer so you can make magic happen, too.
 This app is super straightforward! When you first open it up, you’re going to be given a quick tutorial. There are a couple of additional features in this app that take it next level, but this brief summary will tell you everything you need to know to get started!
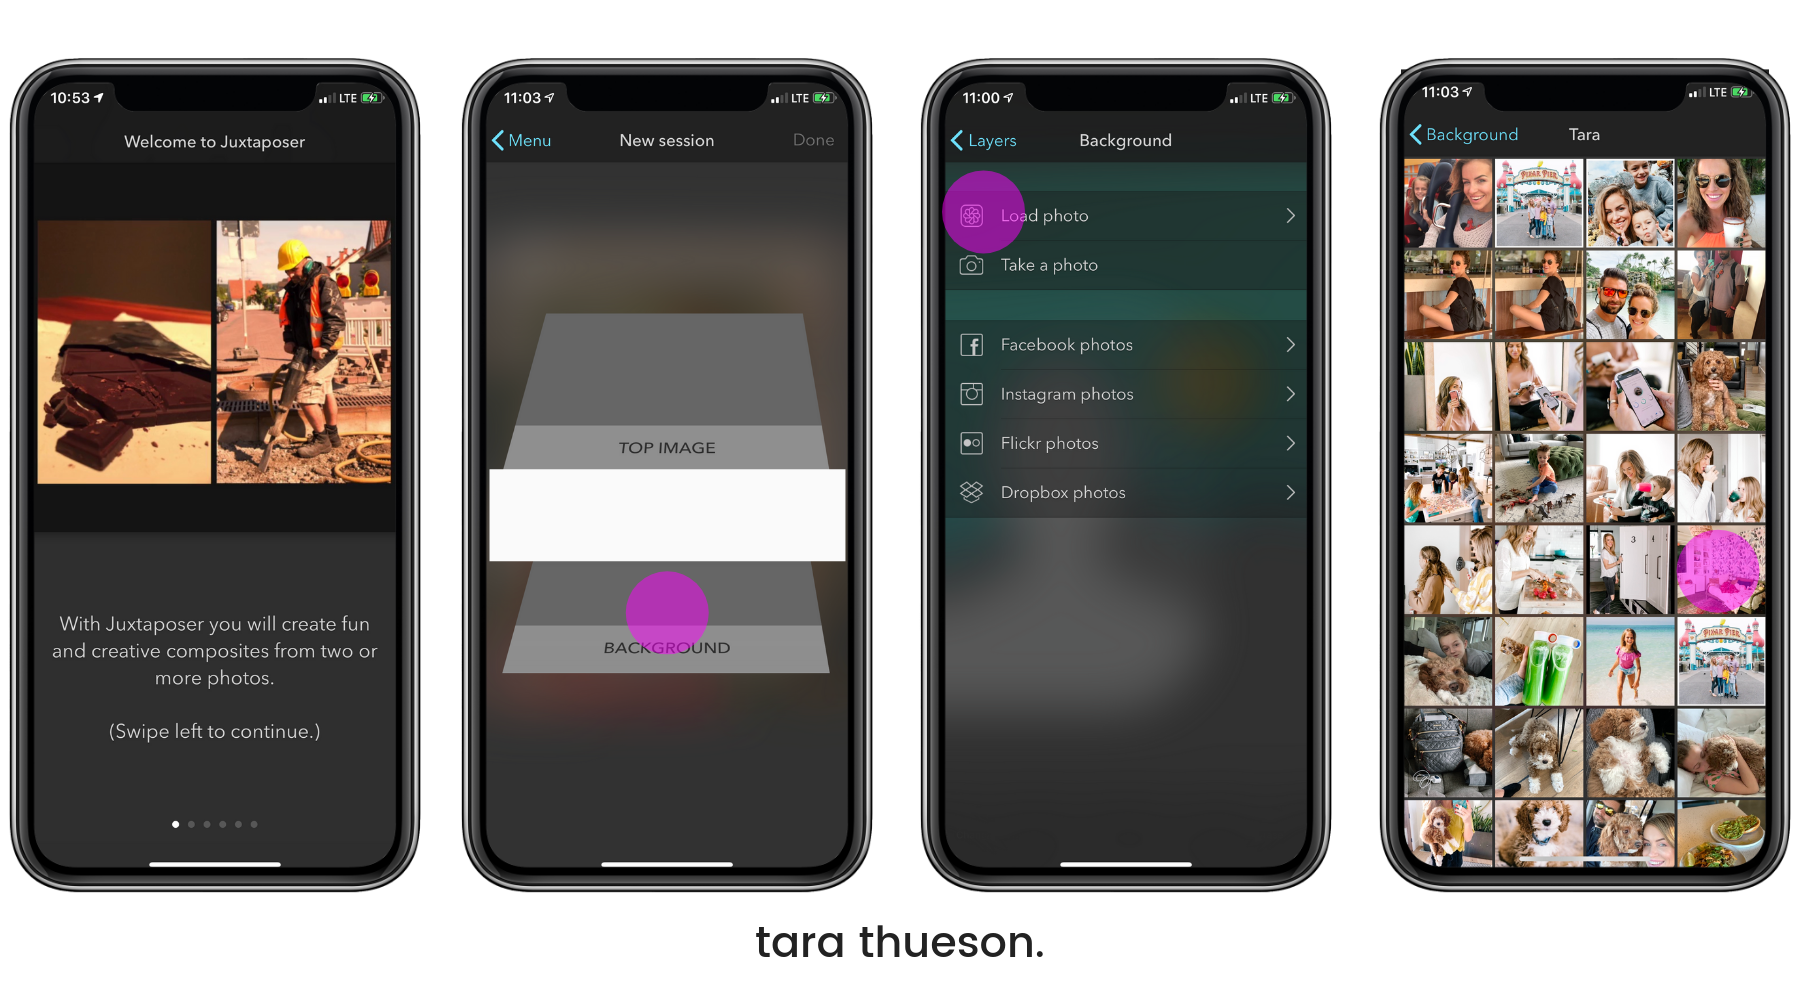
If you’ve used it before, you’ll see that it saved your last sessions. I LOVE this feature. It keeps all my projects in one hub and they’re all available to me to access at a later date.
For this tutorial, I’m going to select the “Start new session” button.
And I am purposefully choosing 2 pictures I would NEVER put together just so you can see how truly great this app is! You’re going to be able to select your ‘background’ image, which is the image that will provide the background and main photo to your finished creation.
You can upload a photo, choose one from your photo album, Facebook, or one of the other 3 options.
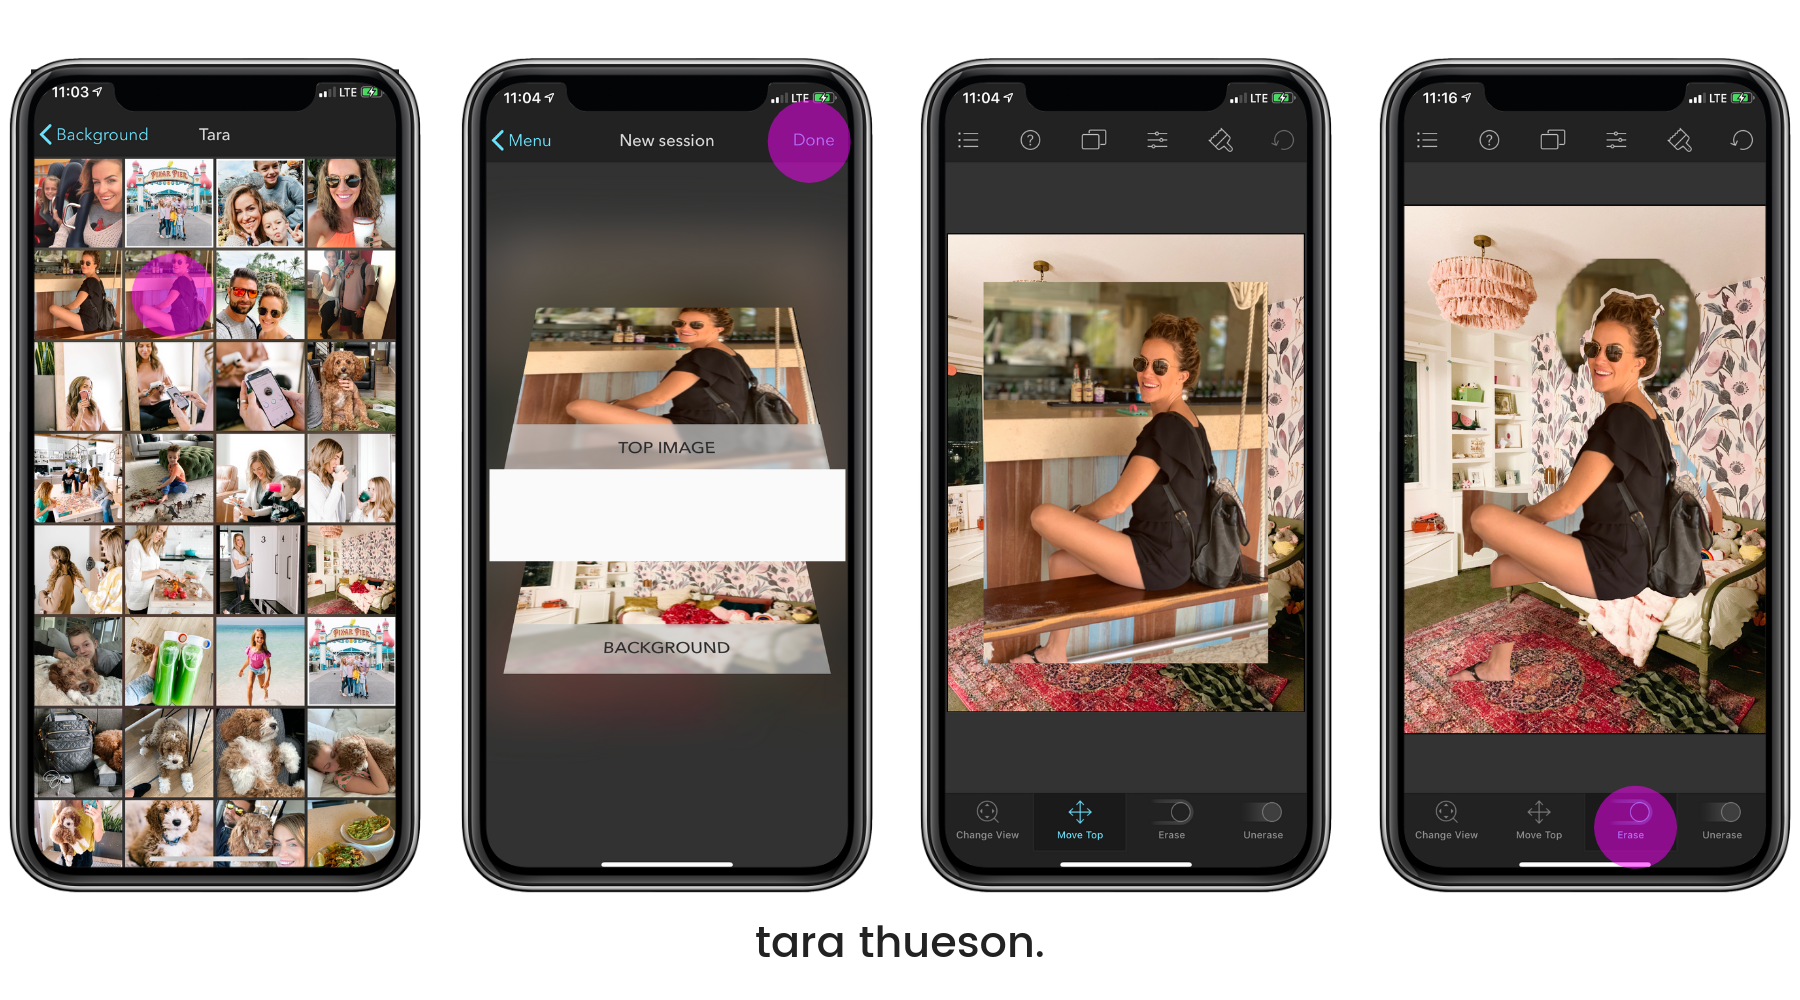
Once you’ve selected your background, now you can select your ‘Top Image’. As you can see above, you’ll be able to see the two images stacked on top of one another once you tap ‘done’.
From here, your options are:
Move Top: To move and resize the top image
Erase: to slide your finger around the screen to eliminate any of the ‘top image’ you don’t want visible.
Unerase: to slide your finger across the parts of the image that you accidentally erased in order to get them to magically reappear!
Simple, right? And nothing is set in stone. Erase an arm? No problem. Just tap ‘unerase’ and swipe it back on.
Getting rid of excess image
Once I’m on the editing screen, I start with ‘Erase’. You want to drag your finger over the image and erase any of the picture that you don’t want to be a part of the final image. I chose a picture of me sitting on a bench at a hut on the beach – so I obviously didn’t want that in my final picture!
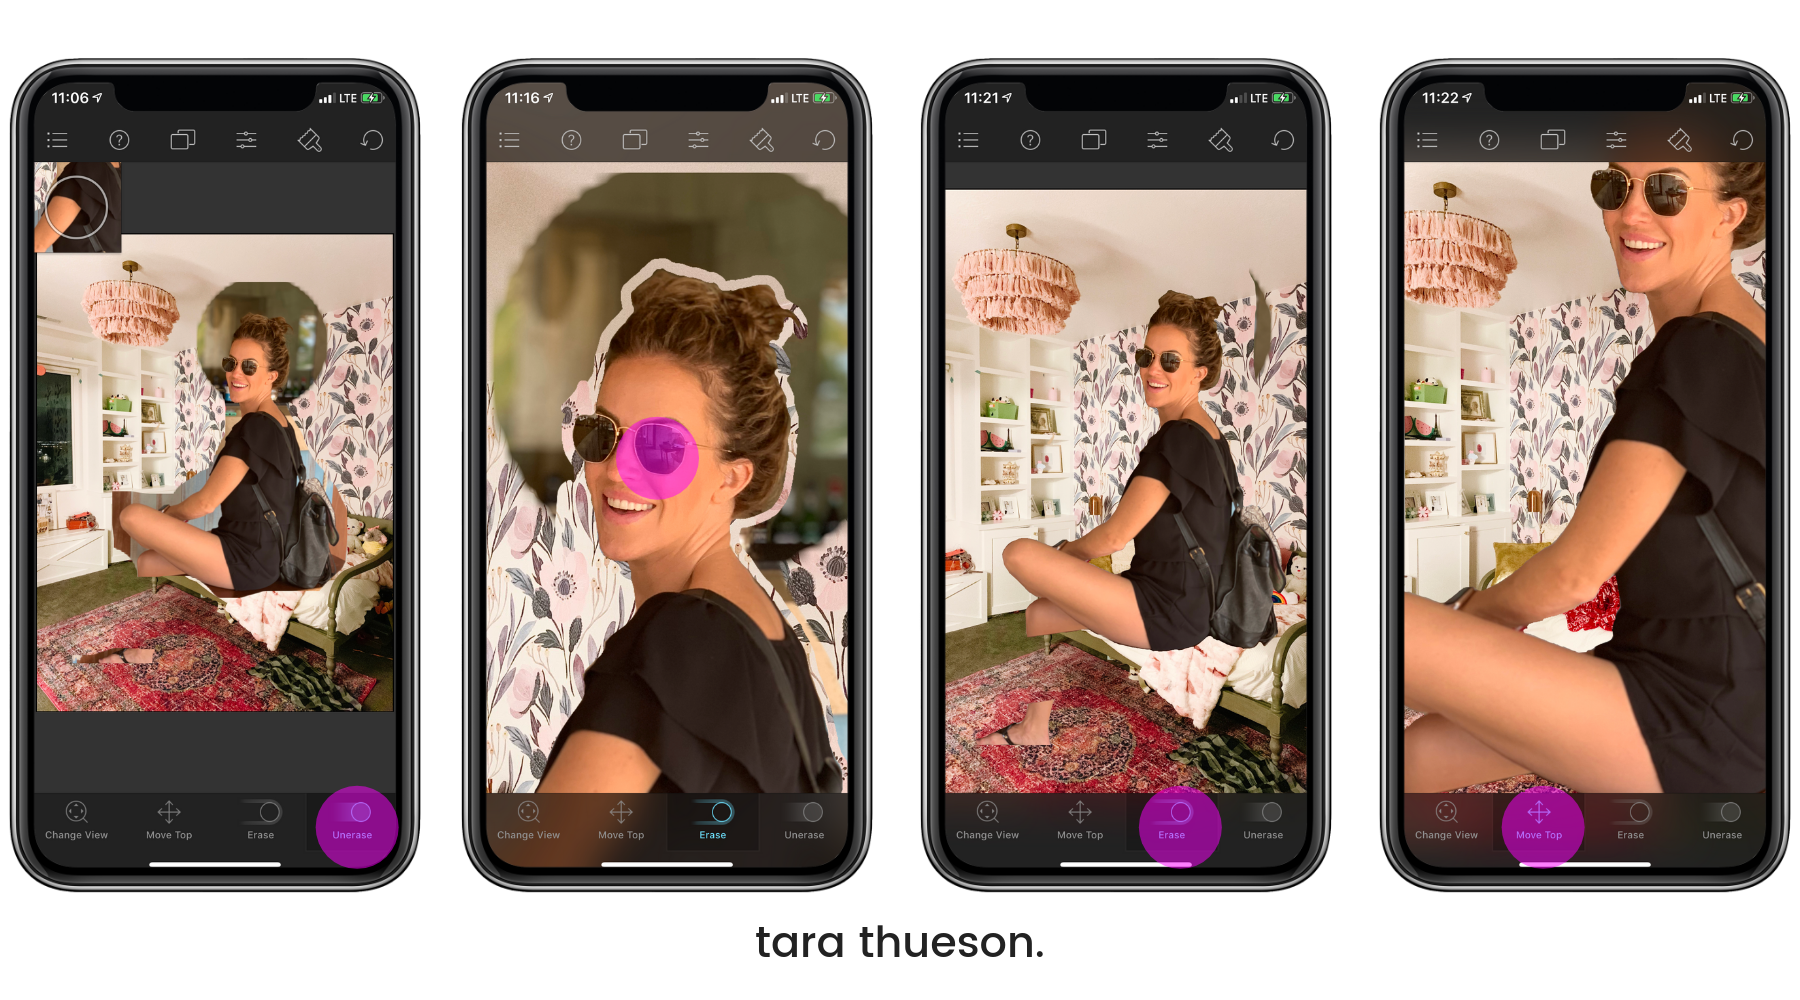
While editing, you can pinch to zoom into the image to get to the nitty-gritty parts of the photo you want to erase. I did this to get in the bending parts of my legs and elbow and in that little tiny spot between my arm and my leg. You can then move the enlarged image around to get a really clean erased outline!
Just drag and move the image around with two fingers!
SHOP MY FAVORITE TECH ACCESSORIES

• • •
 If you want to see what parts you erased, select ‘red mosk’ at the top of your screen to see the erased parts of the top image in red. This is super helpful when you’re working to get a really clean line on the part of the image you’re attempting to isolate and you don’t want to be distracted by the background image!
Use ‘transparent’ to have your photo be slightly see-through for easier placement. And switch to normal mode for 90% of your editing!
You’ll notice here that I erased the lower part of my leg. With the break in the middle where I had erased the bench/swing I am sitting on, there was no way I could put it to make it look normal!
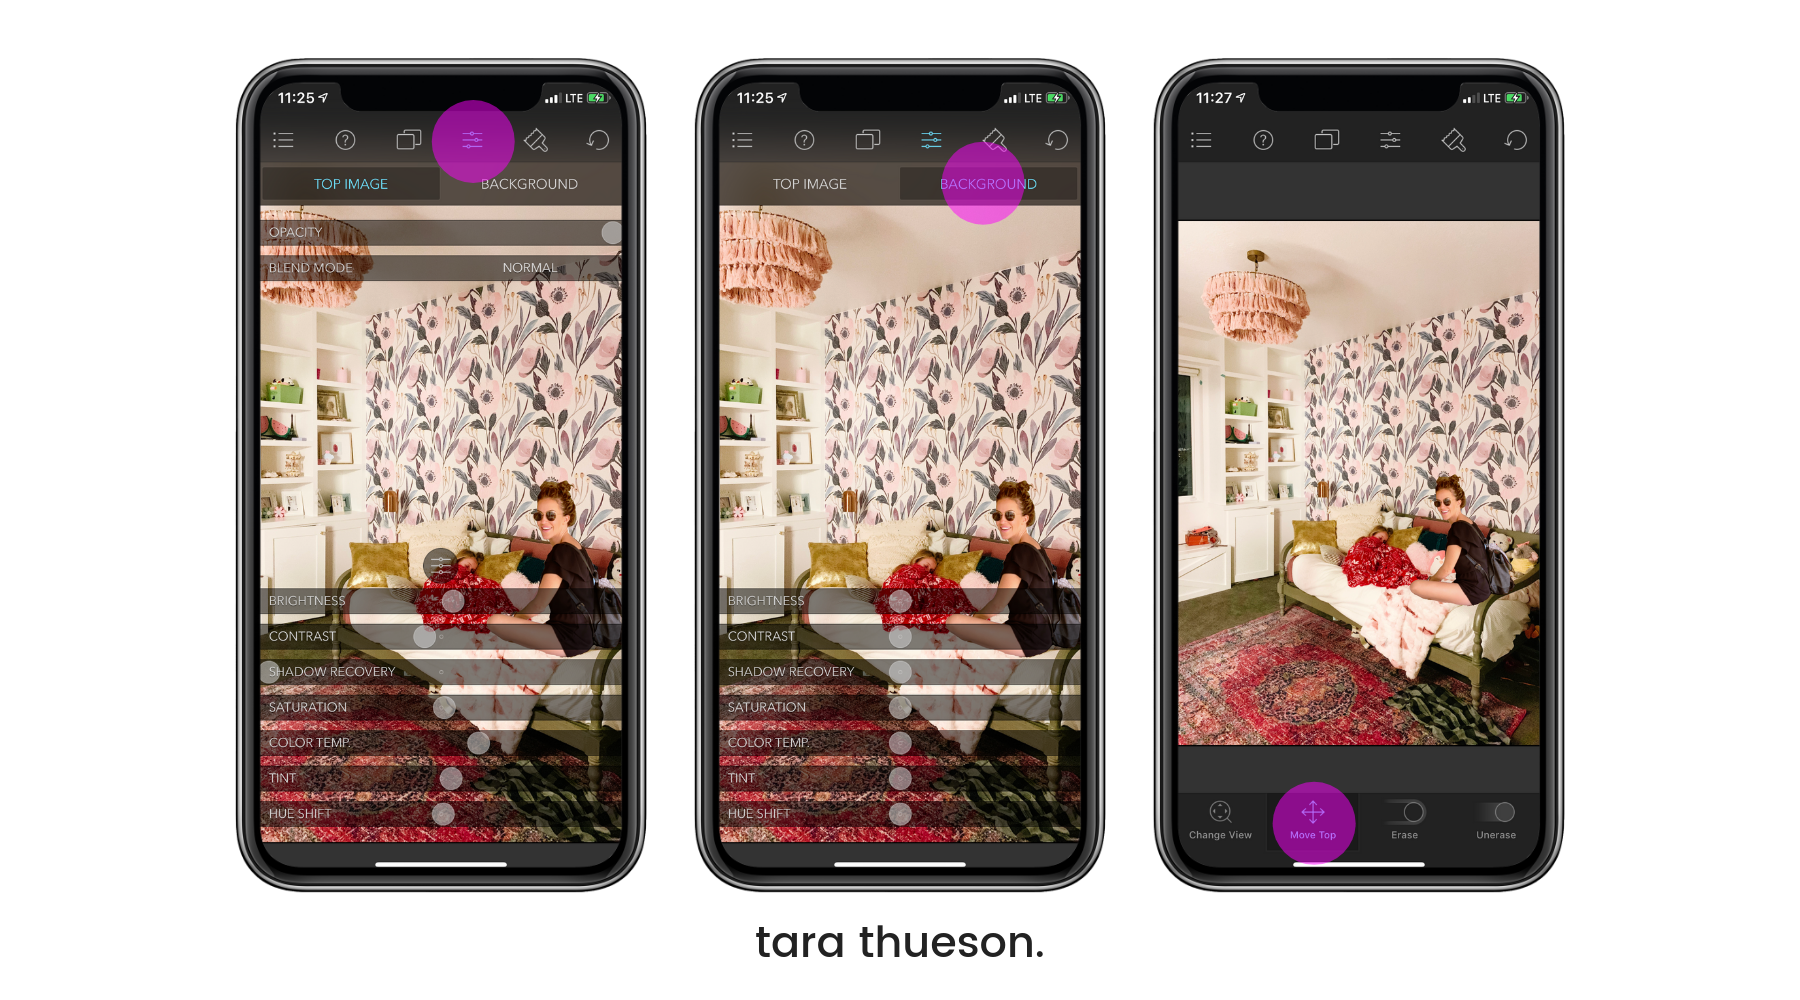
Adding the final camouflage
And you can even make it look like your top image was a part of the bottom image all along by matching the color and lighting of both images by using the image adjustment sliders!
My favorite Features
- Unlimited undo means no mistake or accidental brushstroke is permanent.
- Detailed in-program help page
- Save directly to your photo album.
- Keep multiple sessions and return to them later.
- Save top image cutouts as ‘stamps’ and use them in future projects.
- Share your edited image on Facebook, Flickr and Twitter.
- Use hard or soft brushes to create sharp or blurred edges.
- Create smooth blends between images with transparent brushes.
- Keep adding elements from other pictures to your composite image if you like.
- Red mask mode (second screenshot) lets you accurately isolate part of one image without being distracted by the second image in the background.
- Translucent mode makes it easy to align your images precisely.
- The stamp tool lets you add multiple copies of your cut-out to your composite.
- Work in portrait or landscape orientation; optionally have images auto-rotate.
- Switch to and from full-screen with the tap of a finger.
- Double-tap to quickly switch between erase and un-erase functions.
- Flip the top image.
- Set advanced settings in the Settings application.
Even if you’re not a wizard tech genius, you can master these basic steps! It’s how you combine these two and get this:
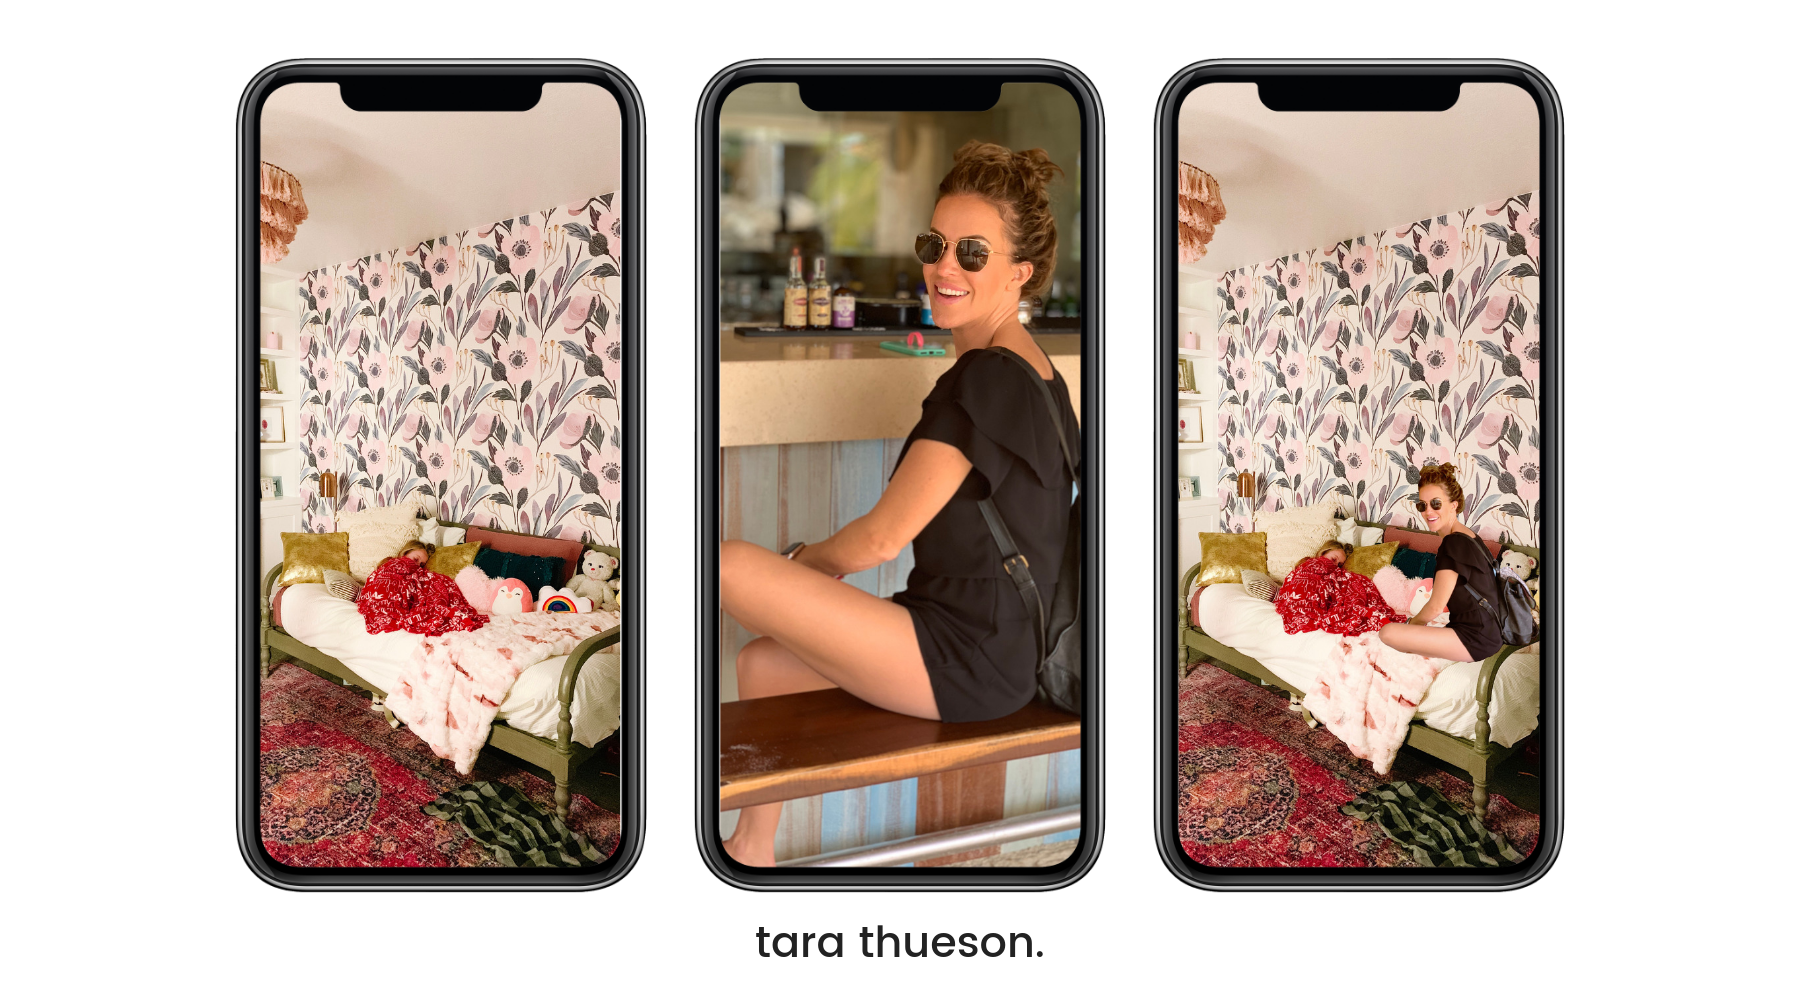
End result: Me being super creepy and sitting on Annie’s bed while she sleeps. But if you aren’t a super sleuth and aren’t looking for my janky photoshopping, you most likely wouldn’t even notice!
It’s an app that is meant for fun, to get you out of a tight spot, and to help you include loved ones that are kind enough to take the picture, to be in it.
So next time your husband volunteers to take the family photo have him take it, and then have him go stand in the exact spot you were and take it again! And then throw those 2 pictures into Juxtaposer! Now when you show family photos you’ll have proof that EVERYONE was on the same vacation!
Xx Tara