On those days where I need to decompress and take a moment for myself, there are few things I consider “relaxing.” But coloring is one of them. Yes, I am an adult colorer. Coloring has come a long way since the coloring books and crayons we used as children. Yes, those are still a tried and true standby, but I prefer to do my coloring digitally. I never run out of designs, I can erase with the tap of two fingers, and there are so many great apps to choose from.
But the app I feel surpasses all other is the Procreate app. The Apple store even gives free lessons on using it! I’m going to show you screenshots from my iPad and my iPhone because both versions of the app operate very similarly! If you’re looking to download this for your phone, you want to download Procreate Pocket.
Not only can it be used for digital coloring, but it can also be used for hand lettering, photo editing, and digital graphics. I’m really not even scratching the surface of its capabilities.
I love digital coloring for everything I mentioned above, but I also want to add that with Procreate, I have the option of different brushes, textures, opacities, colors, patterns, and so much more. I won’t be going every capability of the app itself but I do want to walk you through I use the app for coloring and how you can, too!
Step #1:
Open the Procreate App and tap on the ‘Photo’ button on the top-right of the screen to access your Camera Roll to select the image you would like to import into Procreate. If the image is saved on your iCloud, Dropbox or Google drive, or another location, you can tap the ‘Import’ button to select it from there. The file you want to work on or color must be a PNG. If it is a PDF, it will not work. You can take a screenshot of your PDF or convert it to a PNG through an online program.

SHOP MY FAVORITE TECH ACCESSORIES

Step #2:
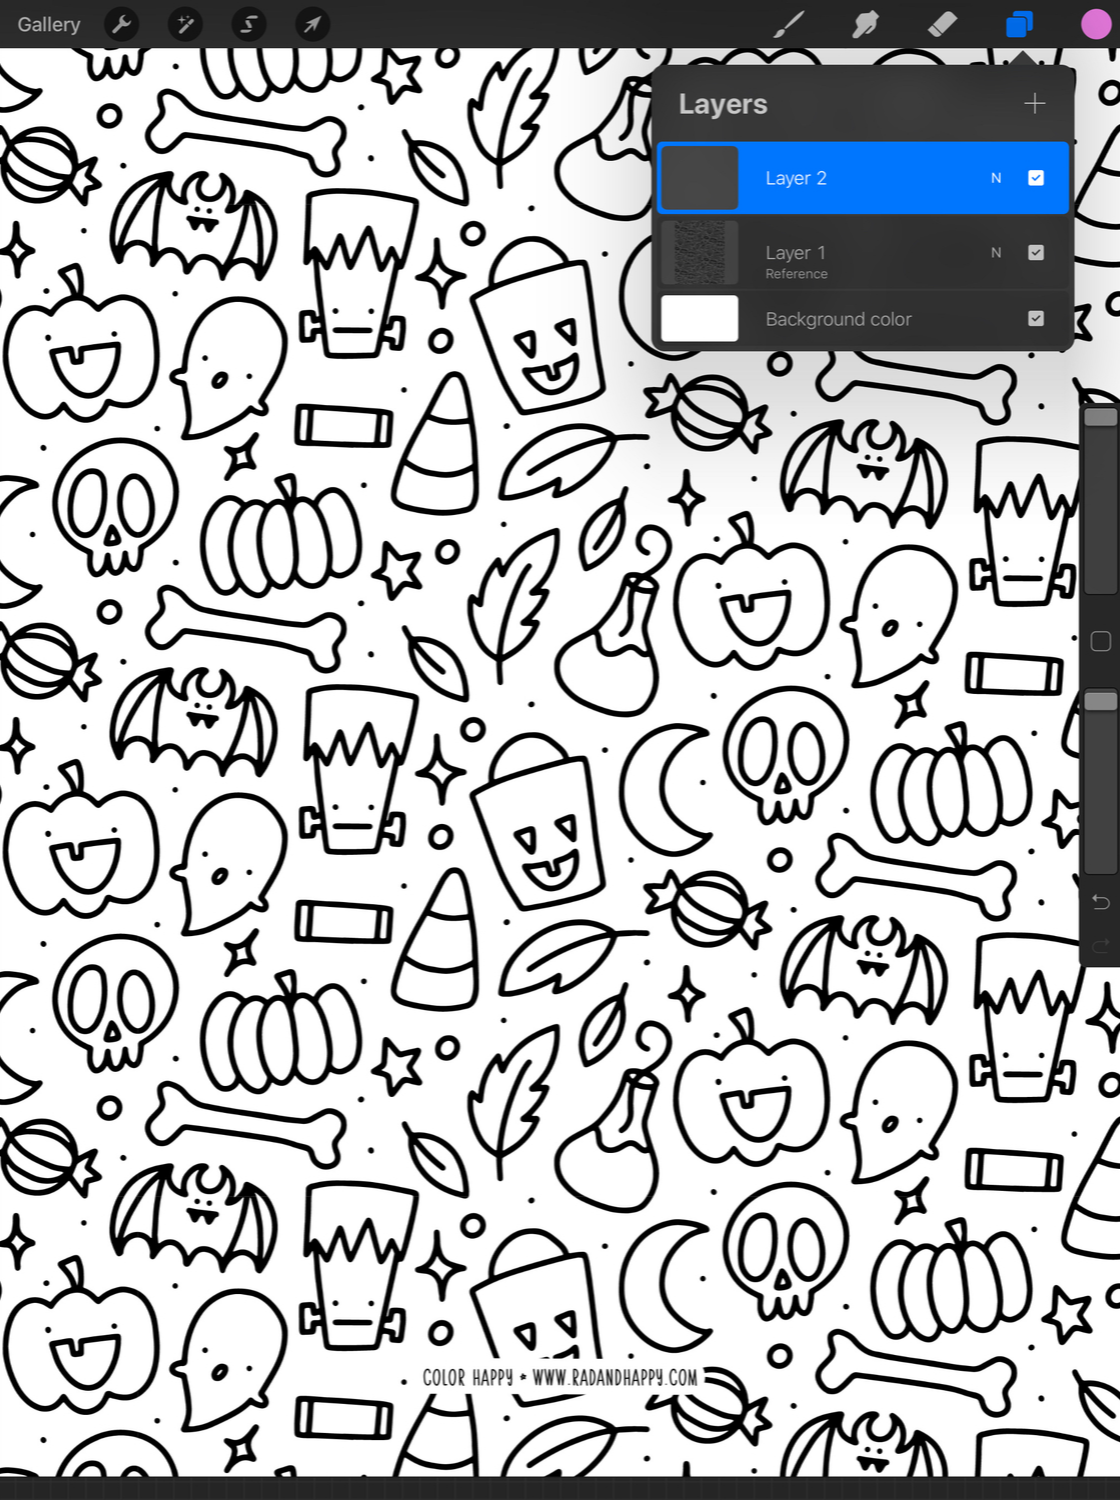
Tap on the ‘Layer’ icon (picture of two boxes on the top right of the screen) and you will see two layers – One being the blank background and ‘Layer 1’, which is your image. You’ll want to make this your ‘Reference Layer’, which you can do by tapping on ‘Layer 1’ and then the ‘Reference’ button. I likc to swipe left and lock this layer so no changes can be made to it.
[flex_row]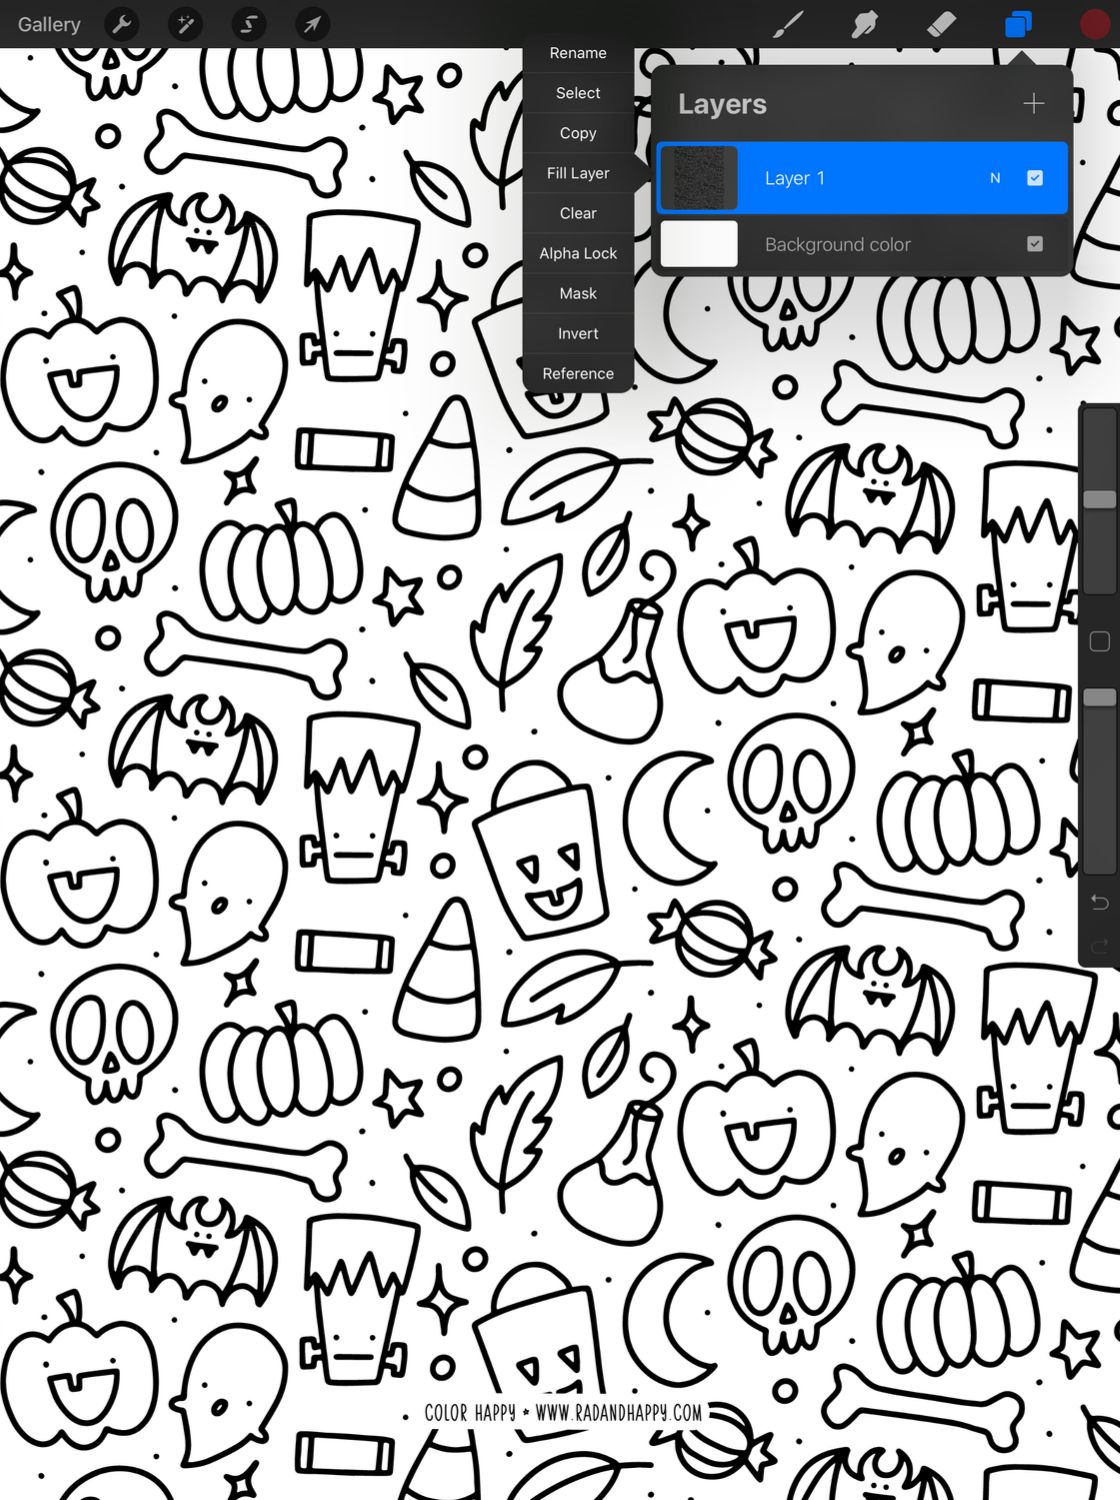
 [/flex_row]
Next, you’ll need to tap the ‘+’ button (located next to the word ‘Layers’) to create a new layer. This is the layer you’re going to color. You need to make sure that you select the correct layer when you color. Locking your reference layer will prevent you from coloring on it.
Pro Tip: If you want to make it so you can’t color outside the lines, create an additional layer. Click the color patch in the top right-hand corner. Select the color white. Tap and drag the color to the background of your picture. Now that this layer has a background color, lock it. Click on the layer tab up on the top right again and select the middle layer – the layer that you’re coloring. This layer will always be your coloring layer.
SHOP MY APPLE PRODUCTS
• • •
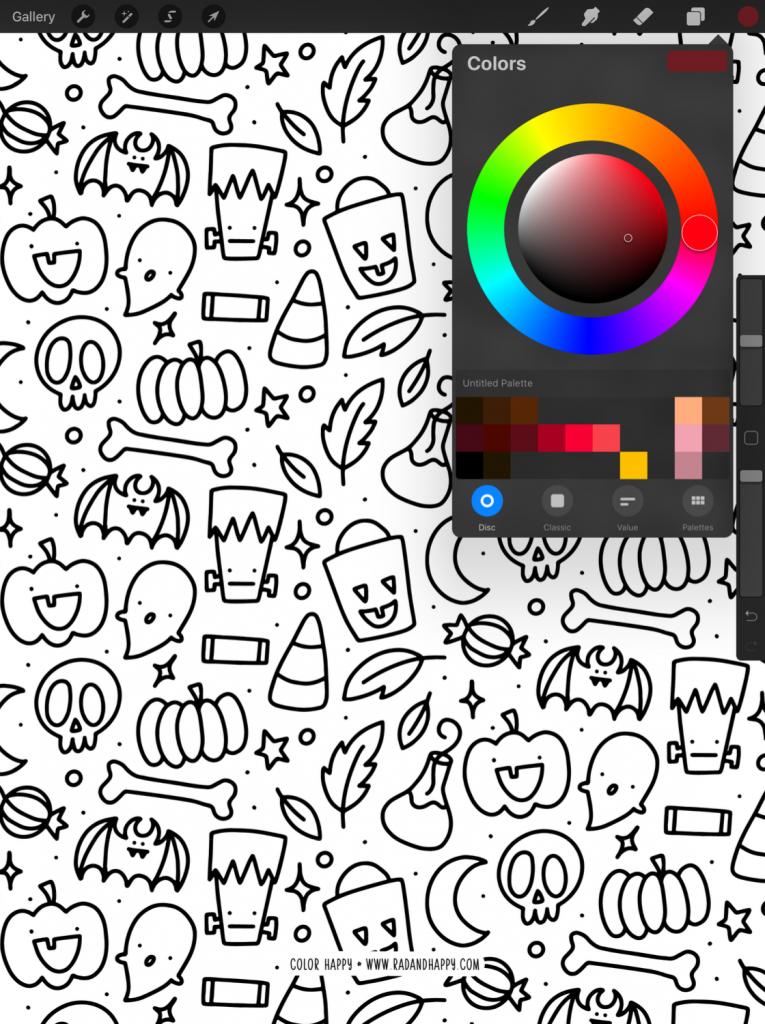
Step #3:
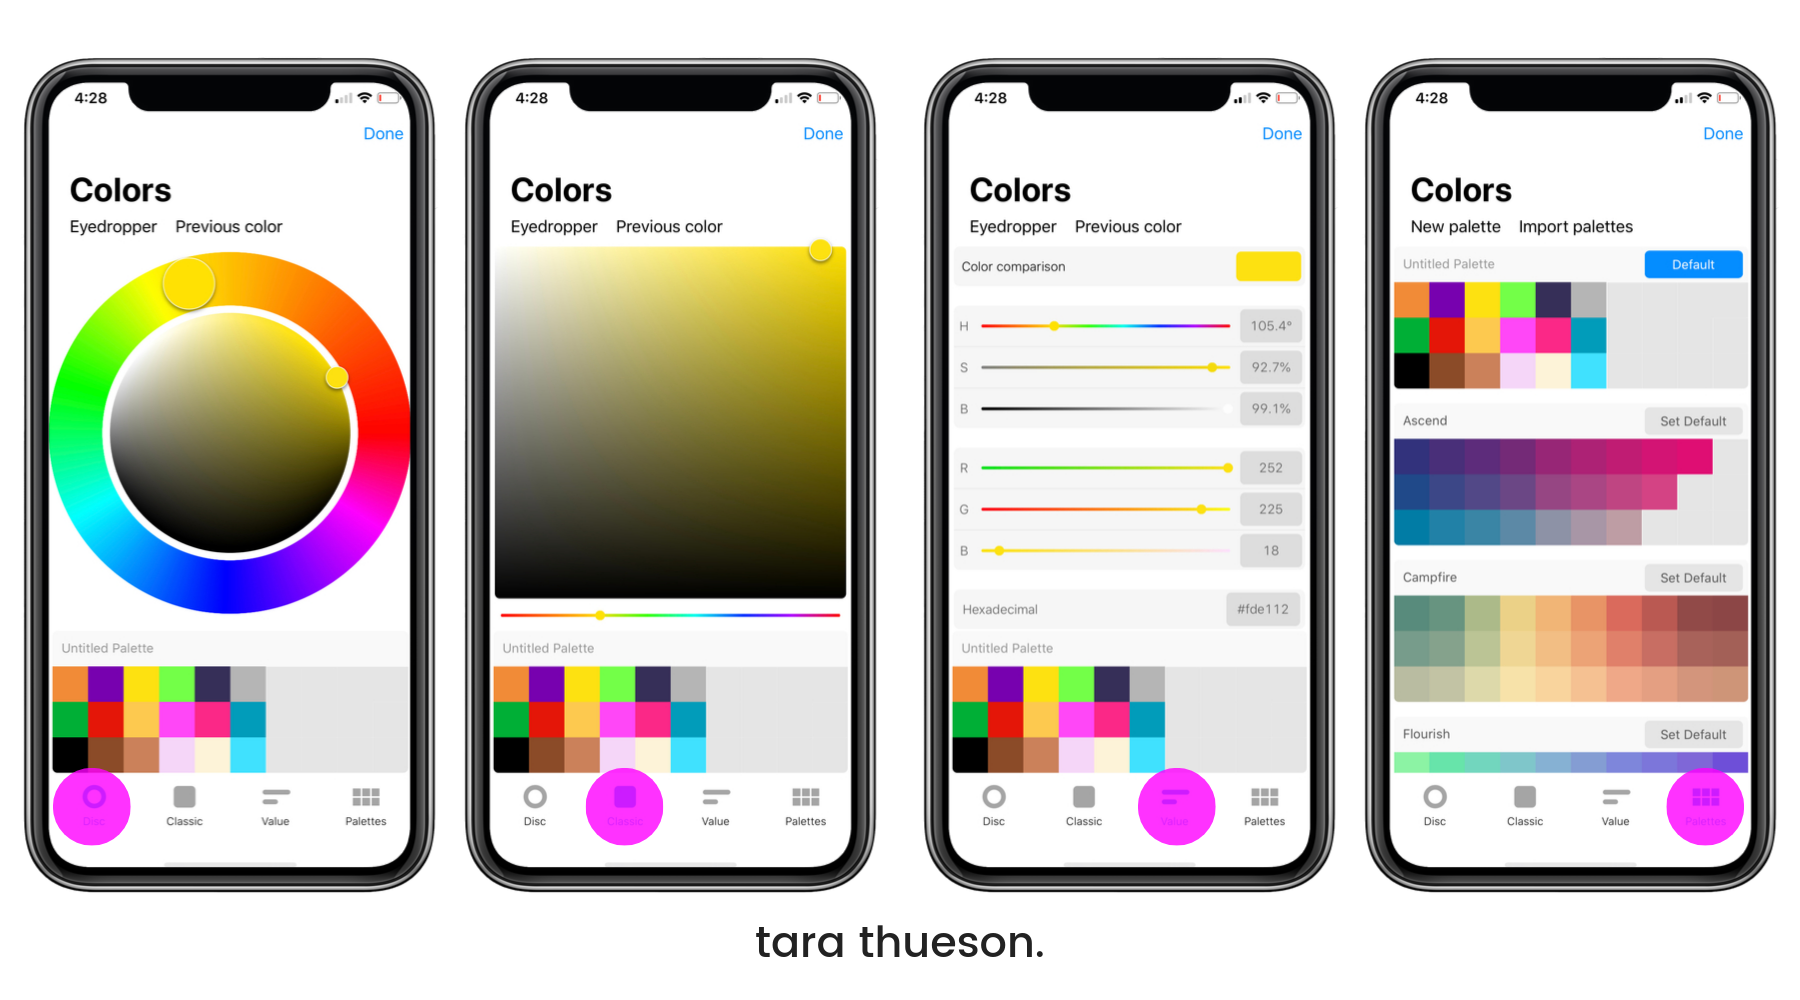
The next step is to choose your colors! Click on the circle icon in the far right to open up the color selection tab. At the bottom of the tab, you will see options including:
- Disc: a round wheel where the outside cirle selects your color and the inside circle changes the intensity and saturation. If you’d like to add the colors you select to the palette below the wheel that you can use over and over, simply set your color and then tap an empty square in the palette below.
- Classic: This is a typical slider you will see in most art programs
- Slide: This allows you to set your values for RGB and Hex codes
- Palette: This has pre-set palettes and allows you to build your own. Select the palette you want to use and it will appear as the palette below the disc on the first tab.
Here how it appears in Procreate Pocket (the version of the app for your iPhone)
Step #4:
Once you’ve selected your color and want to start coloring, you can do it one of three ways. The first option is to fill in any given shape with the color of your choice. Simply select a color and then tap and drag that color from the top right corner into a space/shape you want to fill.
Step #5:
If you have multiple areas that are all going to be the same color, you can use the selection tool to select multiple areas to color at the same time. Tap the ‘Selection Tool’ button (located on the top left of the screen – it looks like an S) and ensure that the ‘Automatic’ button at the bottom of the screen is blue.
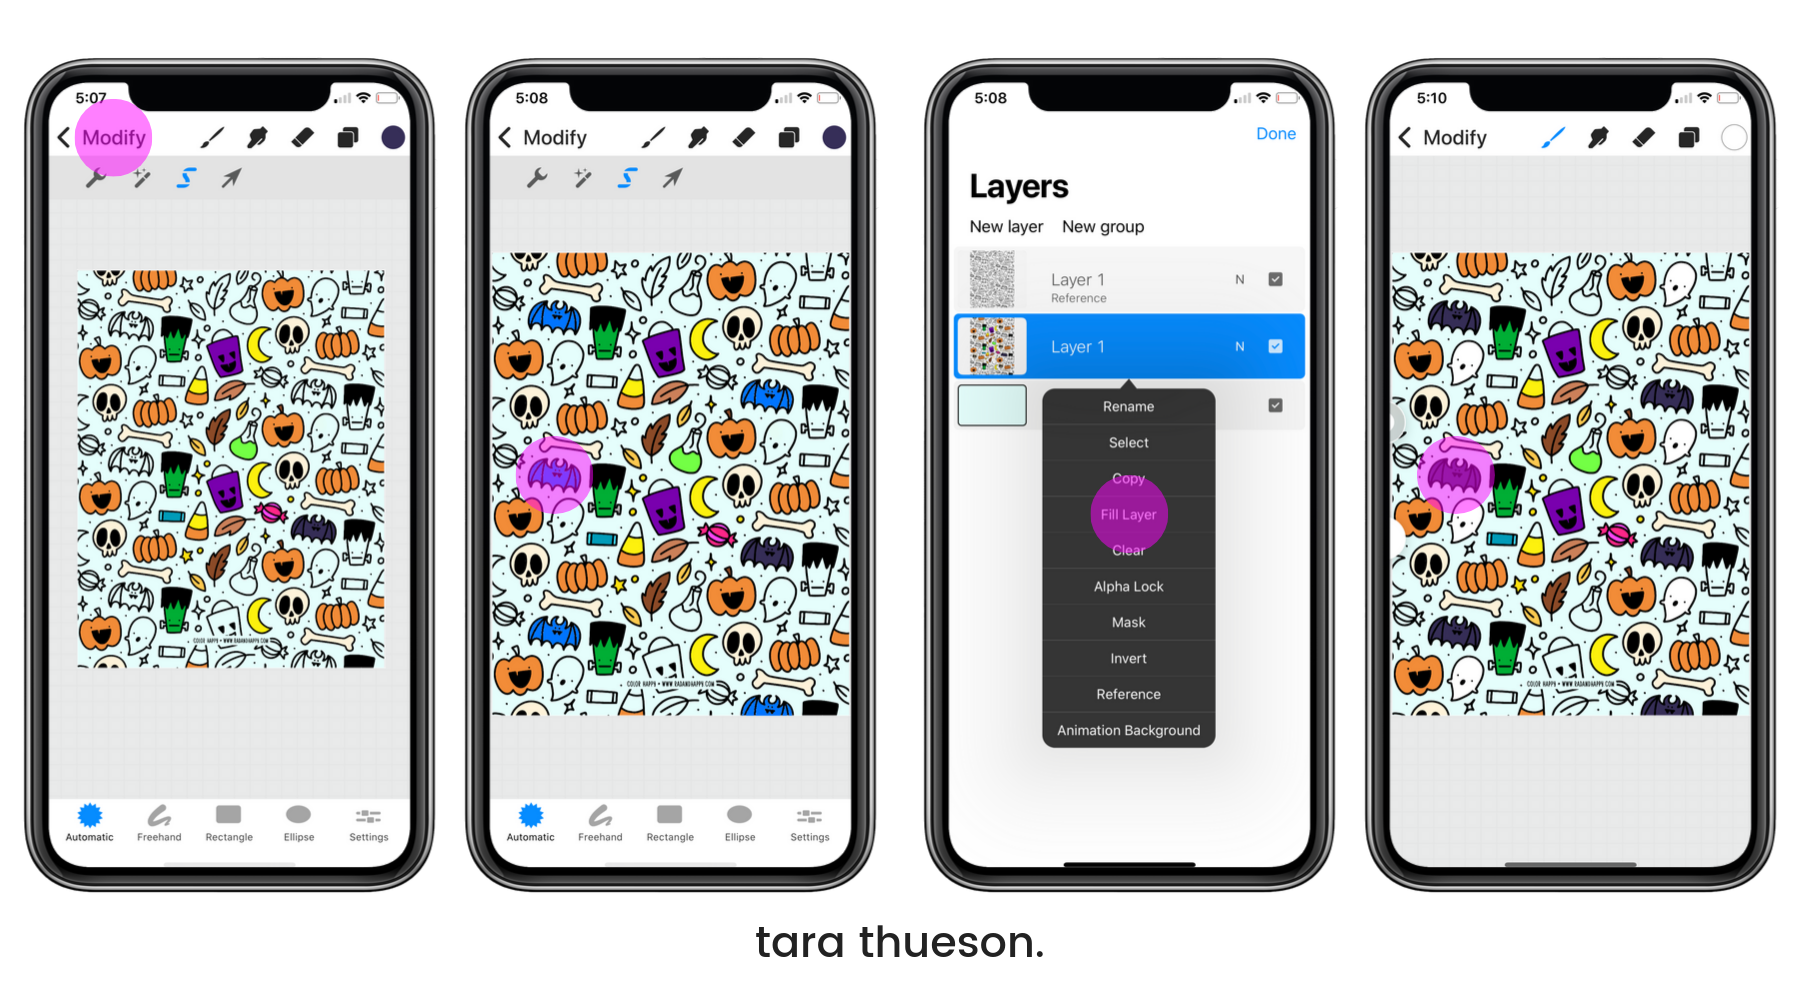
You’ll see that I selected the bats to all be turned a navy blue color. Make sure you select the color you want all of the objects to be before you select the tool. All of the items you select will then turn blue. Once you are finished with your selection, simply select the layer tab again and select the layer you’re working on. Then select the ‘fill layer’ option. This will color all of the selected items the same color.
Step #6:
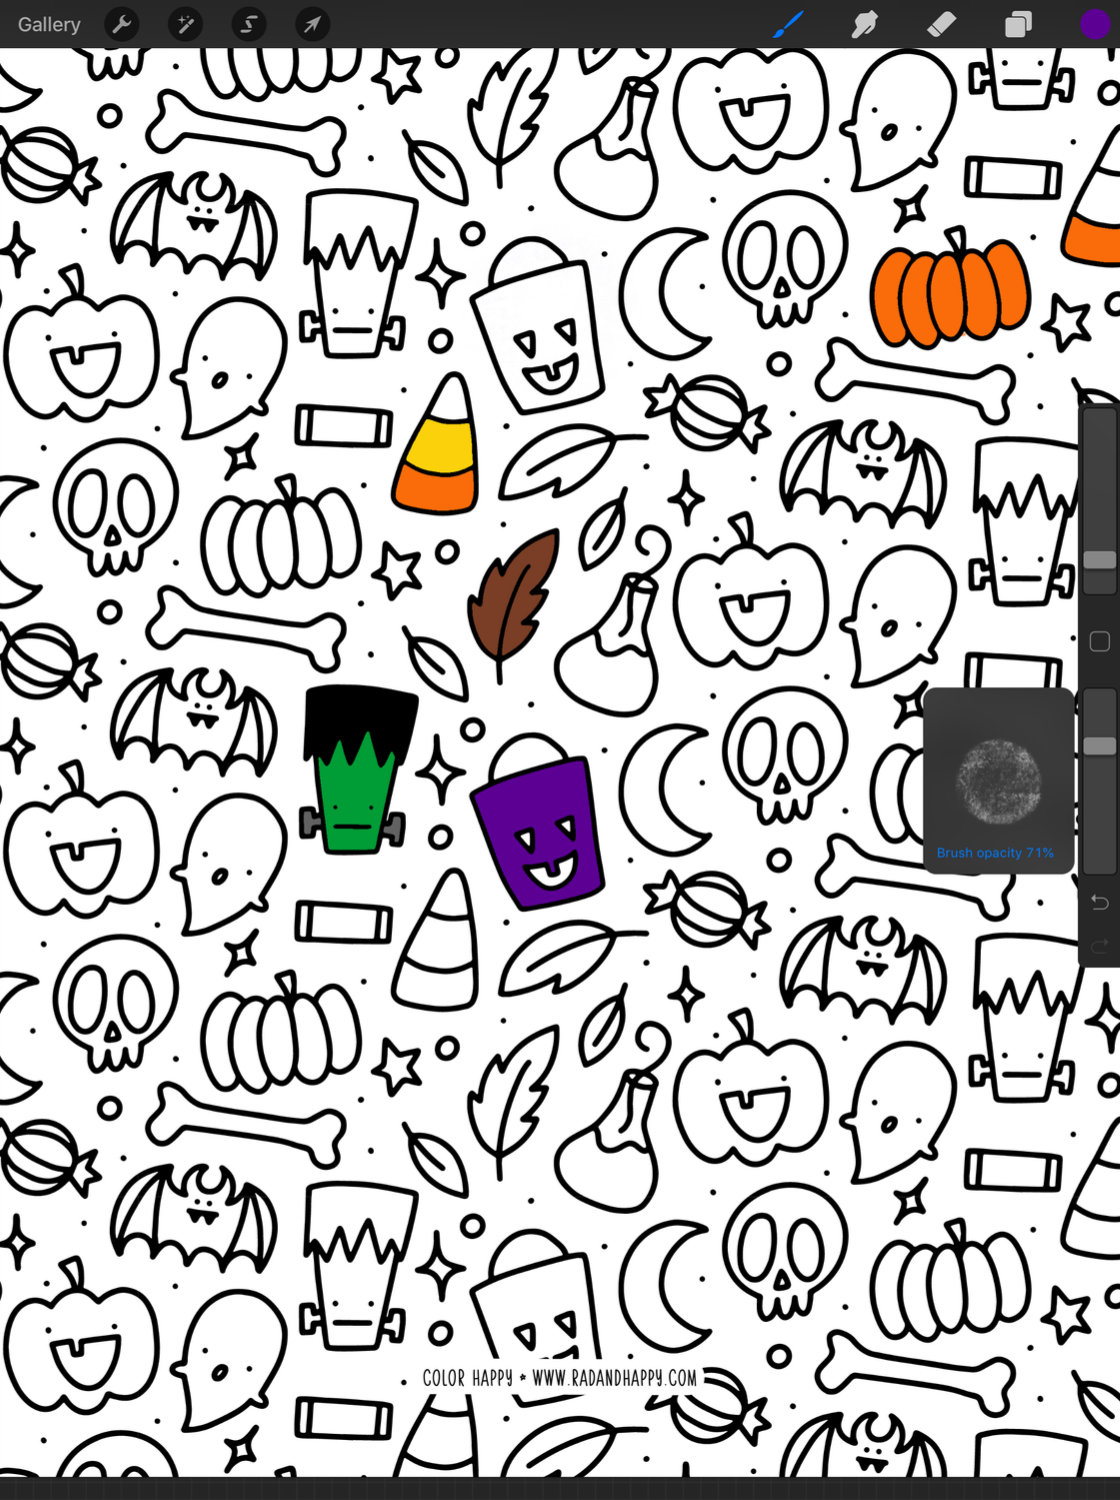
If you want to color by hand, simply select the brush tool in the upper menu bar and select the style and brush you’d like to use.
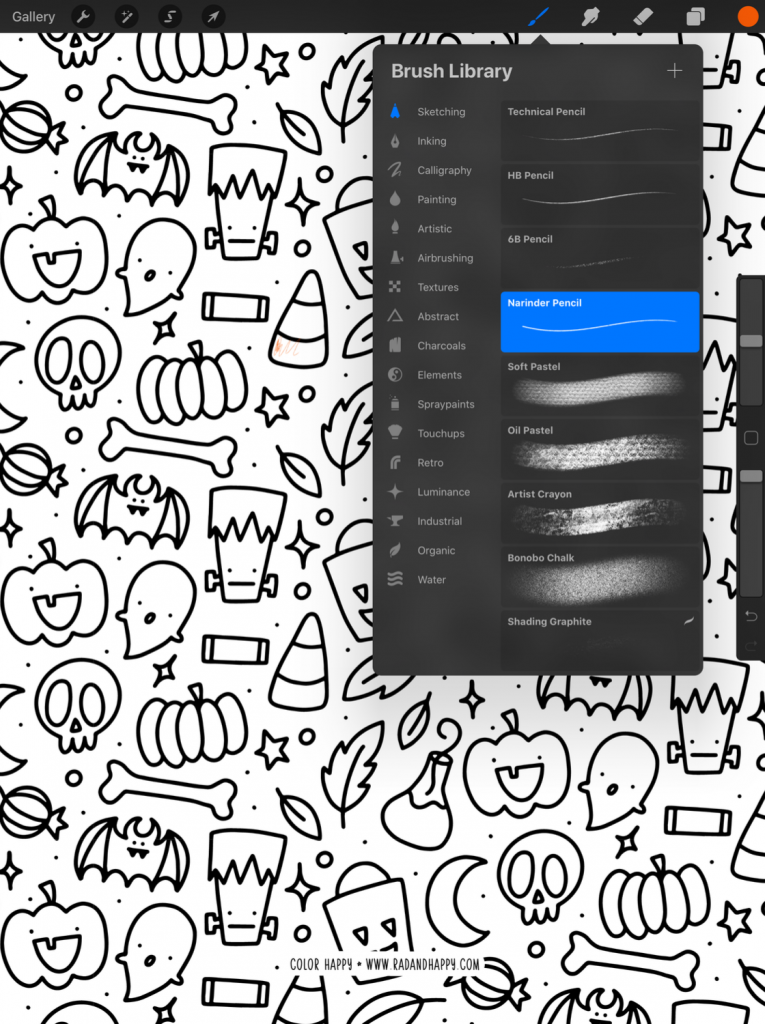
You can use the tool bar on the side (right if you’re on your phone, left if you’re on your iPad) to select how large of a brush you use and the opacity of your application.
[flex_row]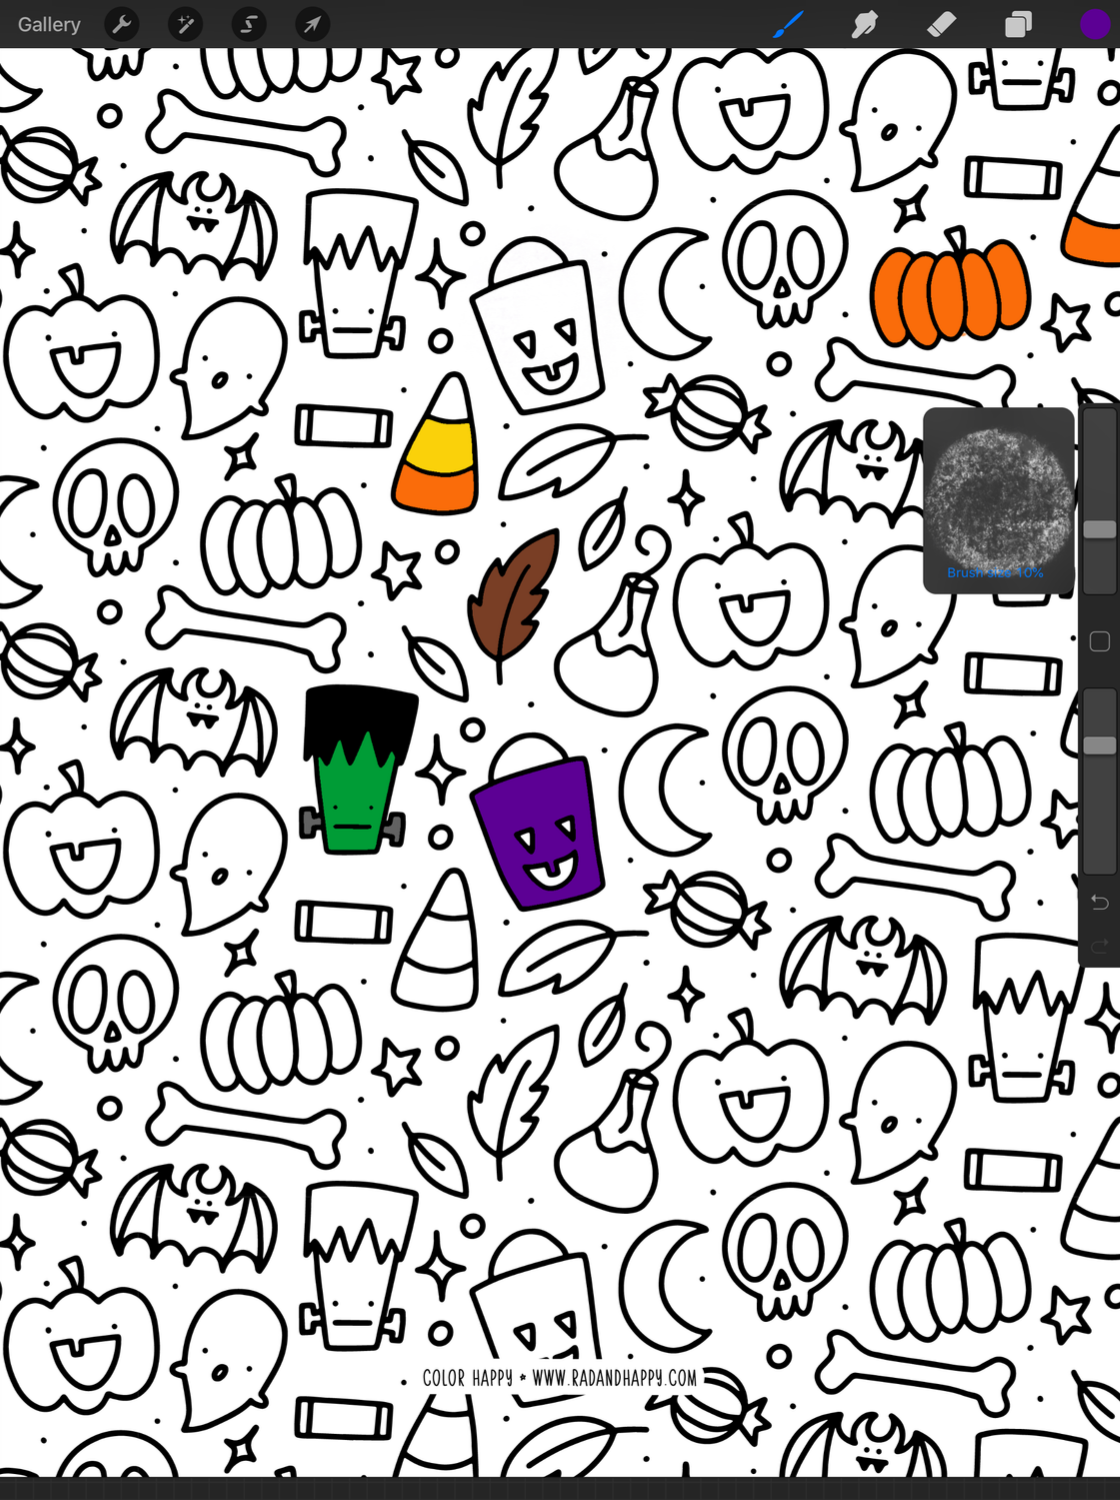
 [/flex_row]
And they’re quick actions you can take to simplify steps:
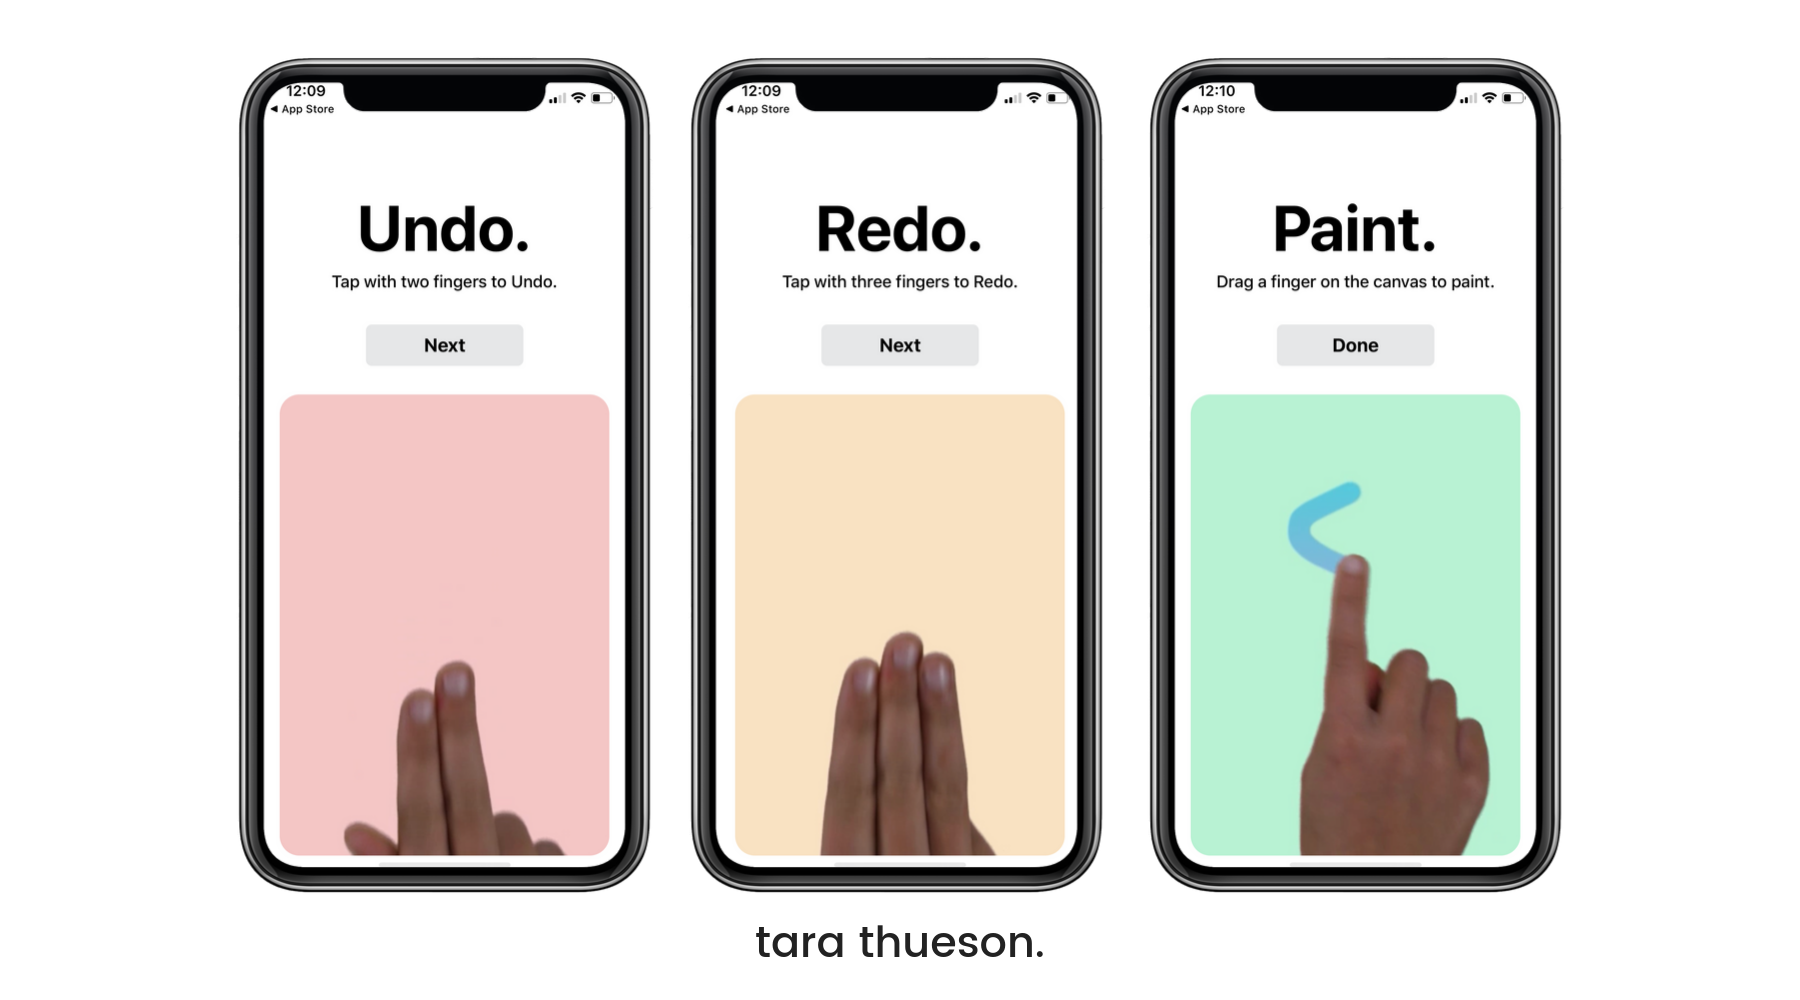
- Tap 2 fingers to undo your last action. Tap 3 times and undo your last 3 actions…get it?
- Tap 3 fingers and redo what you’ve just undone.
- Drag your finger across the canvas to paint.
See? Simple. And anytime you want to get into a tiny space, simply push 2 fingers apart on the screen to zoom in…
[flex_row]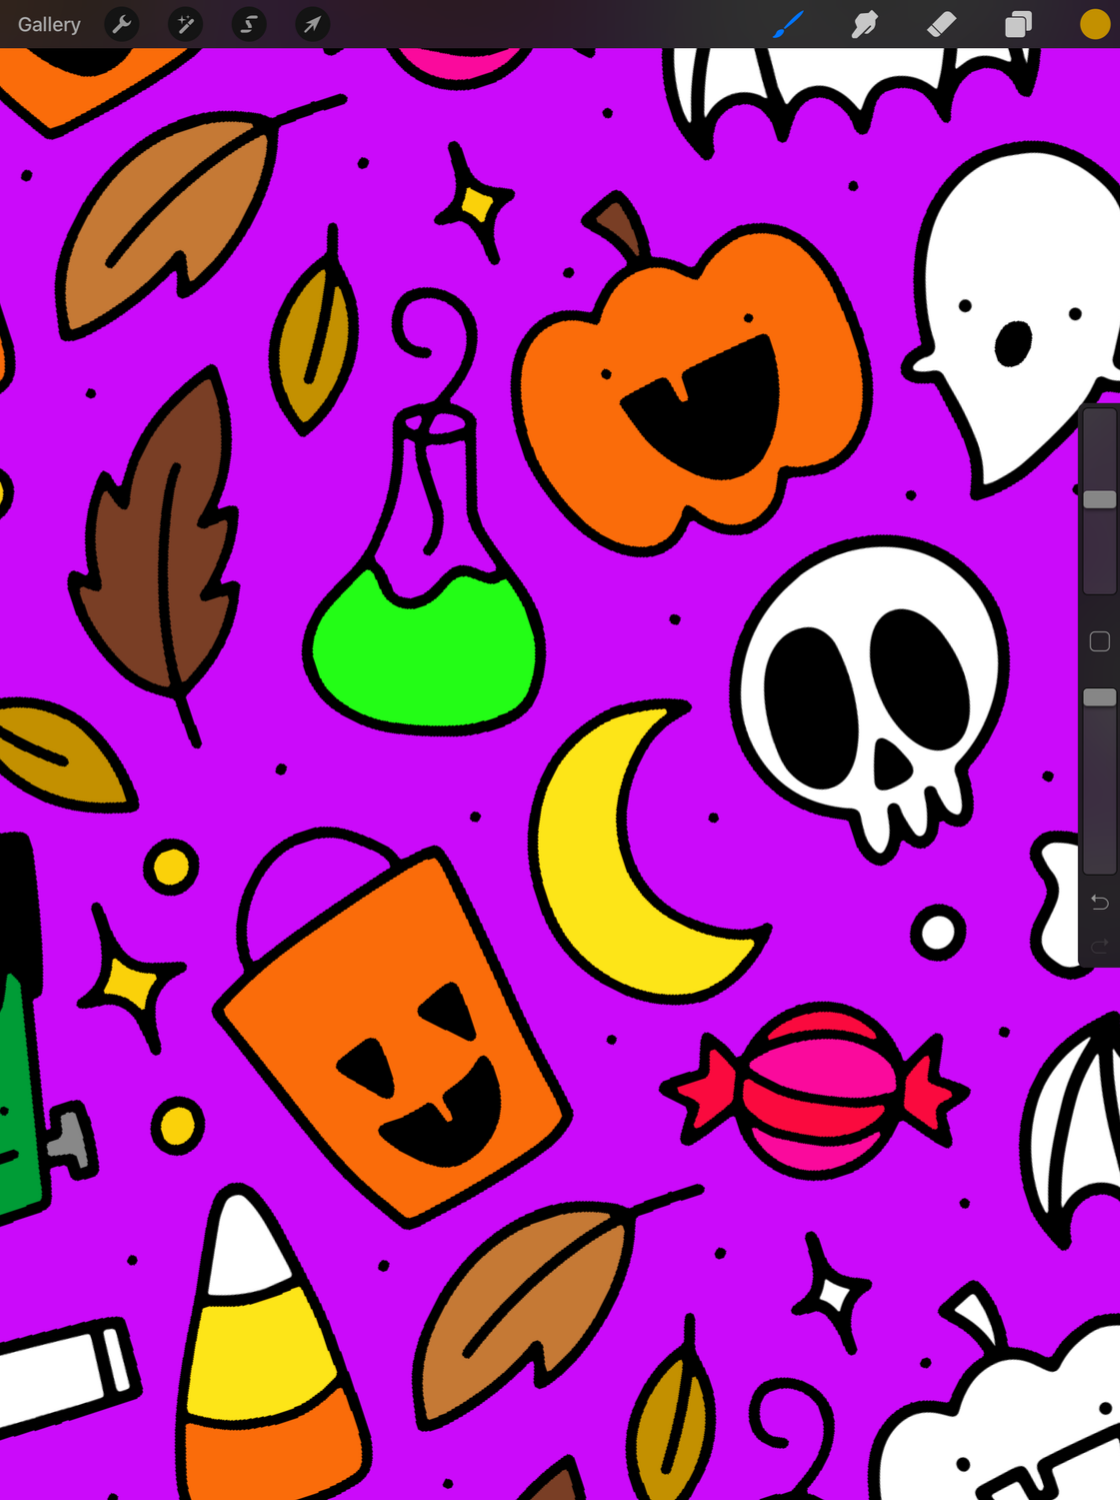
 [/flex_row]
…and pinch 2 fingers on the screen to zoom out.
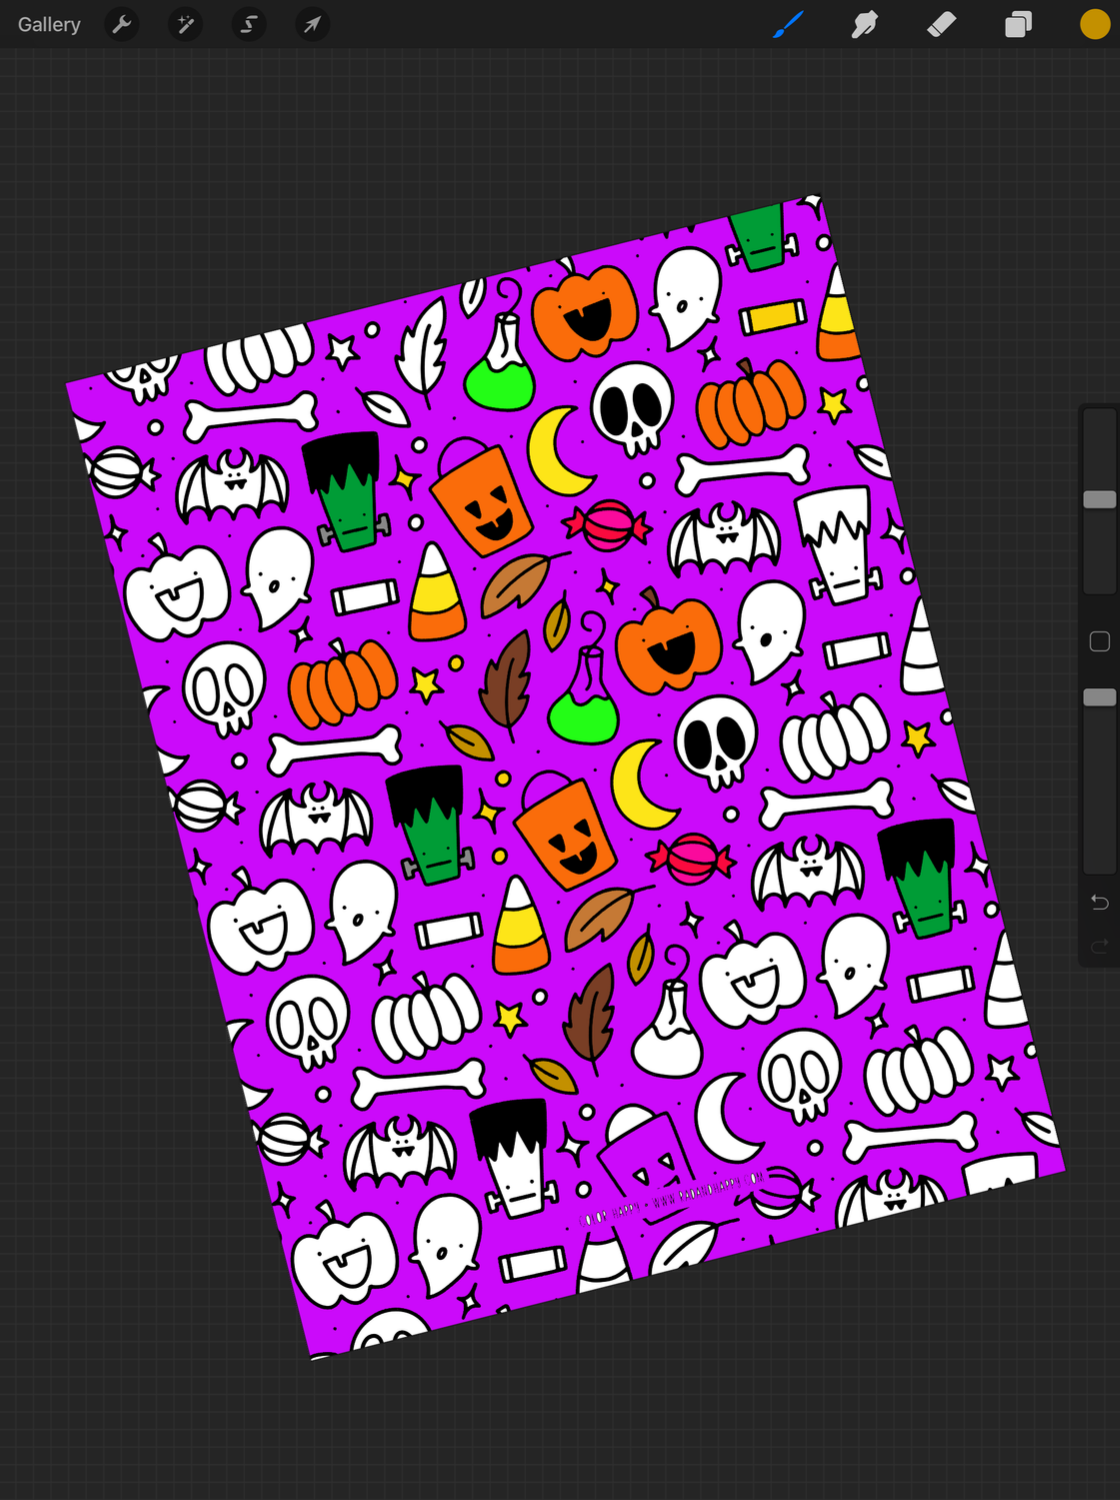
And that’s it! These coloring pages are from my monthly subscription from Rad & Happy’s Color Happy monthly subscription. Each month you get a file of custom art you can color in! But you can also upload any black and white coloring page picture!
Xx Tara
P.S. I want to see what you color! Tag me in your posts!