Once upon a time, your girl here went to beauty school. And I’m proud to say that yes, I did graduate.
But while it isn’t my full-time profession, I do keep my skills fresh by doing hail-mary root touchups (remind me to keep my normal hair appointments), cutting my family’s hair, and by doing my girl’s (and sometimes my own) nails!
There was a period of a few years when I didn’t have the time to find someone I really loved to do my nails. But I was going to work, attending meetings, meeting with vendors, and having manicured fingers is just a must. The last thing I want to do is reach out my hand and scratch someone with a hangnail!
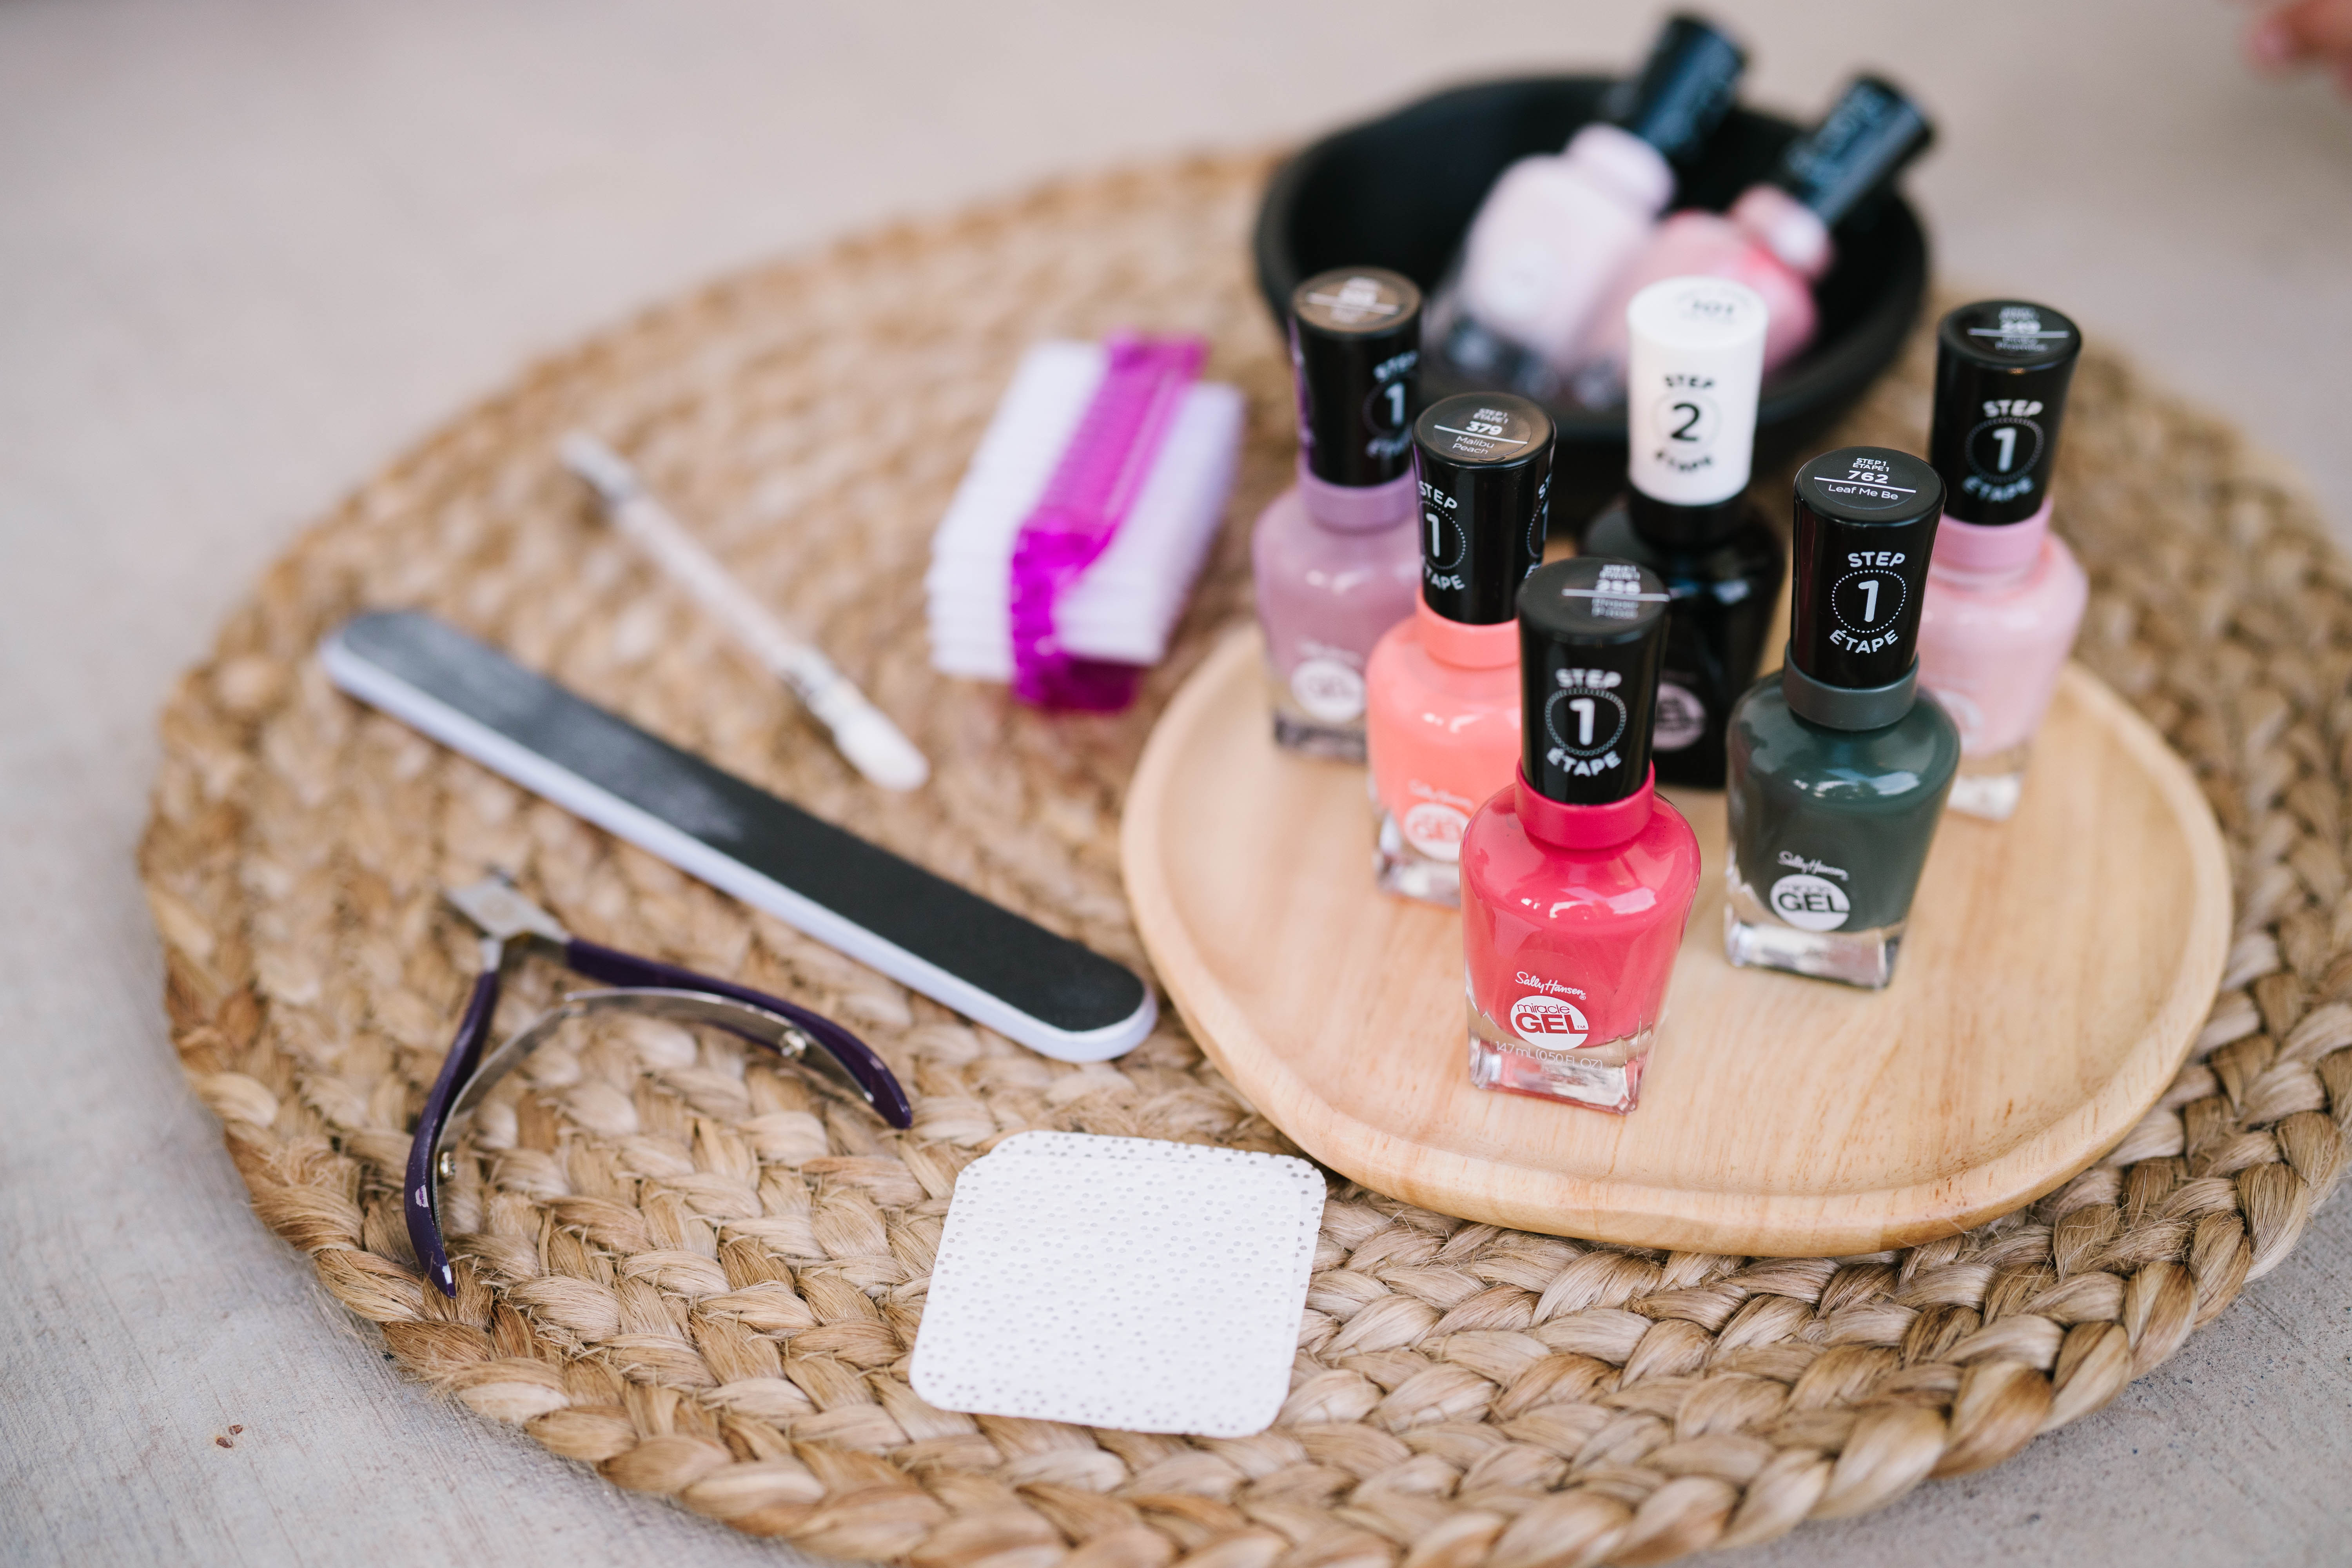
FILES | CUTICLE NIPPERS | NAIL BRUSH | LINT-FREE WIPES | NAIL POLISH
In addition to keeping hangnails under control, there are a few more tips and tricks I’ve learned over the years that make at-home manicures a dream! So here they are, my top 5 tips for giving a salon-quality manicure from your kitchen table:
1) Do Your Cuticle Prep In The Shower
Don’t trim your cuticles; push them. If you have excess cuticle skin, one thing to do is to push them back every day in the shower. Your skin is already softened in the shower, so you can take your washcloth and just push your cuticles back. Or use a wooden or rubber pusher right out of the shower.
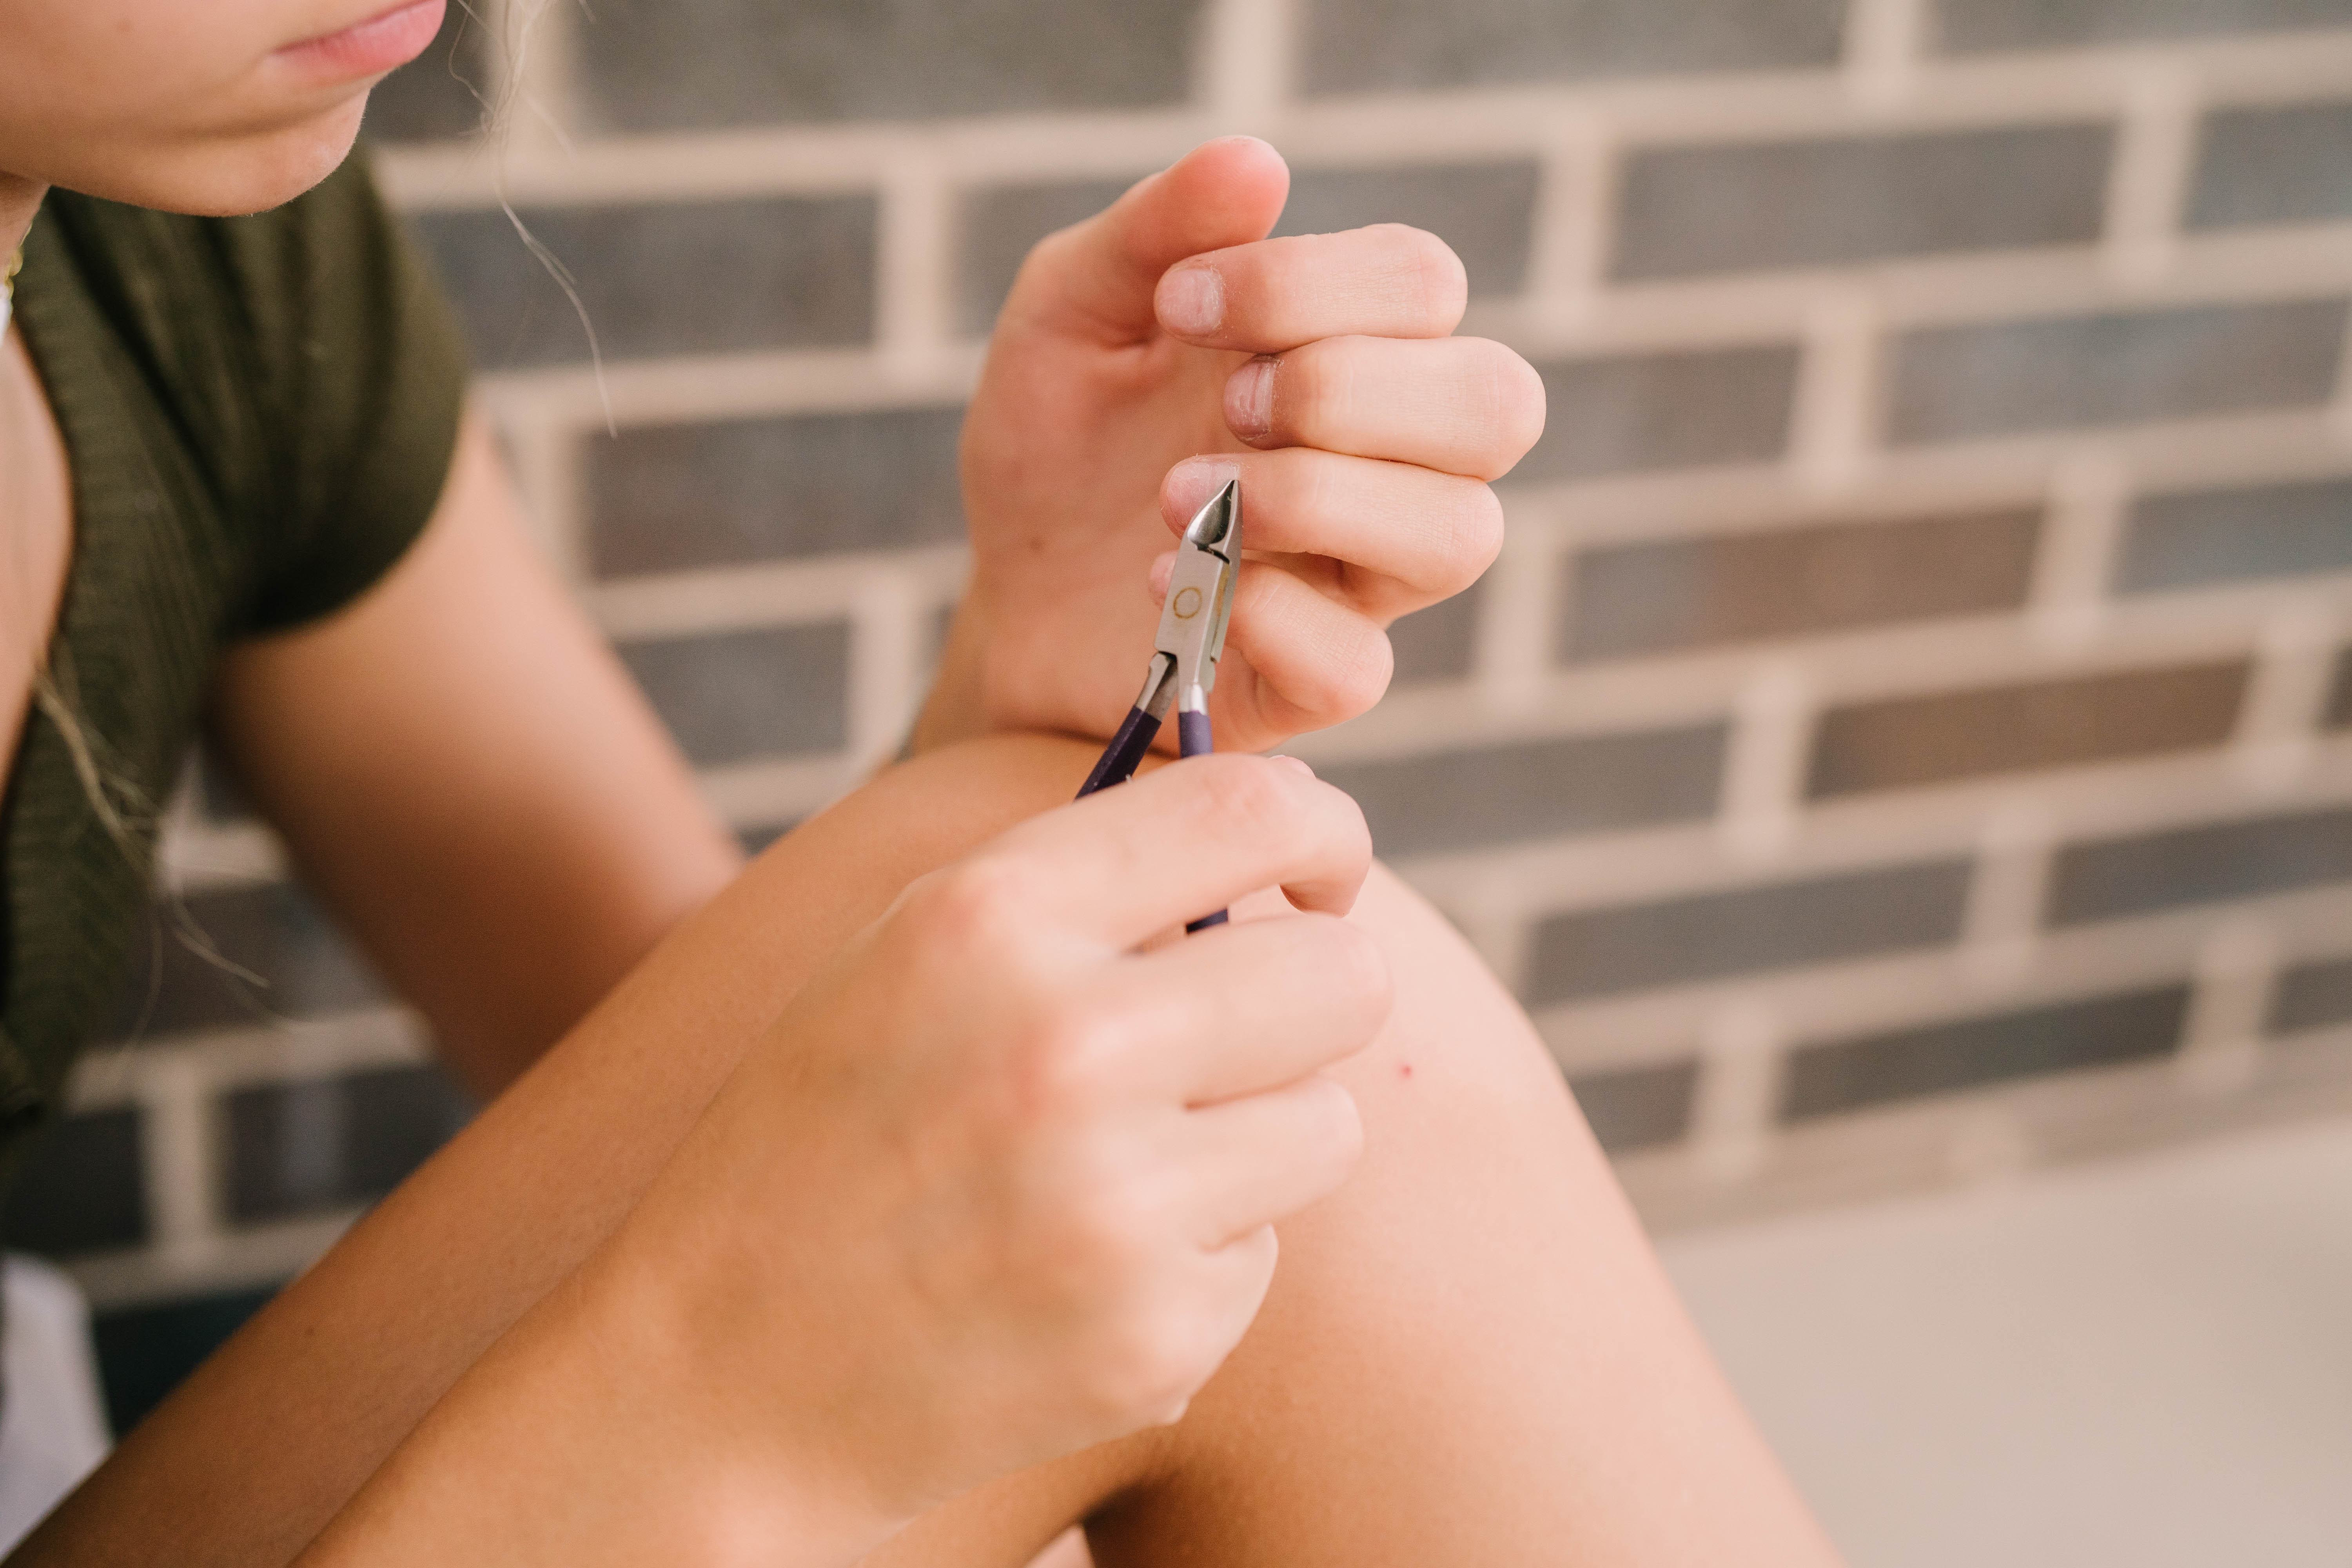
The exception: hangnails. This is why I own a really sharp pair of nippers. Don’t give in to temptation and try to rip or bite off your hangnail. This is likely to tear the skin, which is still attached to your nailbed – OUCH! Plus, you can get really bad infections doing this.
Instead, soften the hangnail with warm water or oil and give it a few minutes to soften. Once softened, take your nippers and cut off the hanging skin without cutting any of the living skin at the base. If you bleed, you’ve cut too far…hence the blood.
If showering isn’t on the schedule, just let your fingertips soak in a bowl of warm water for a few minutes.
2) Swap Your Nail Clippers For A File
Besides the obvious—don’t pick your cuticles or bite your nails, apply hand cream religiously, don’t saw a file back and forth—this is one nail tip you may be missing. People often cut their nails to the length they want and then file their nails down into a shape that’s different from what they intended. I tend to skip the nail clippers altogether and just use the file to shape.
And of course, when you do file, make sure you’re doing it with your file slightly angled up. Almost as if you’re filing from the bottom. This can help your nails stay strong and nails can become particularly dry and brittle, this trick could be the secret to stronger, less peel-prone nails – especially with you’re using gel polish.
[flex_row]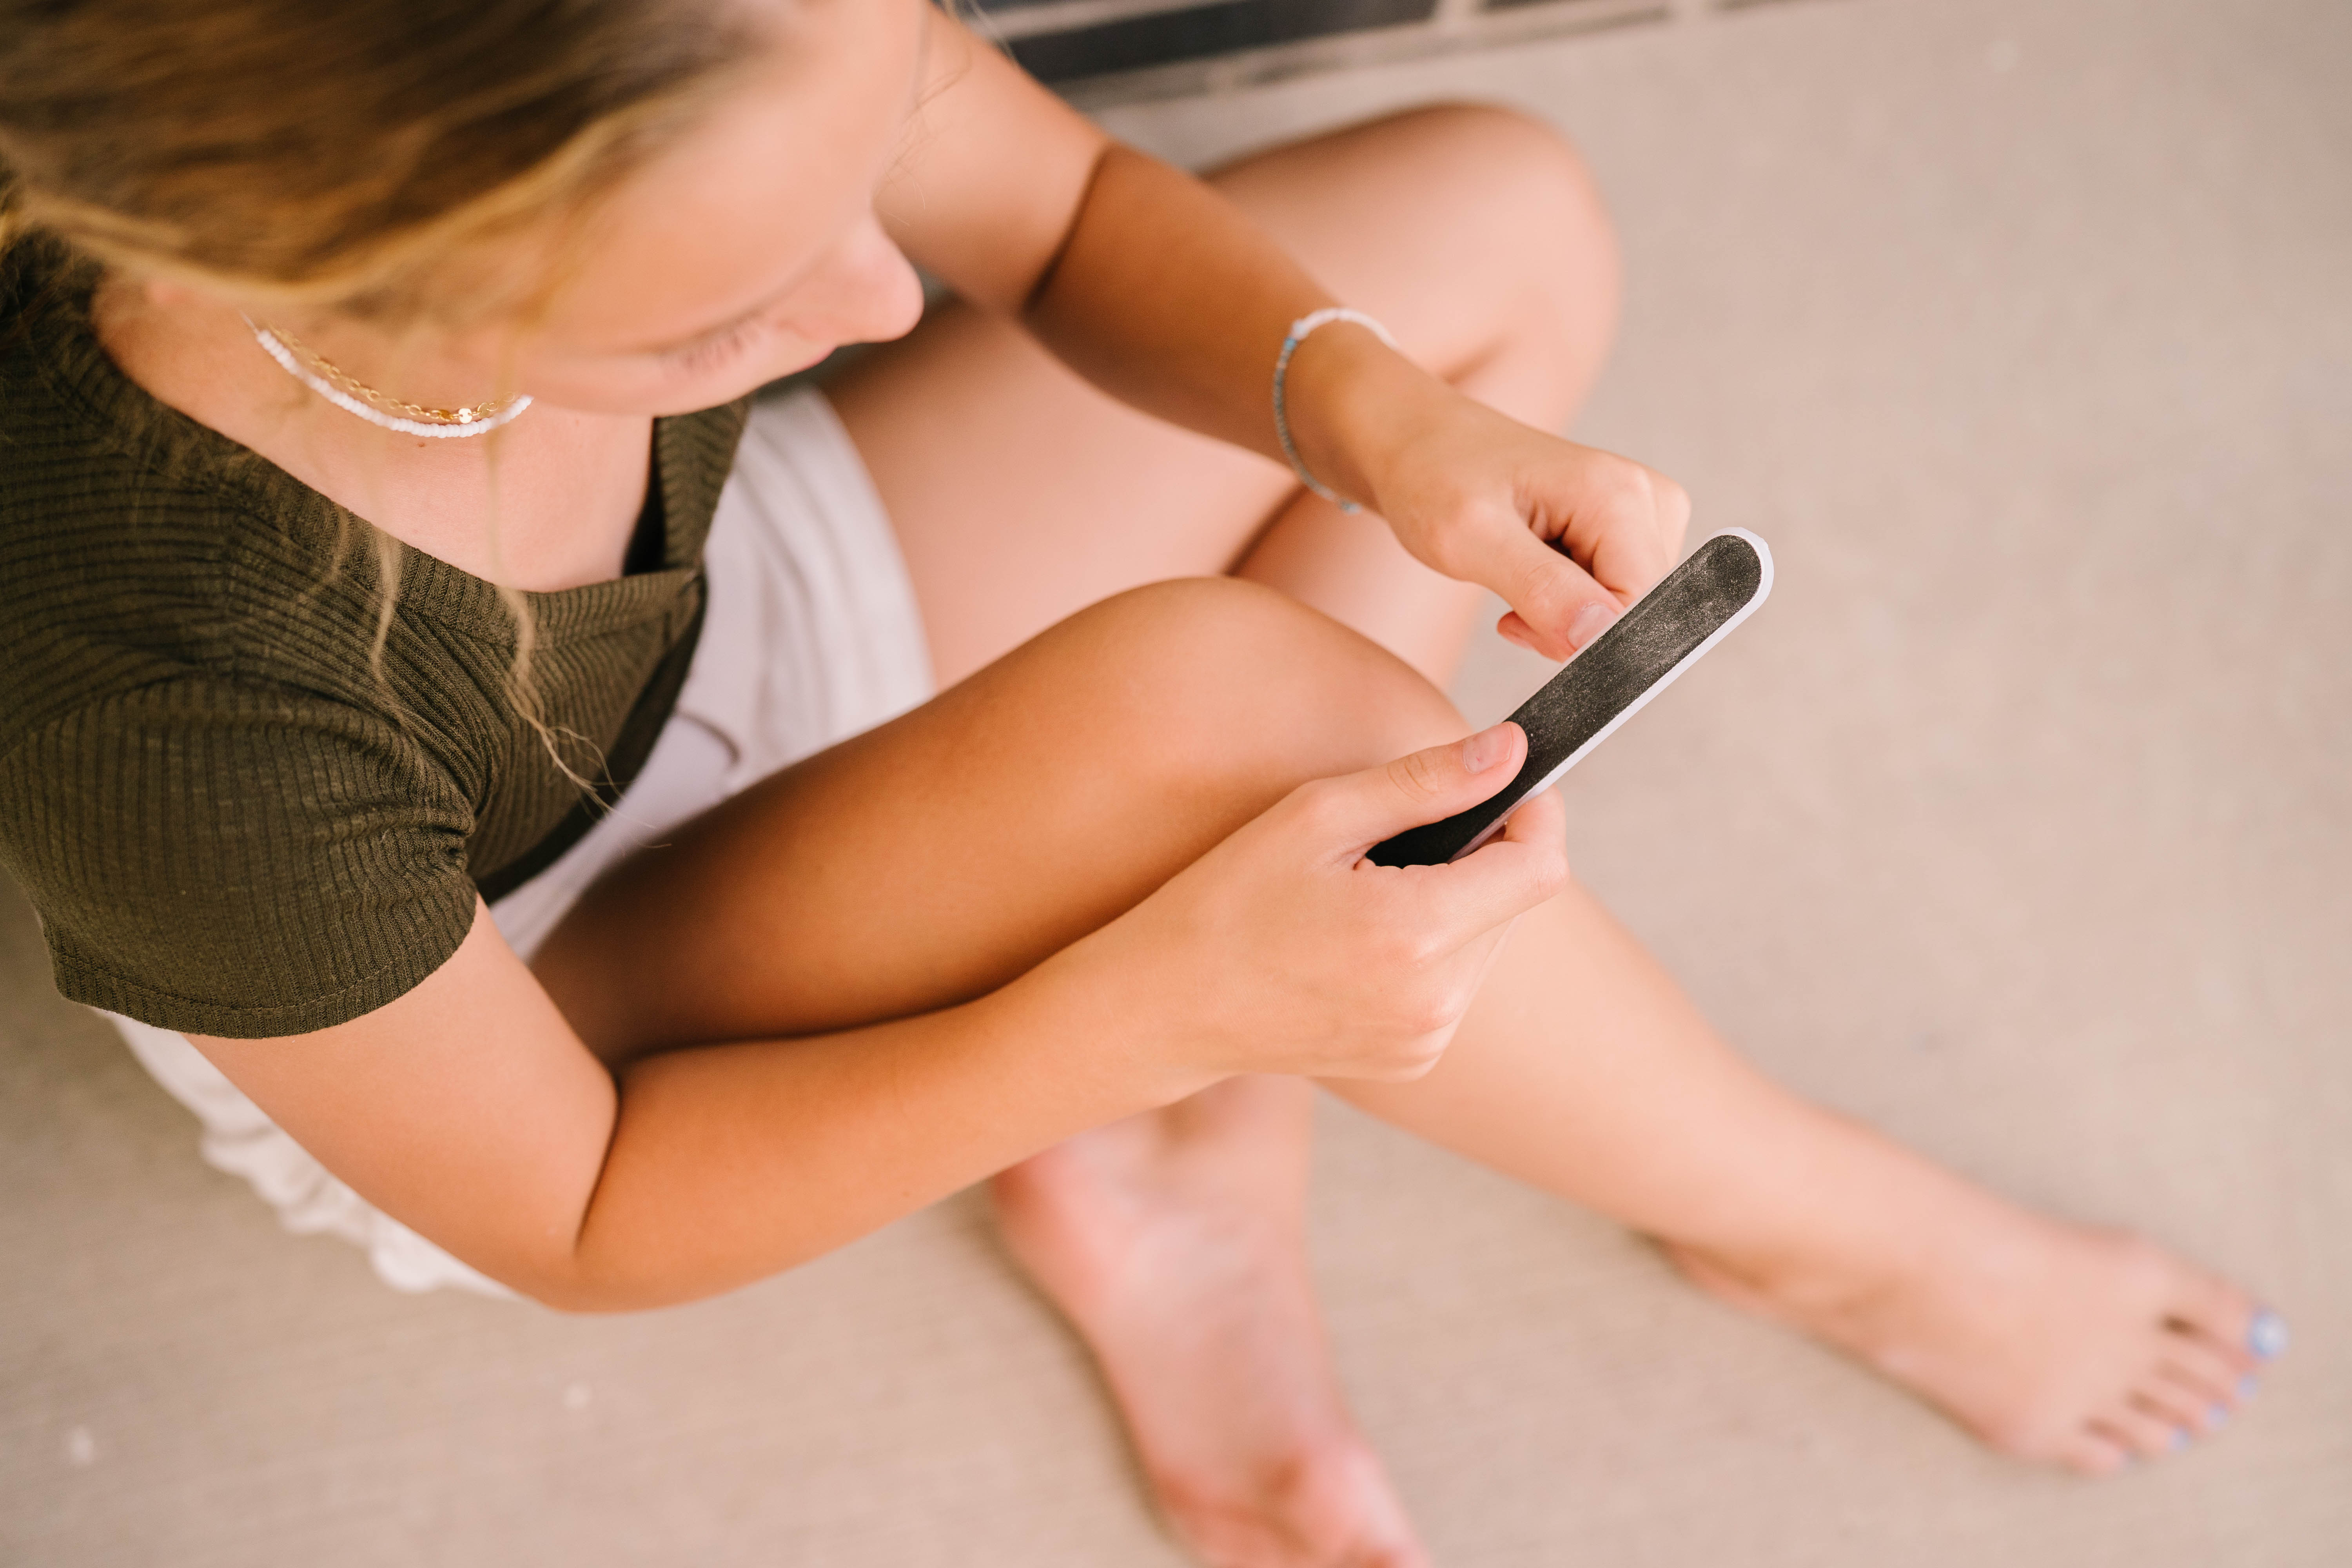
 [/flex_row]
3) Skip The Elmer’s Glue
I see tutorial after tutorial showing Elmer’s Glue as the cuticle protector during sloppy nail-painting. I’m actually fine with it – it just takes forever. Instead, there are 2 ways I prevent against a sloppy paint-jobs.
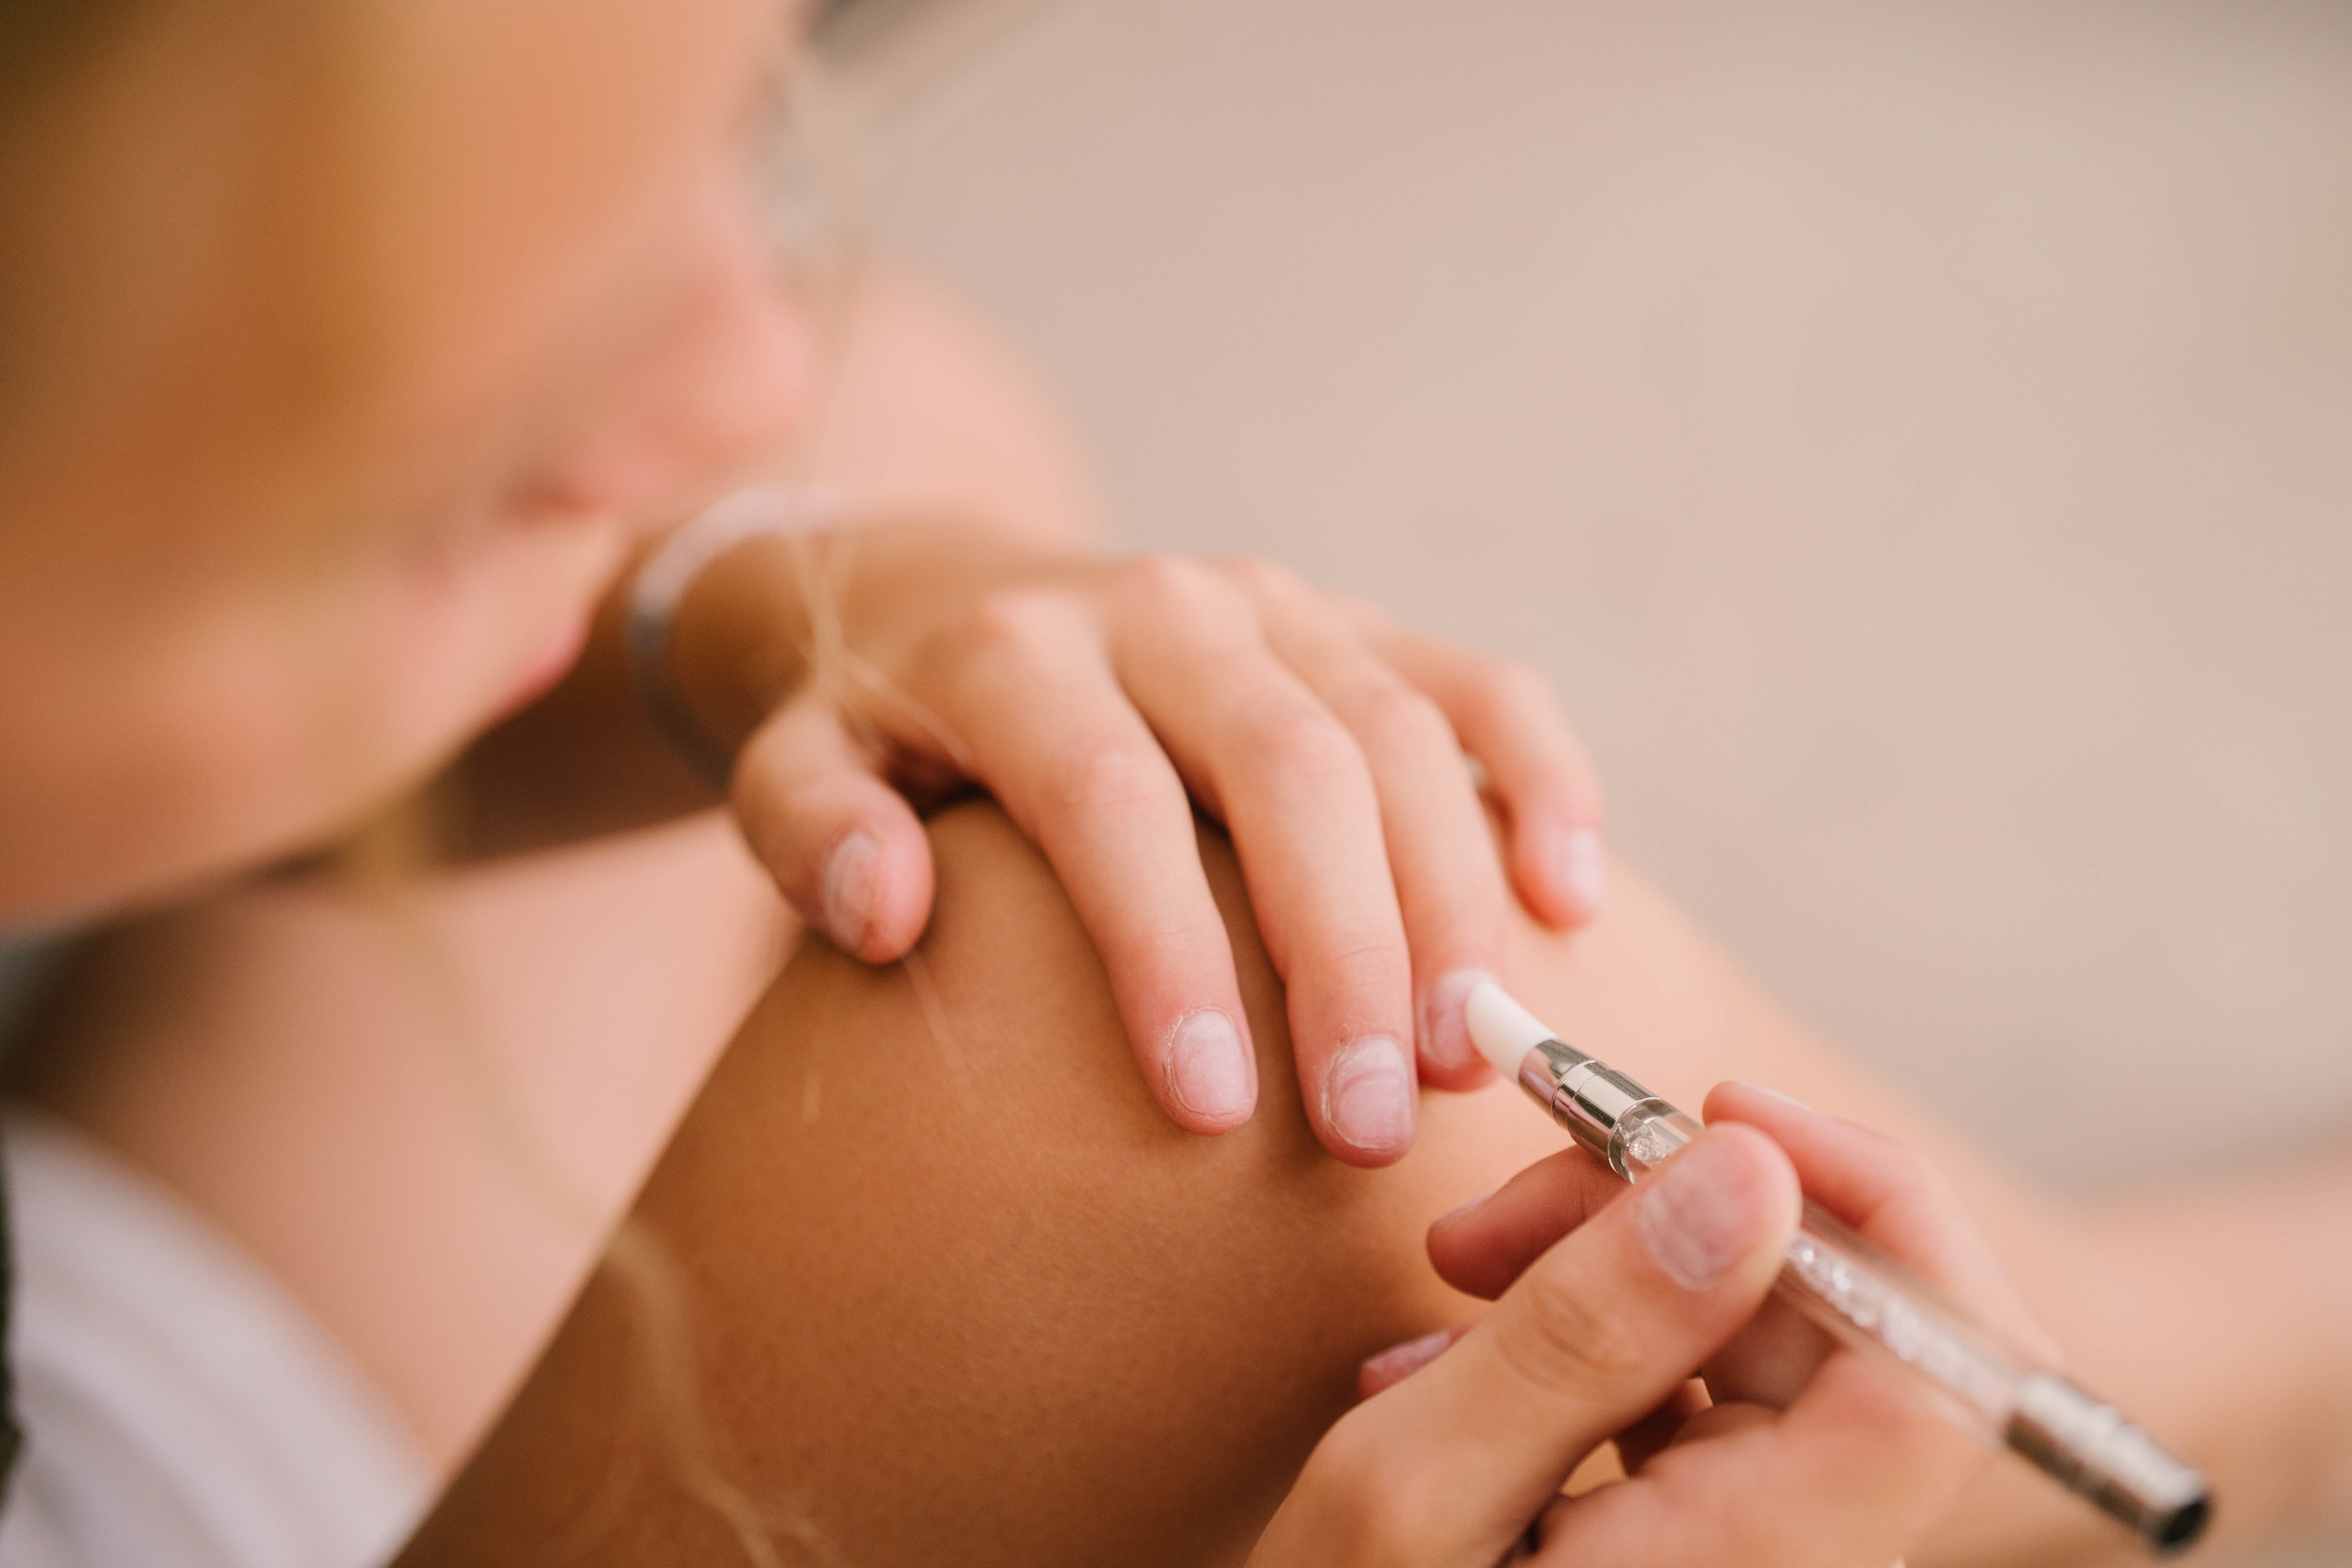
- Apply lotion or oil on your hands before you polish. Then, with a lint-free pad or Q-tip, gently rub alcohol on the nail plate only. The oil or lotion will allow any polish to be removed easily from your cuticle, and not stay in the dry areas of your fingers.
- Next, or maybe last, use your topcoat as a cleanup tool. If you get polish anywhere on the cuticle area, just keep working until you finish your manicure. Then at the end, dab on a small drop of the same topcoat you used for your manicure and wipe away the mistake with an orangewood stick. You don’t want to do this right away because the polish needs to be dry. The dab of topcoat will reactivate the polish just enough to get it to come off your skin cleanly. Works like a charm!
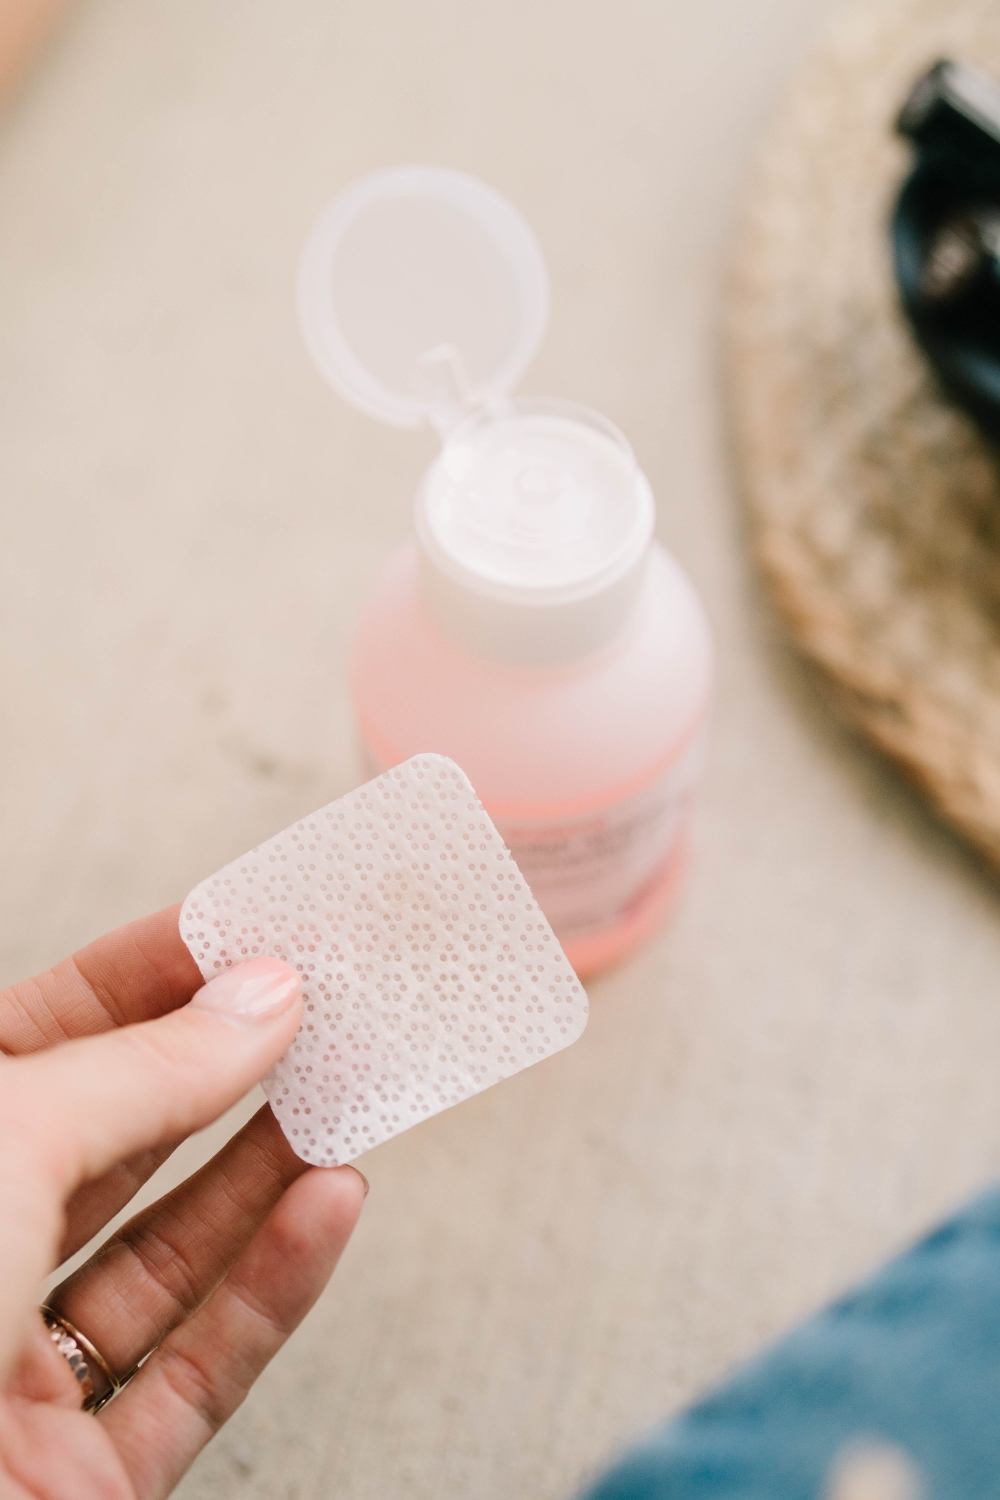
There is nothing that ruins a manicure faster than a microscopic piece of lint sticking on your freshly polished digit. These lint-free pads are a MUST!
4) Don’t forget to cap your tips
Whether you’re doing a traditional polish manicure or a gel polish job, a lot of DIY manicurists forget to paint the tip of the nail. And this is when everything starts falling apart. Your freshly painted nails will start to chip because they’re not properly sealed. Once you’ve done your topcoat, take the very tip of the brush, and go over the very tip of your nail. This helps to encapsulate the polish underneath, and that’s what really keeps the polish from chipping!

SHOP MY MANICURE FAVORITES

• • •
[flex_row]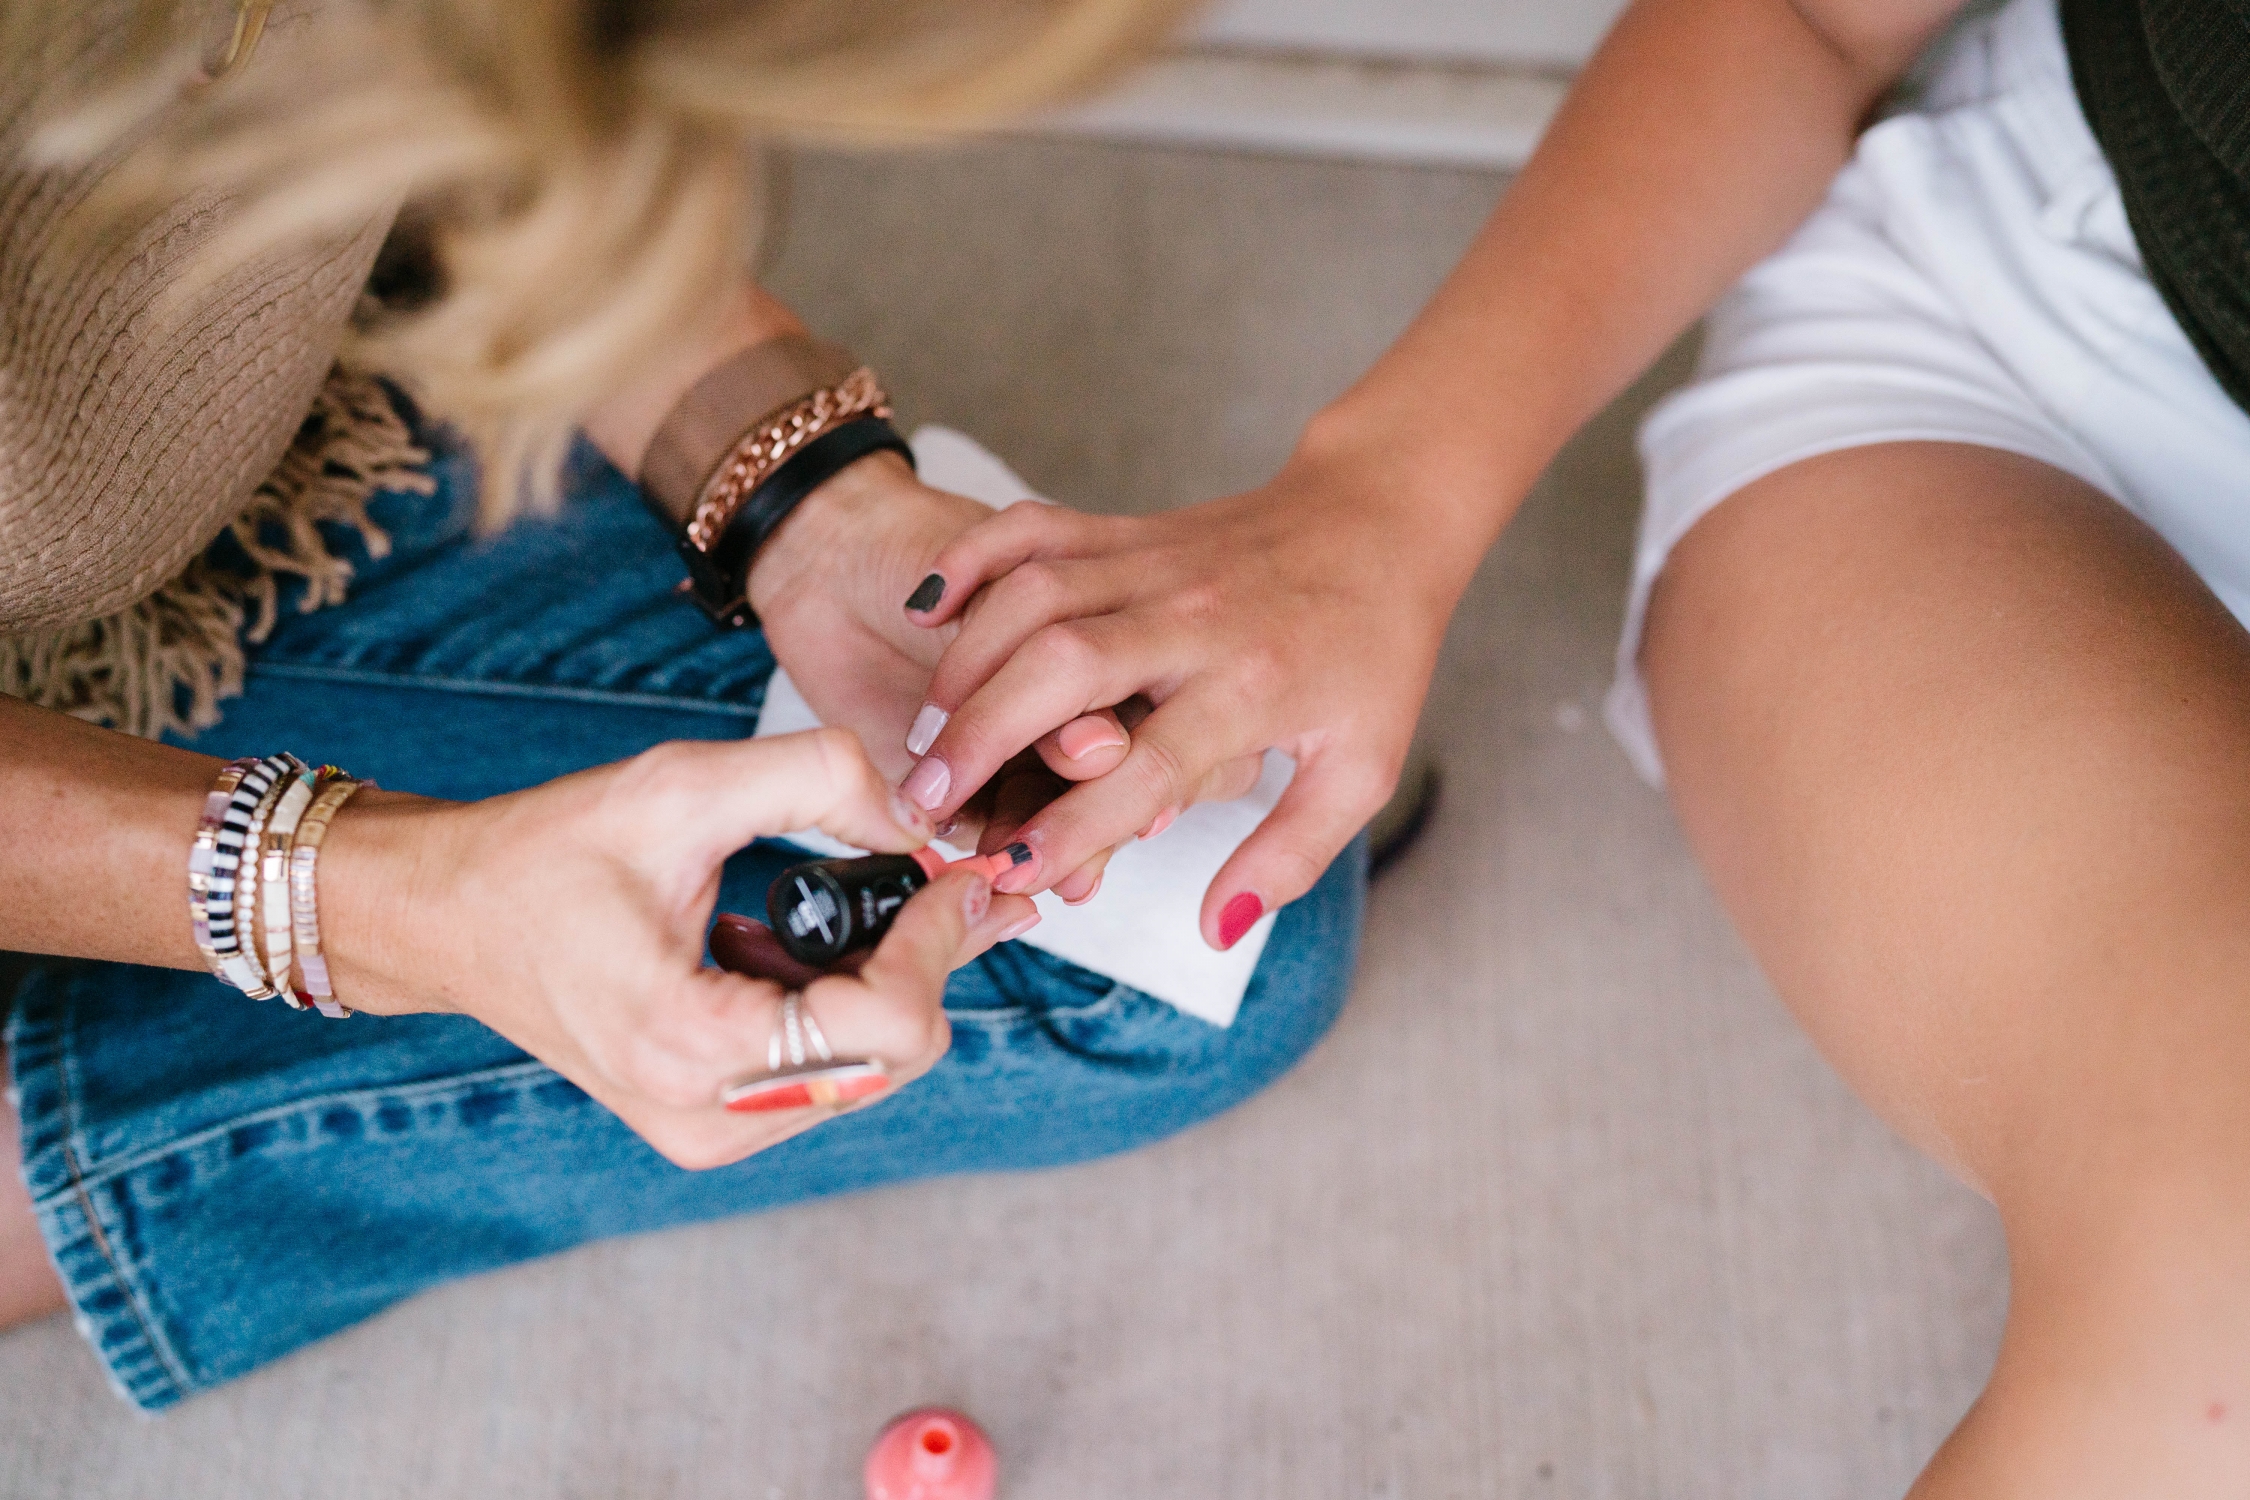
 [/flex_row][flex_row]
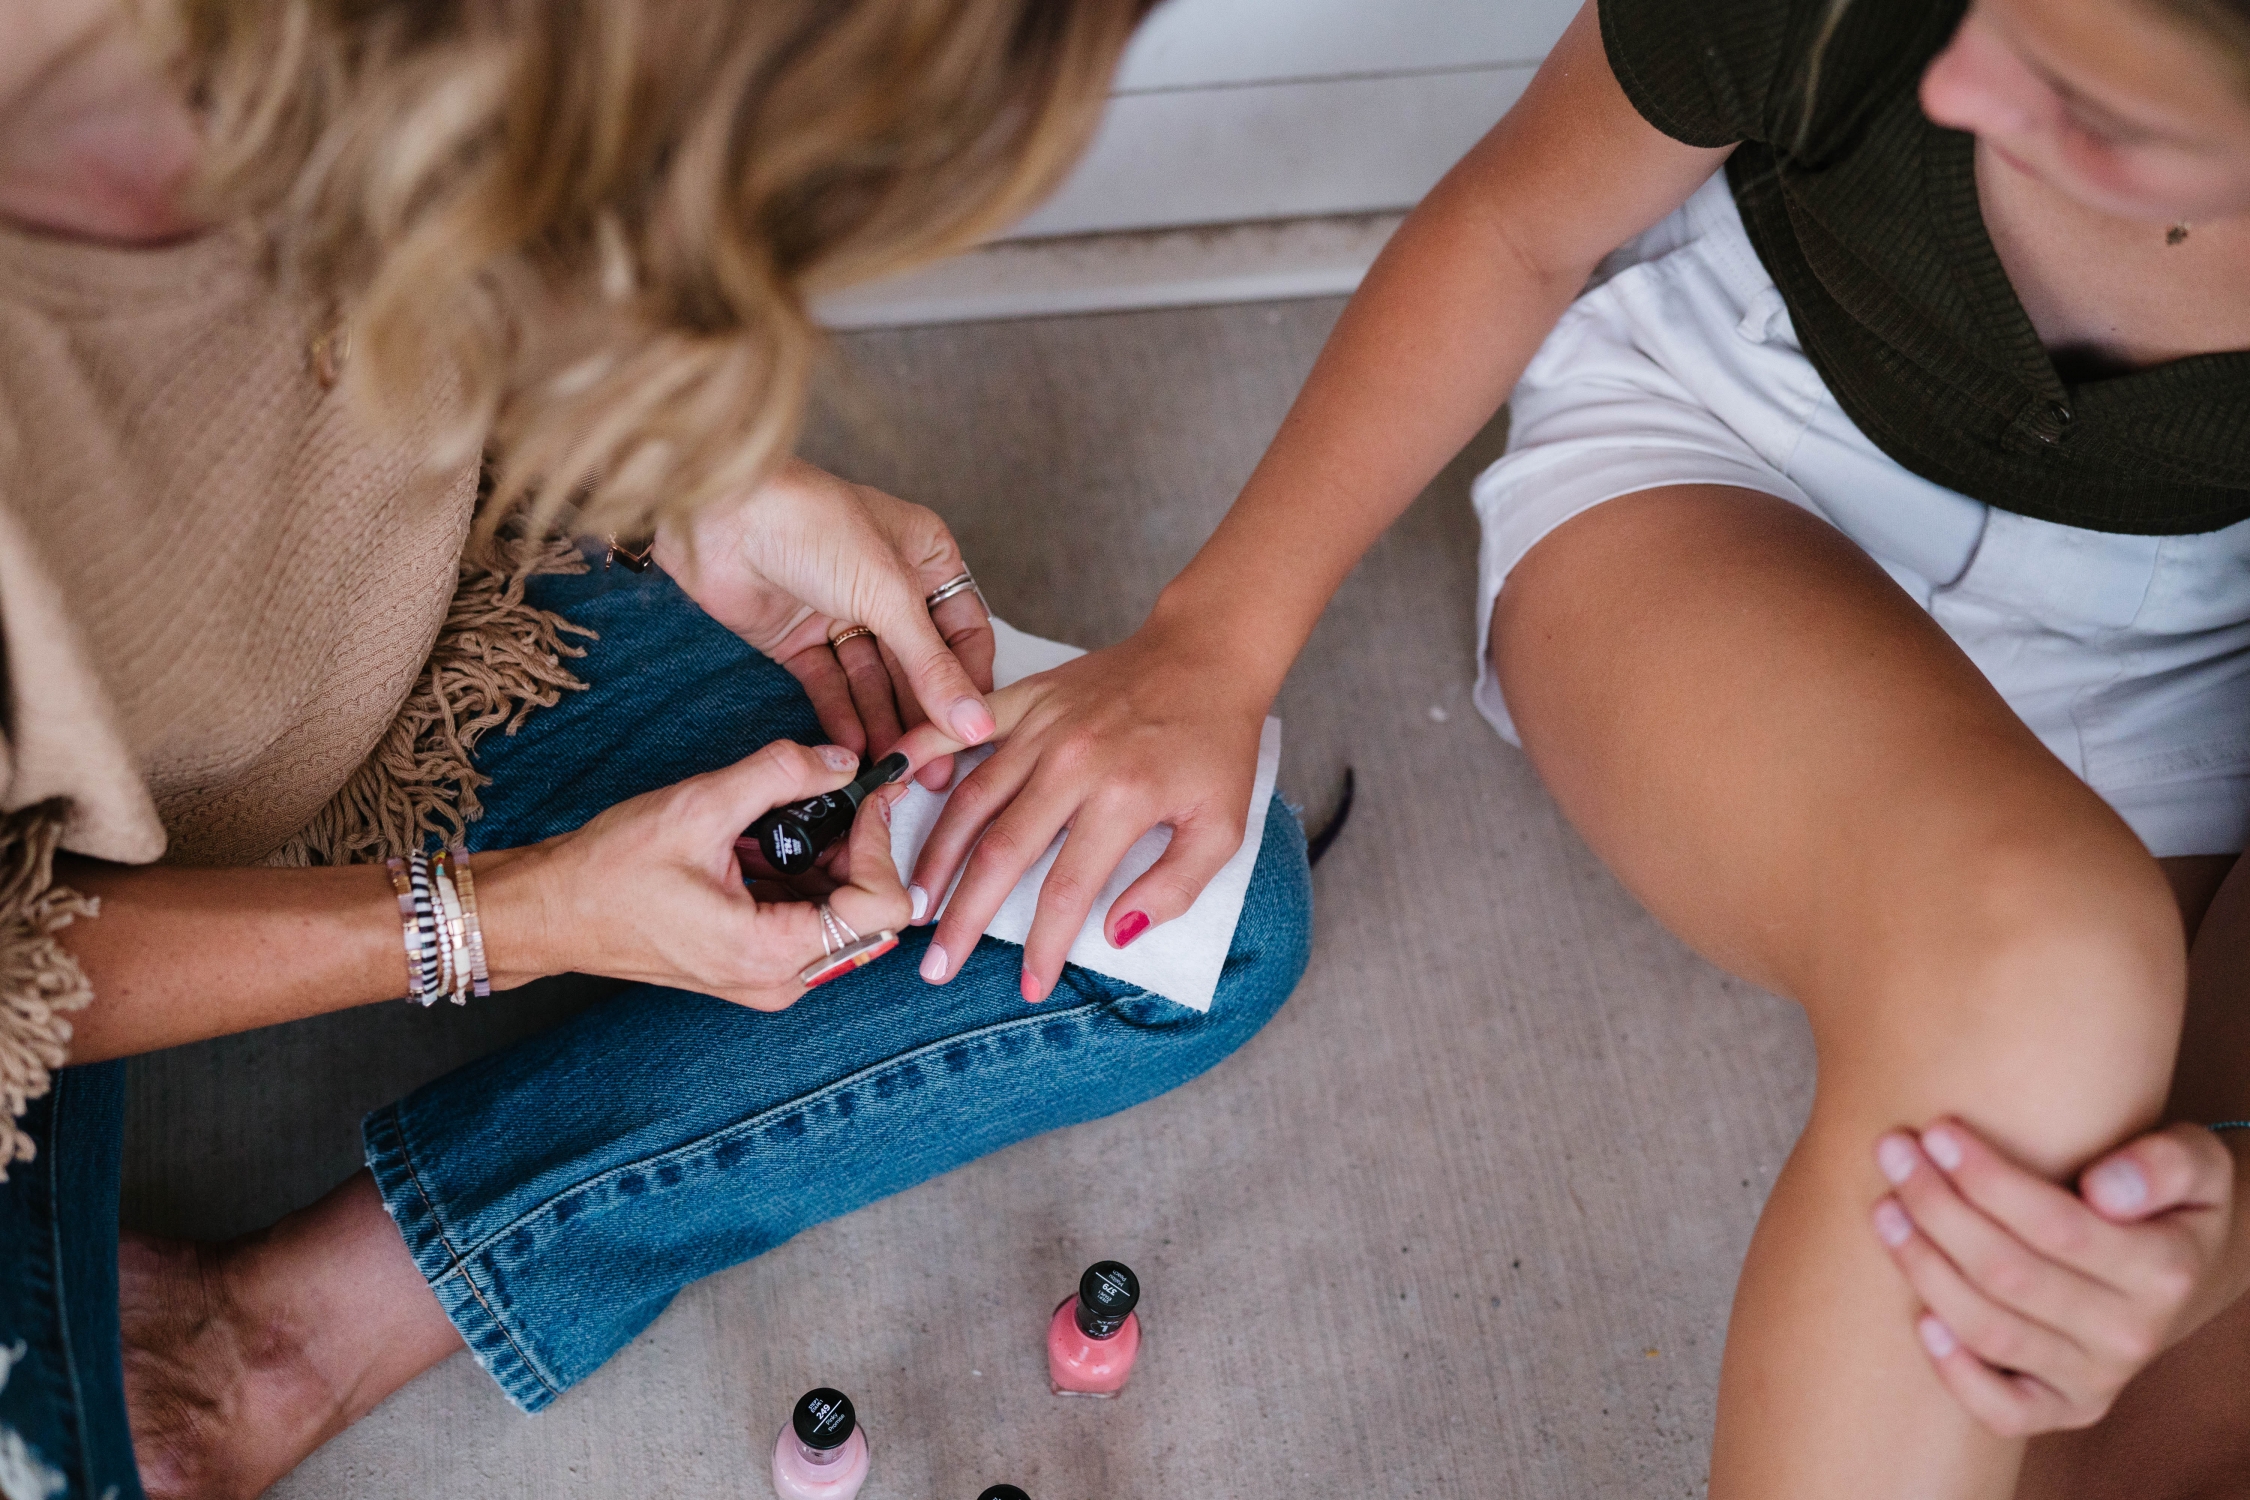
 [/flex_row]
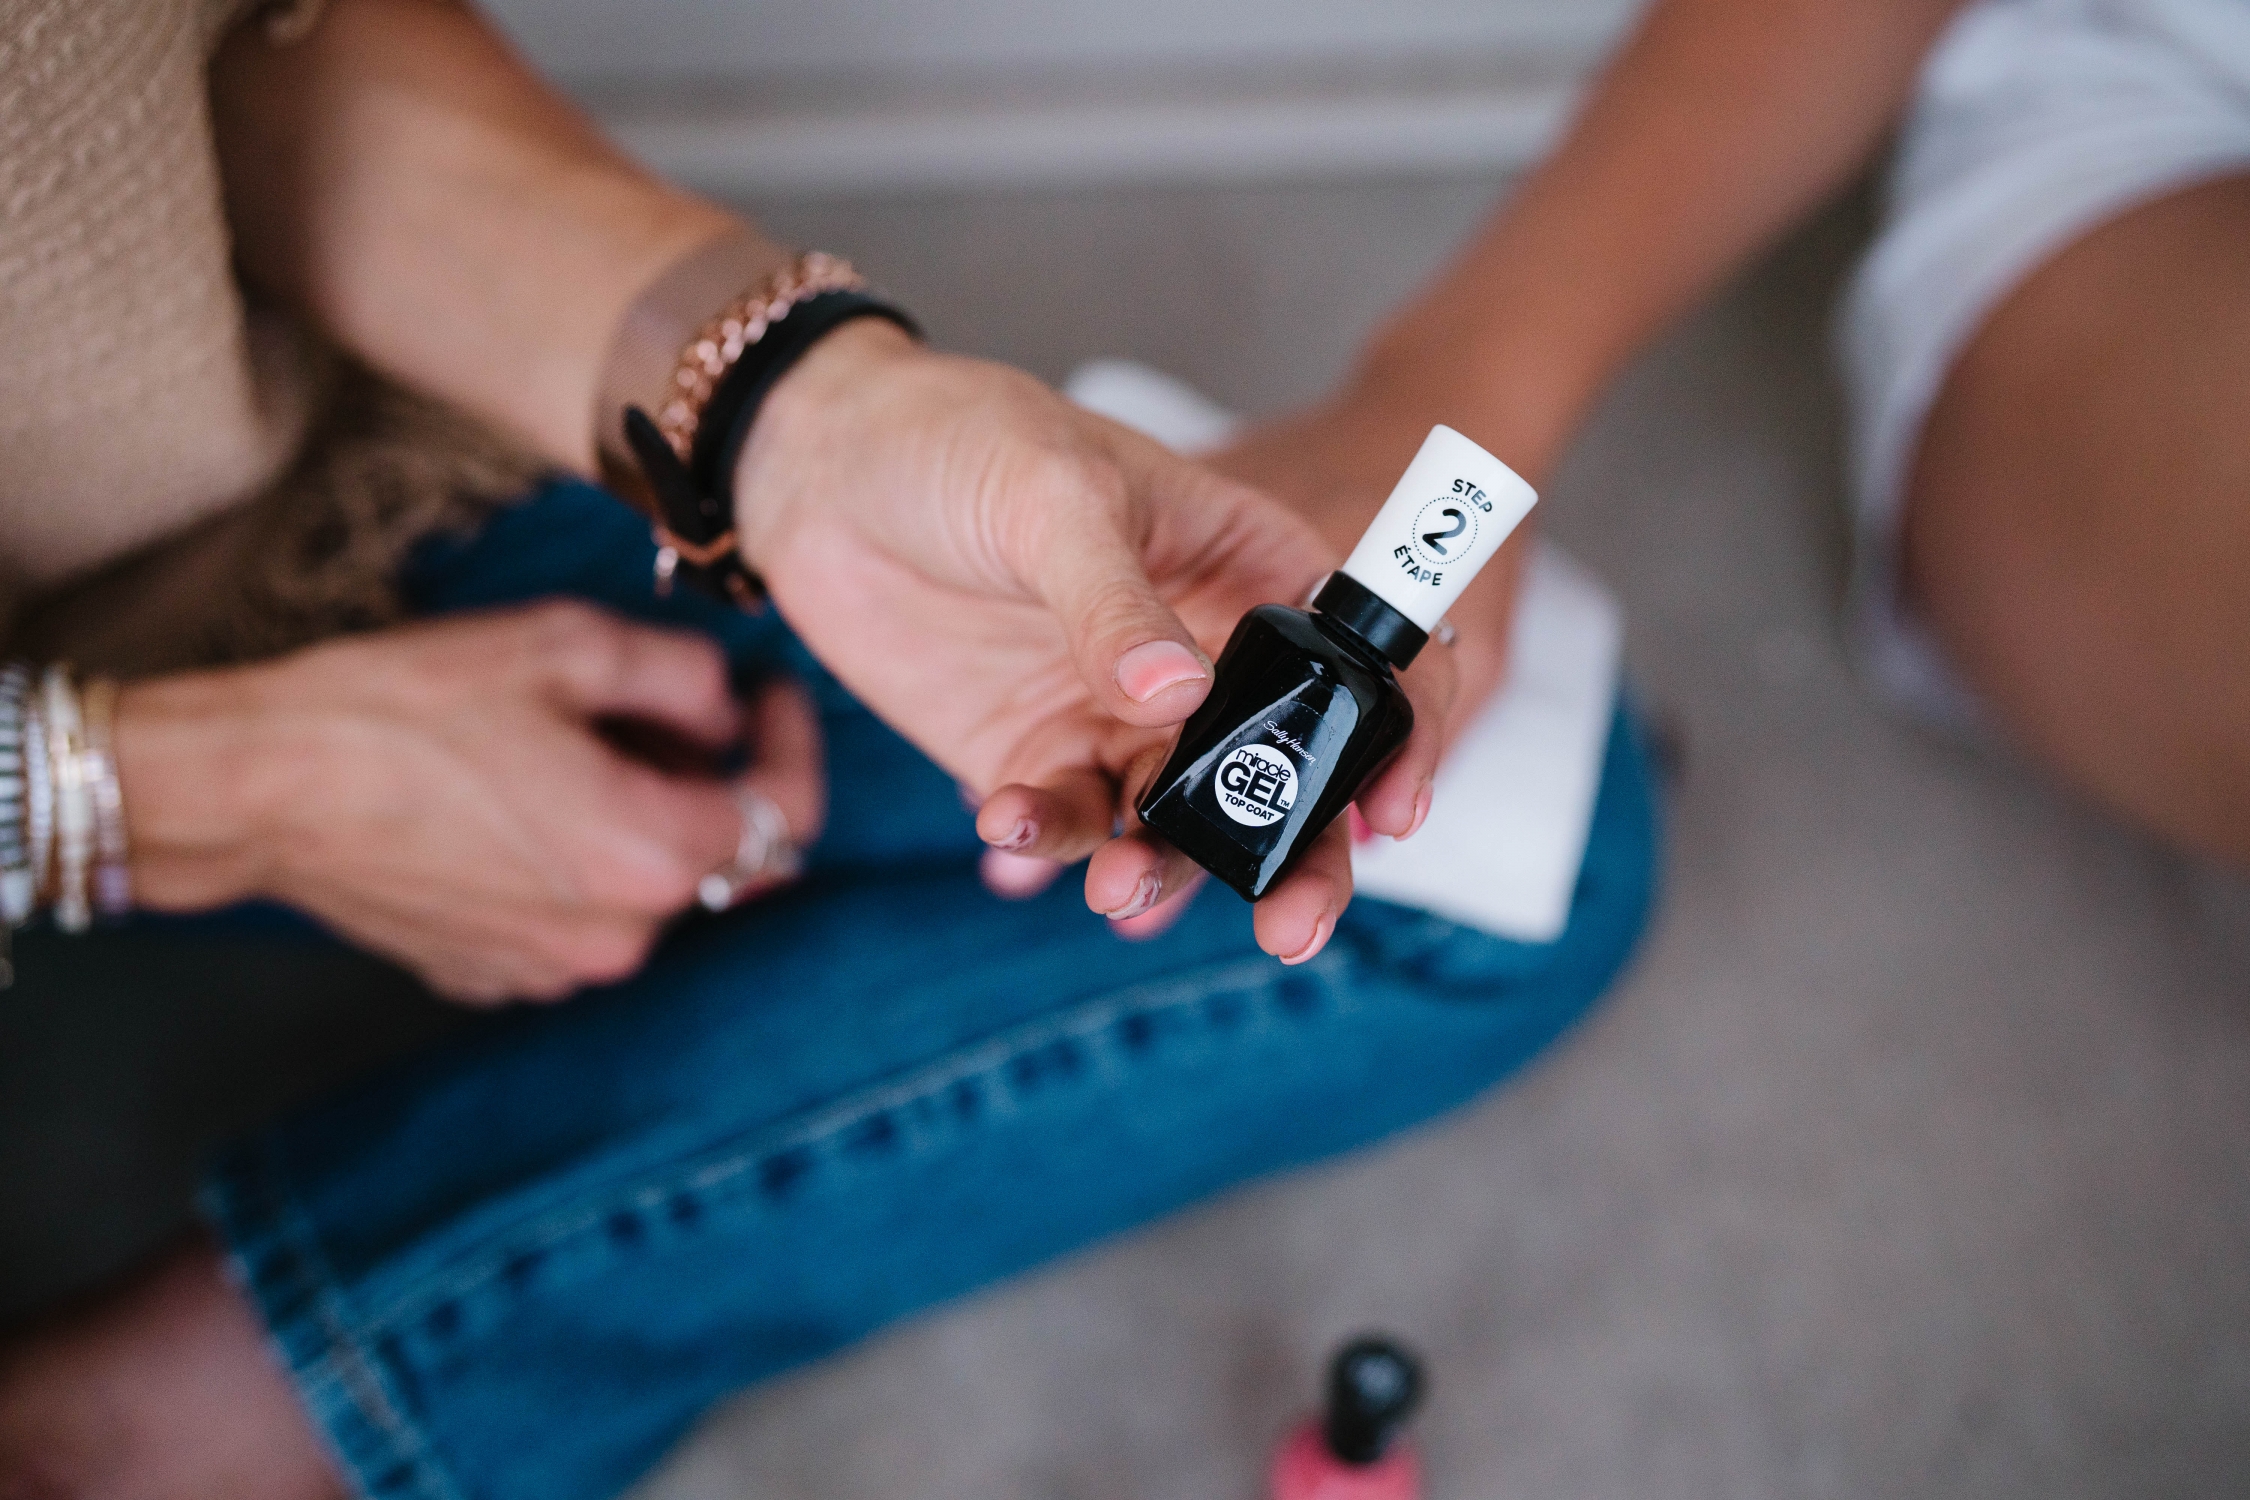
5) Quick-dry & Flawless Set
If you don’t have a lot of time and need your nails quickly dried, use a blow-dryer on a high temperature and a high speed between coats. It dries really well and it’s smudge-free. Or, pull out your favorite hairspray. Hair spray can be applied to your nails to help your manicure set faster. Not only does it cut drying time to a quick two minutes; it also adds a level of shine!
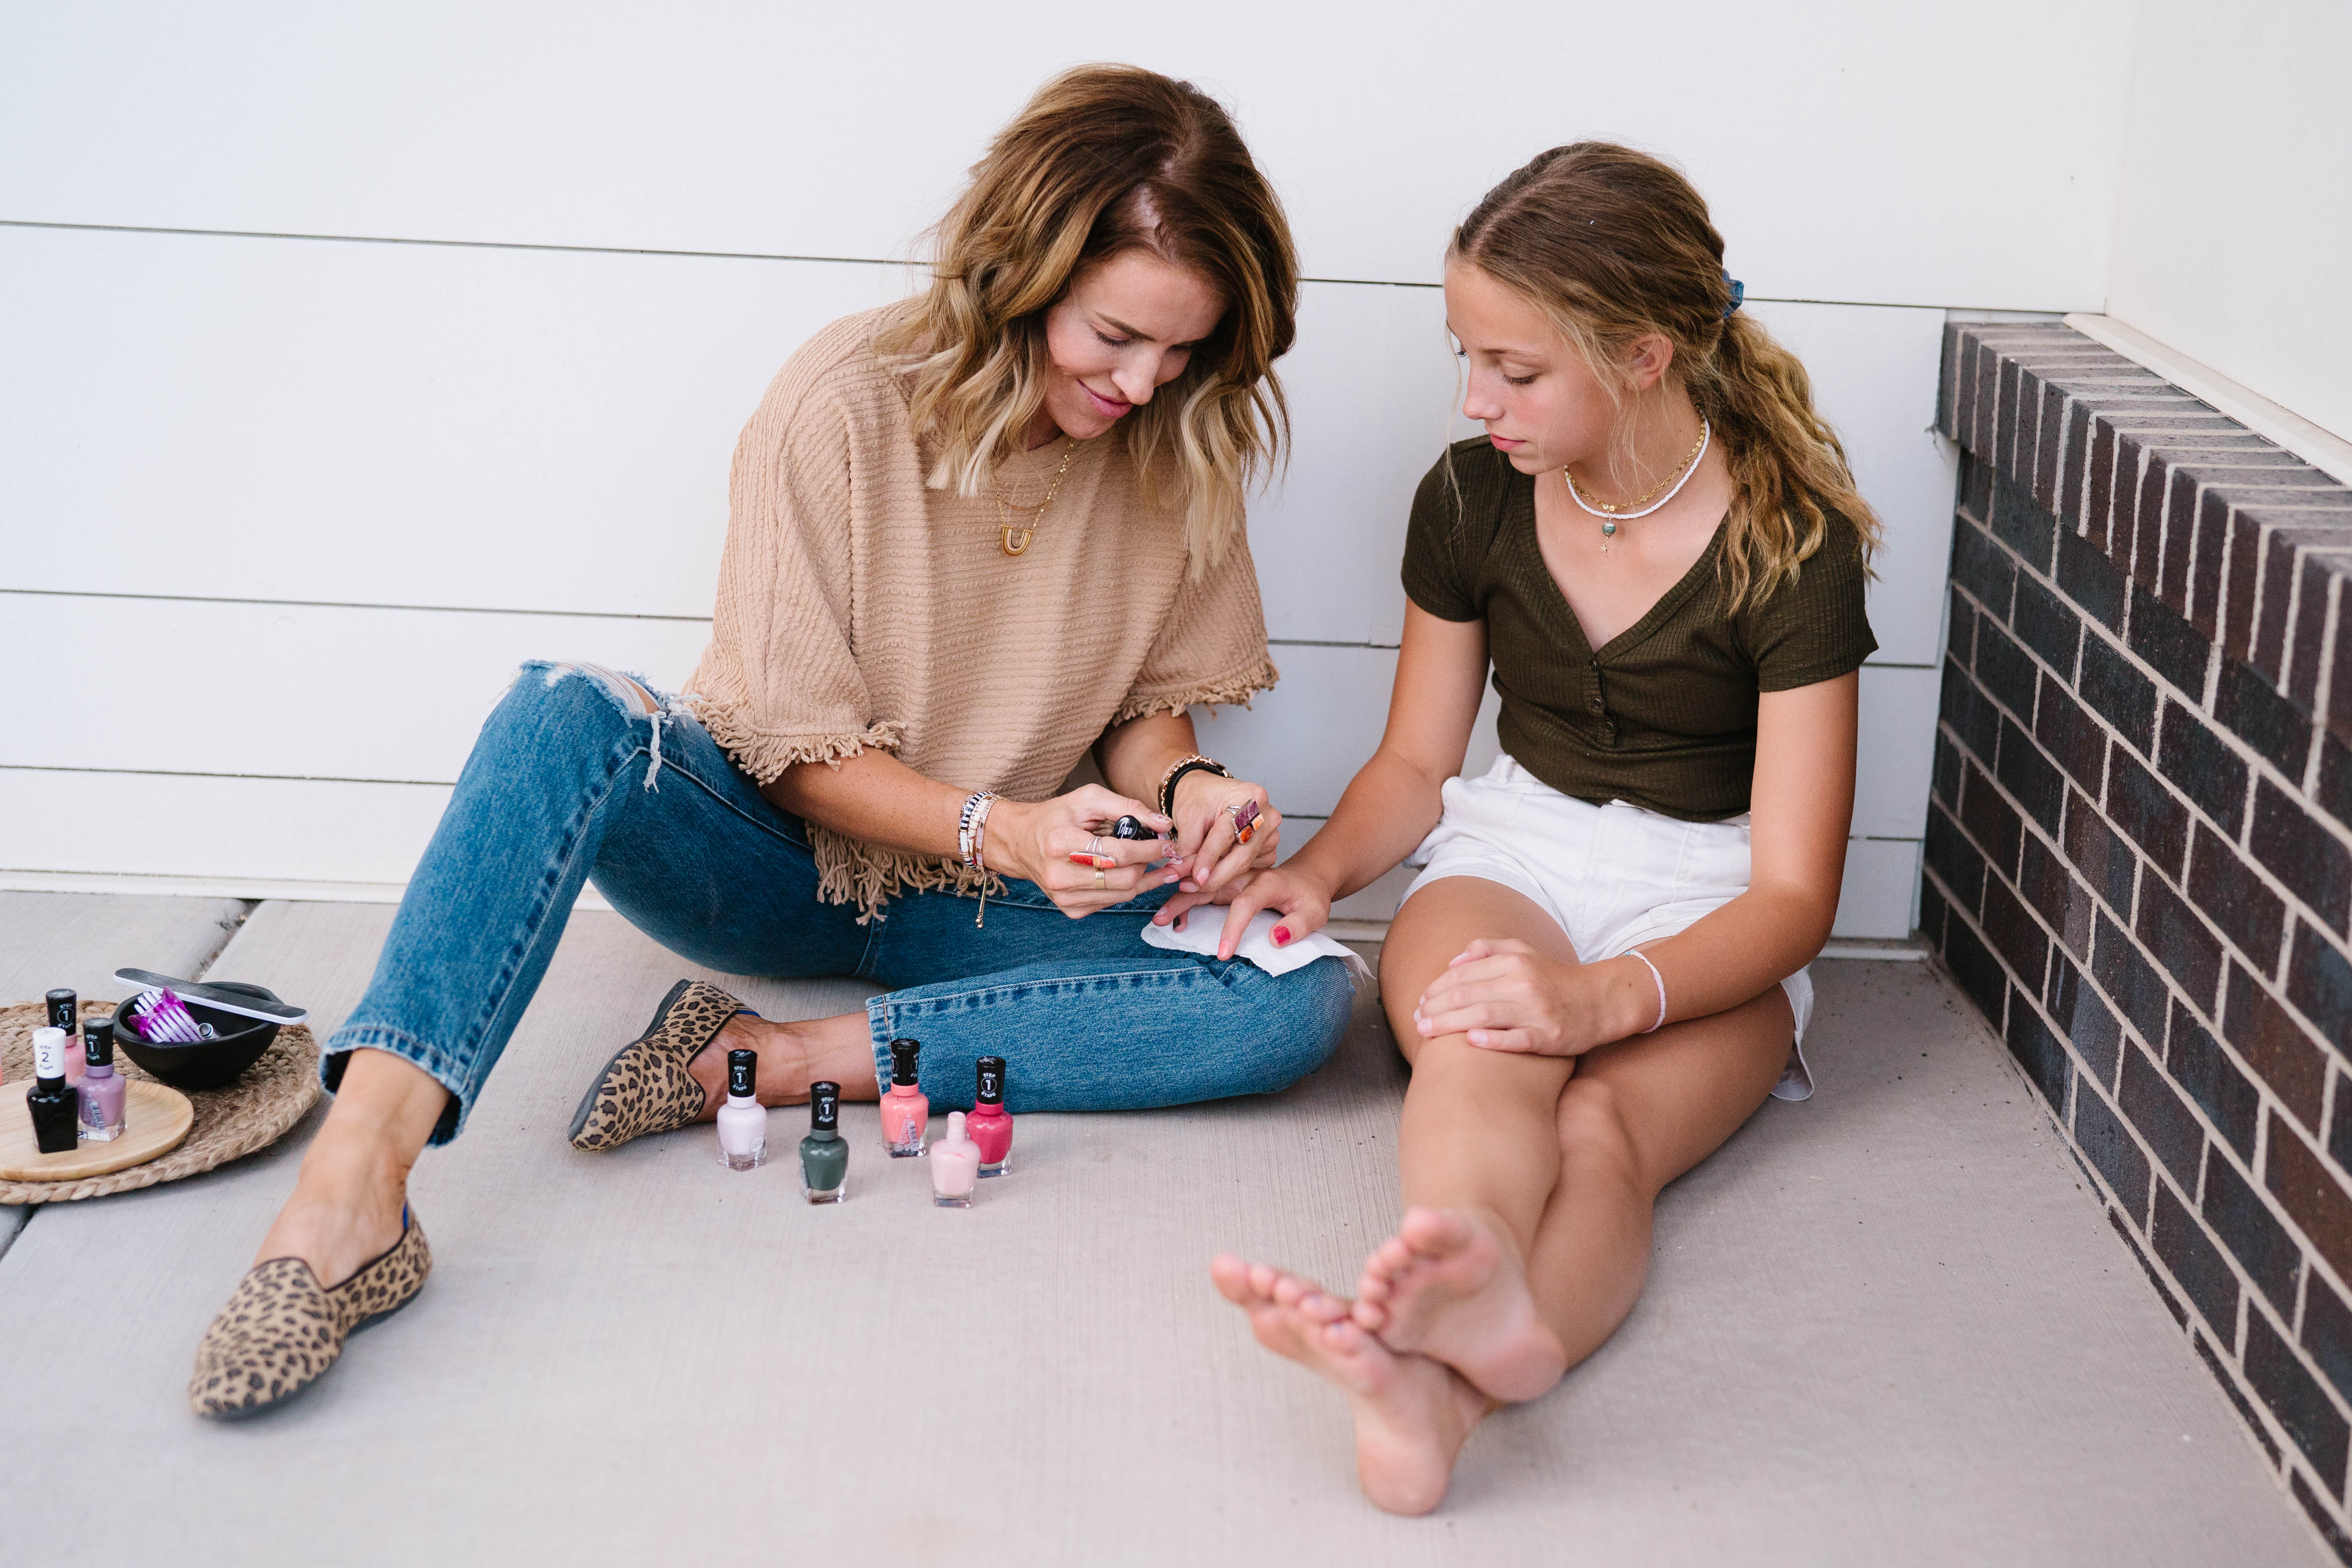
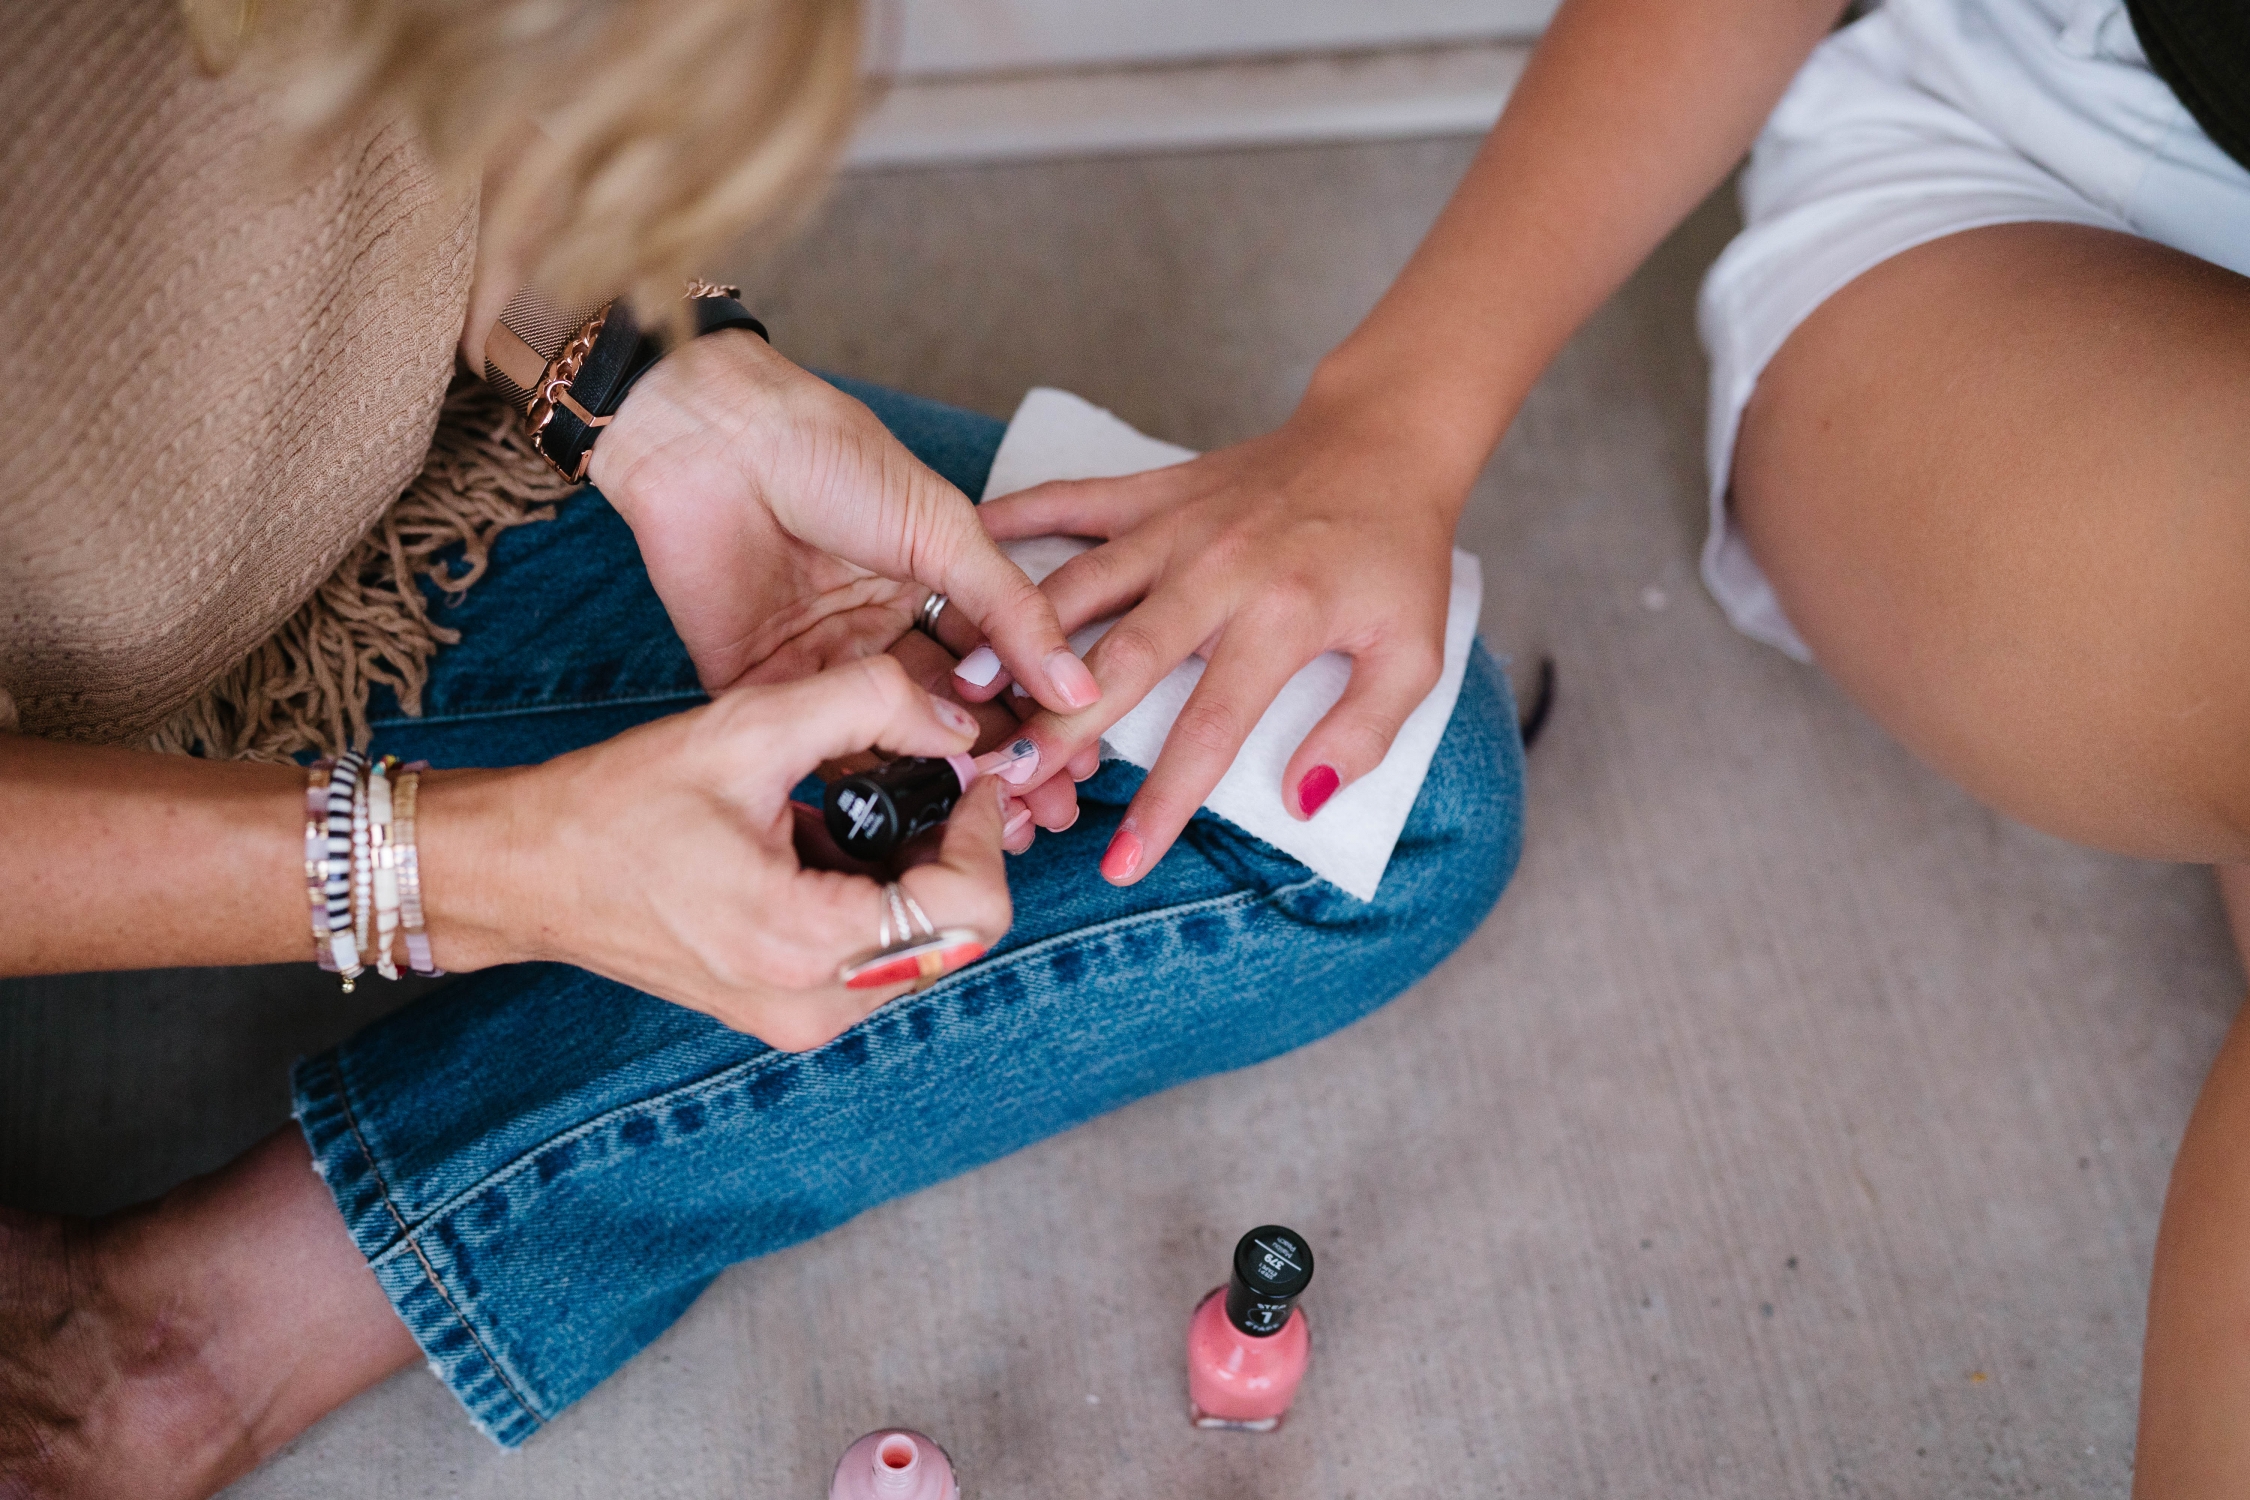
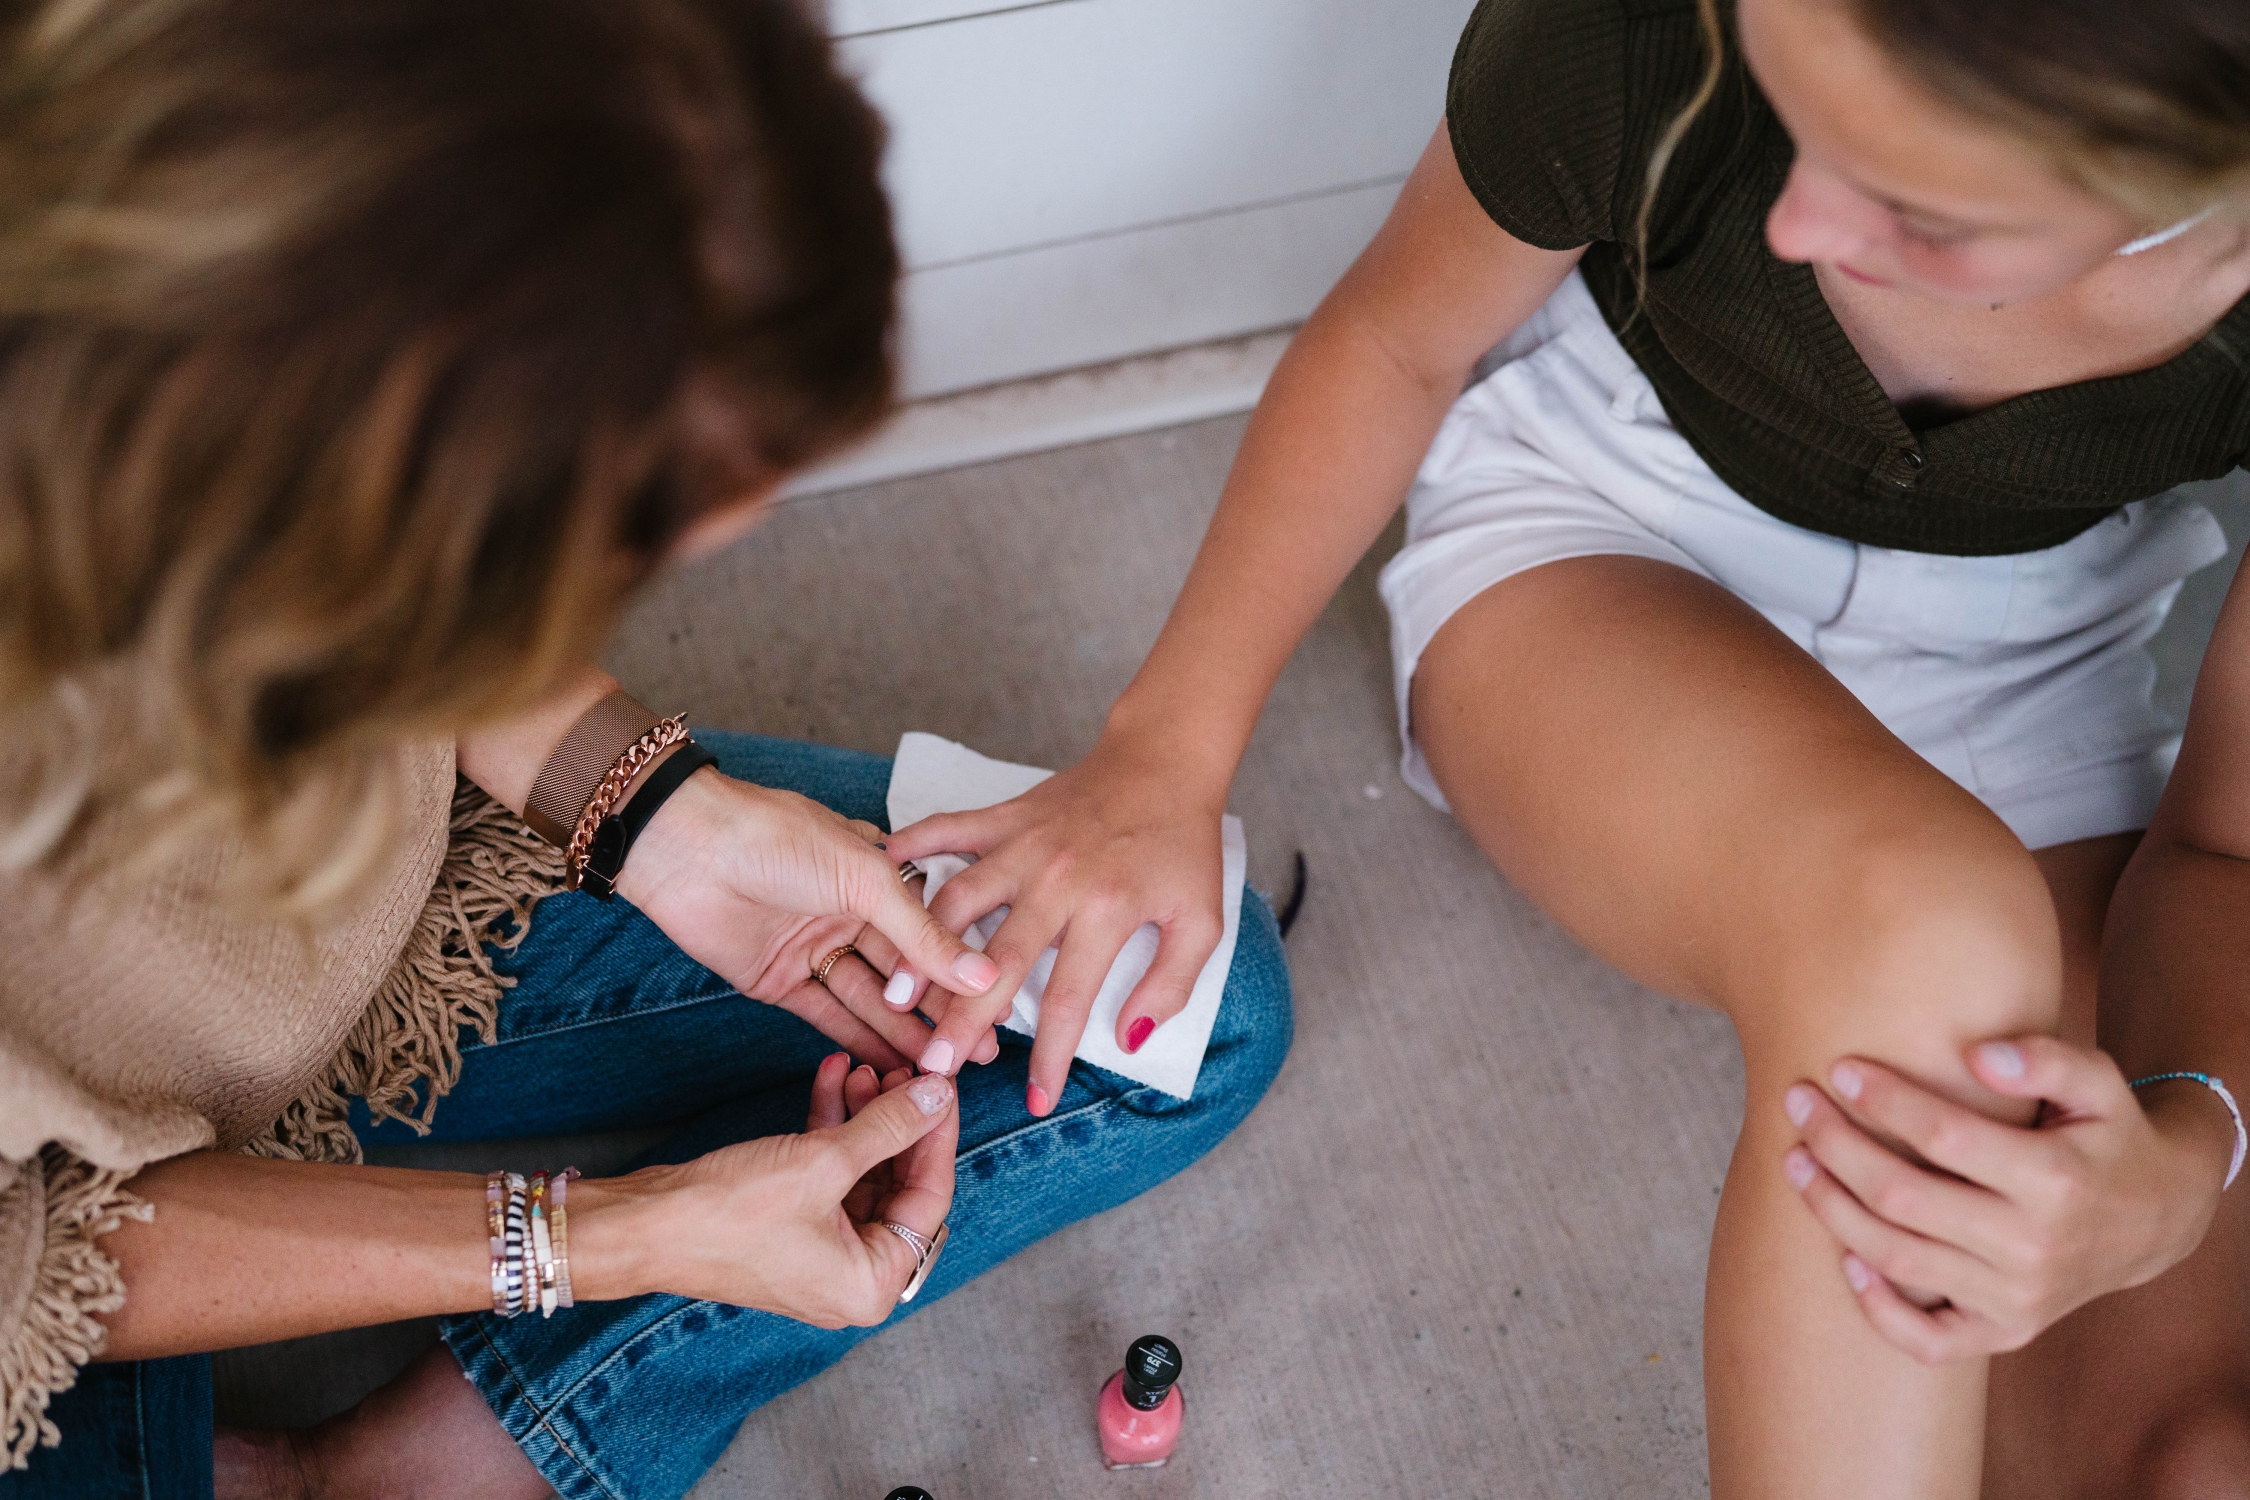
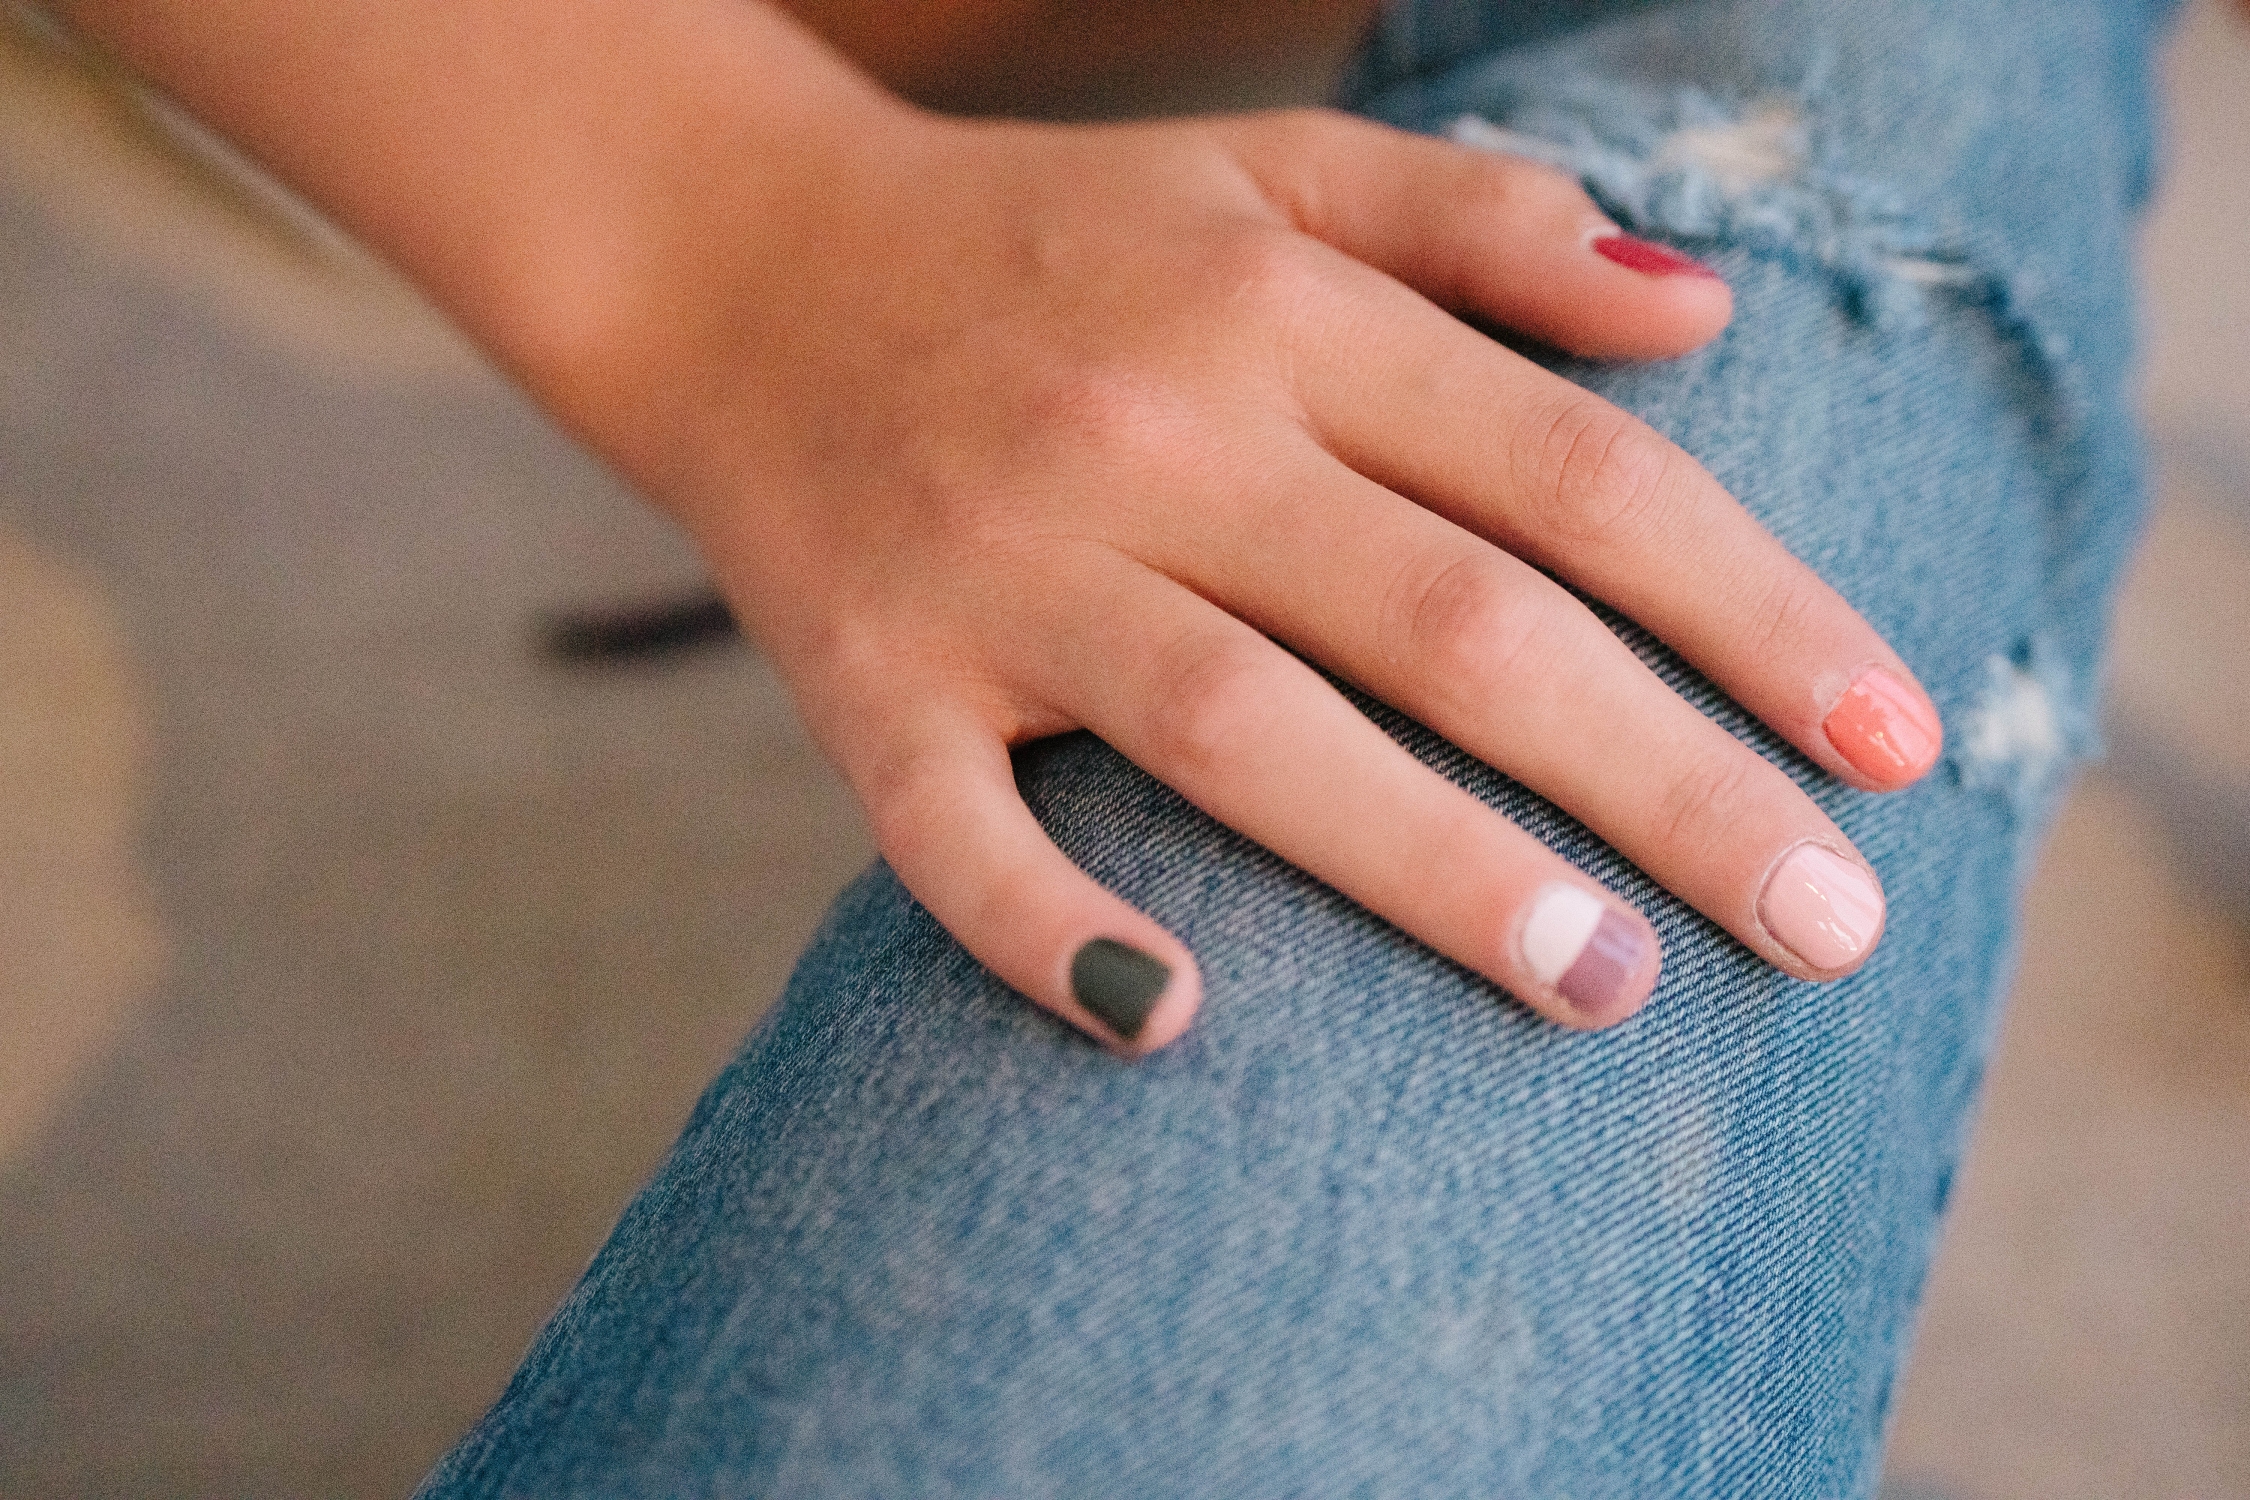
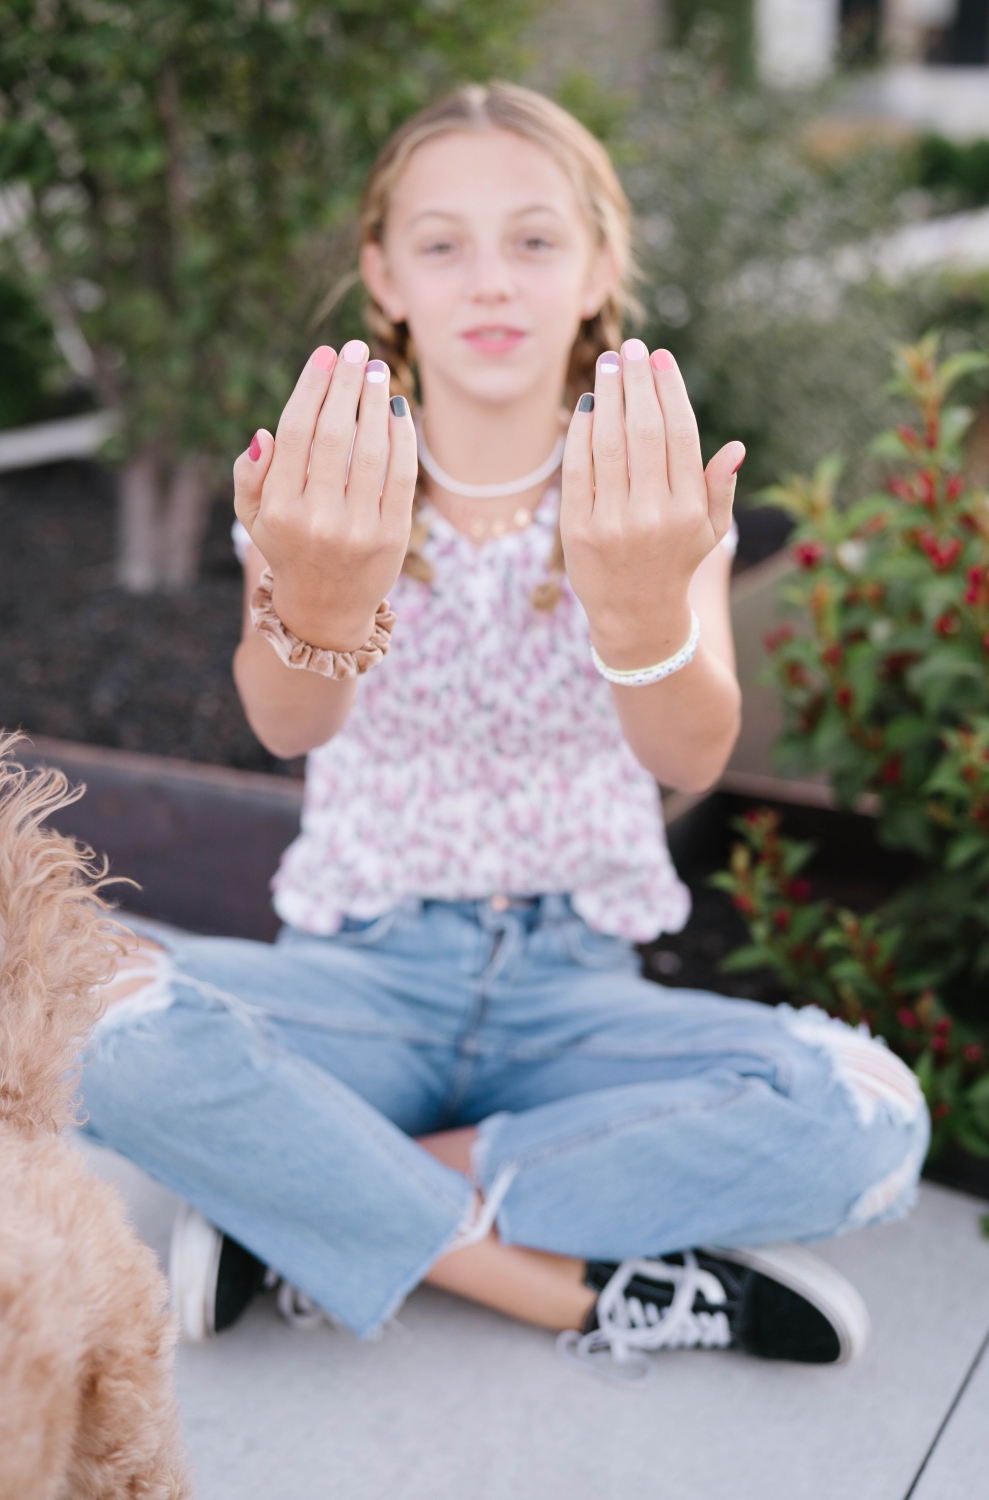
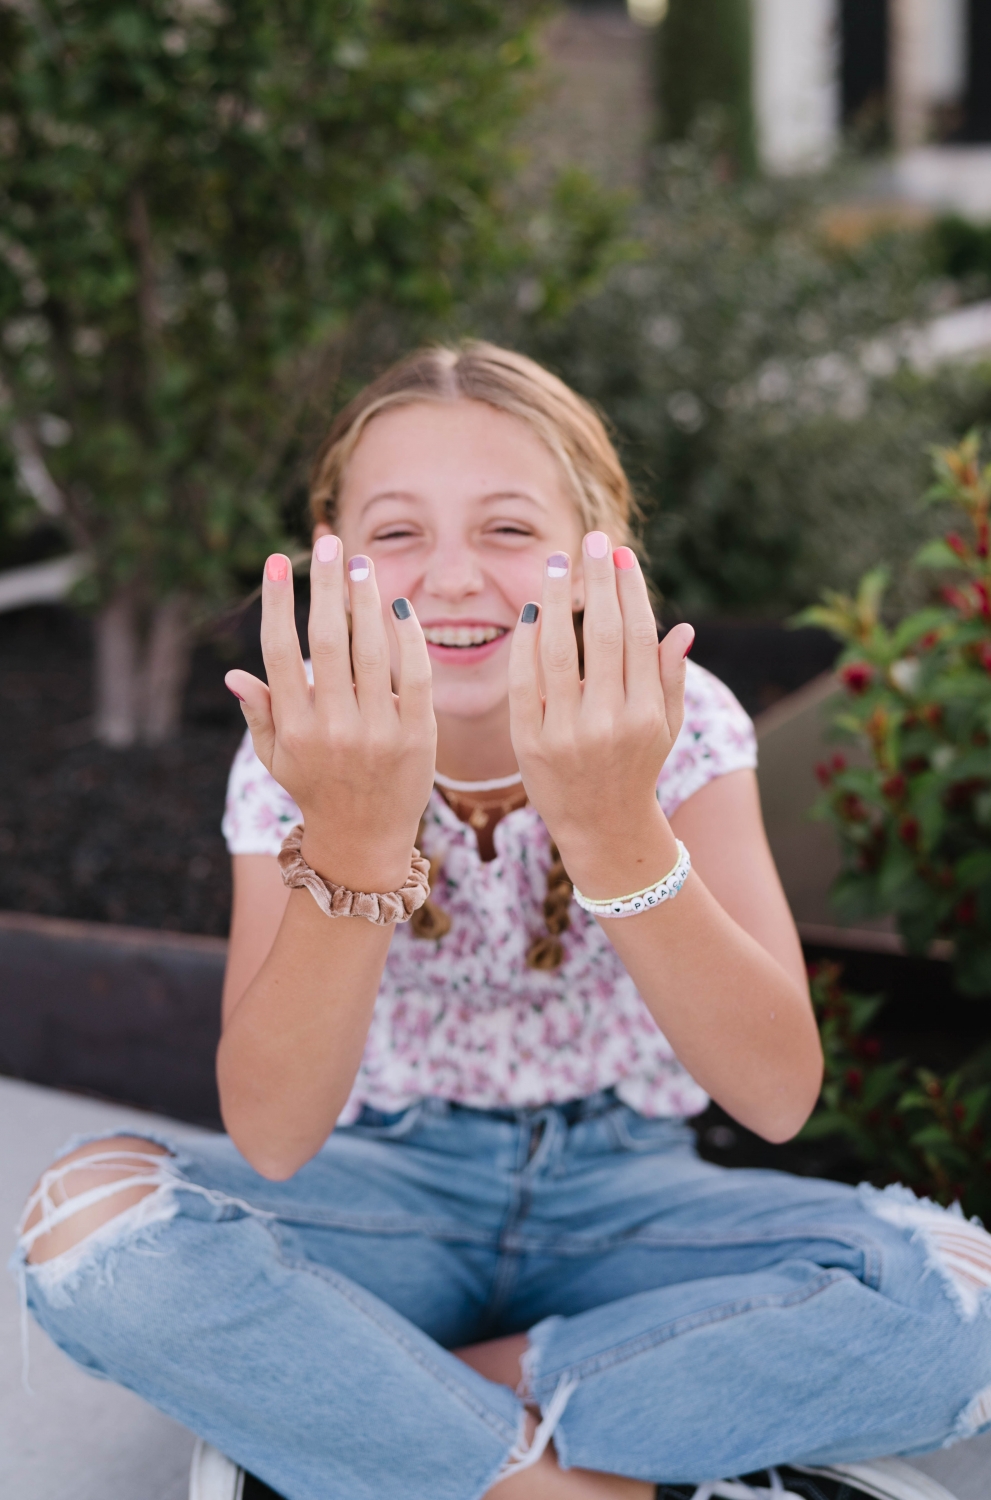
I had intended to show Emery how to give herself a manicure and it ended up with me doing all the work! But I love these moments we get to send with one another and have fun!
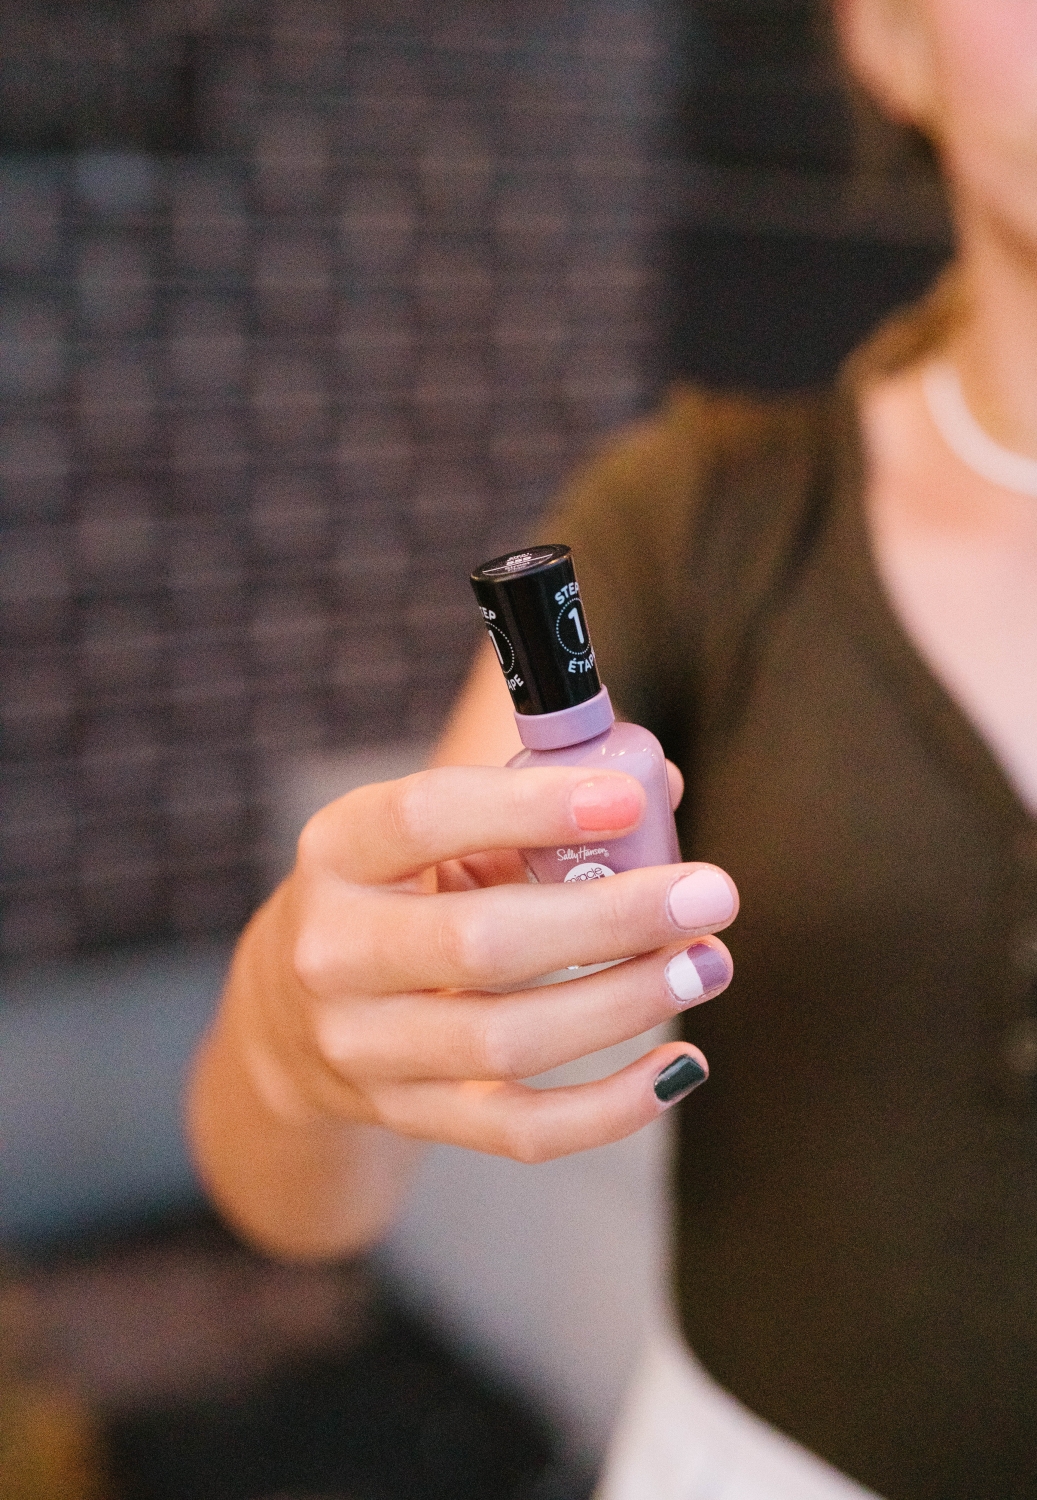
We were also blown away by this polish we picked up at Walmart! It’s the Sally Hansen Miracle Gel and it’s the next best thing if traditional gel nails aren’t your thing. With over 65 different color choices, the options are endless and make these super fun to do nail art with! Emery and I both had a blast choosing different color combos for each nail! And there are over 11,000 good reviews on this polish!
For less than $4 – you could have a super cute manicure every single week!
SHOP OUR FAVORITE COLORS
• • •

So head to your local Walmart (or shop online) to get everything you need for your own DIY manicure! Spending $20 at your local Walmart is much cheaper than the salon and will last through a million manicures! Plus, you can hone your craft and get fancy with nail art!
Remember, Walmart has free shipping and returns on orders over $35! And their selection is huge, plus they have a ton of exclusive offerings! Have fun painting!
Xx Tara
Thanks to Walmart for sponsoring this post!