99% of the time I feel like we create content and worry so much about the colors, the layout, the production value, what we’re saying, how we look, etc. But recently, I’ve really tried to take a step back and think about the accessibility of what I’m producing.
I am far from an expert but I have noticed a huge uptick in engagement and in the number of people who are exposed to the content I put out. That means sizing content for the right platform (a 16:9 video for YouTube and a 9:16 video for Instagram), utilizing the native distribution capabilities of a platform (share to stories on Instagram), and making easily digested content available in the best possible format (making more 2-3 minute IGTV videos).
But I think the best thing I’ve done over the past few months that has made the biggest difference in my audience engagement has been adding captions to my videos.
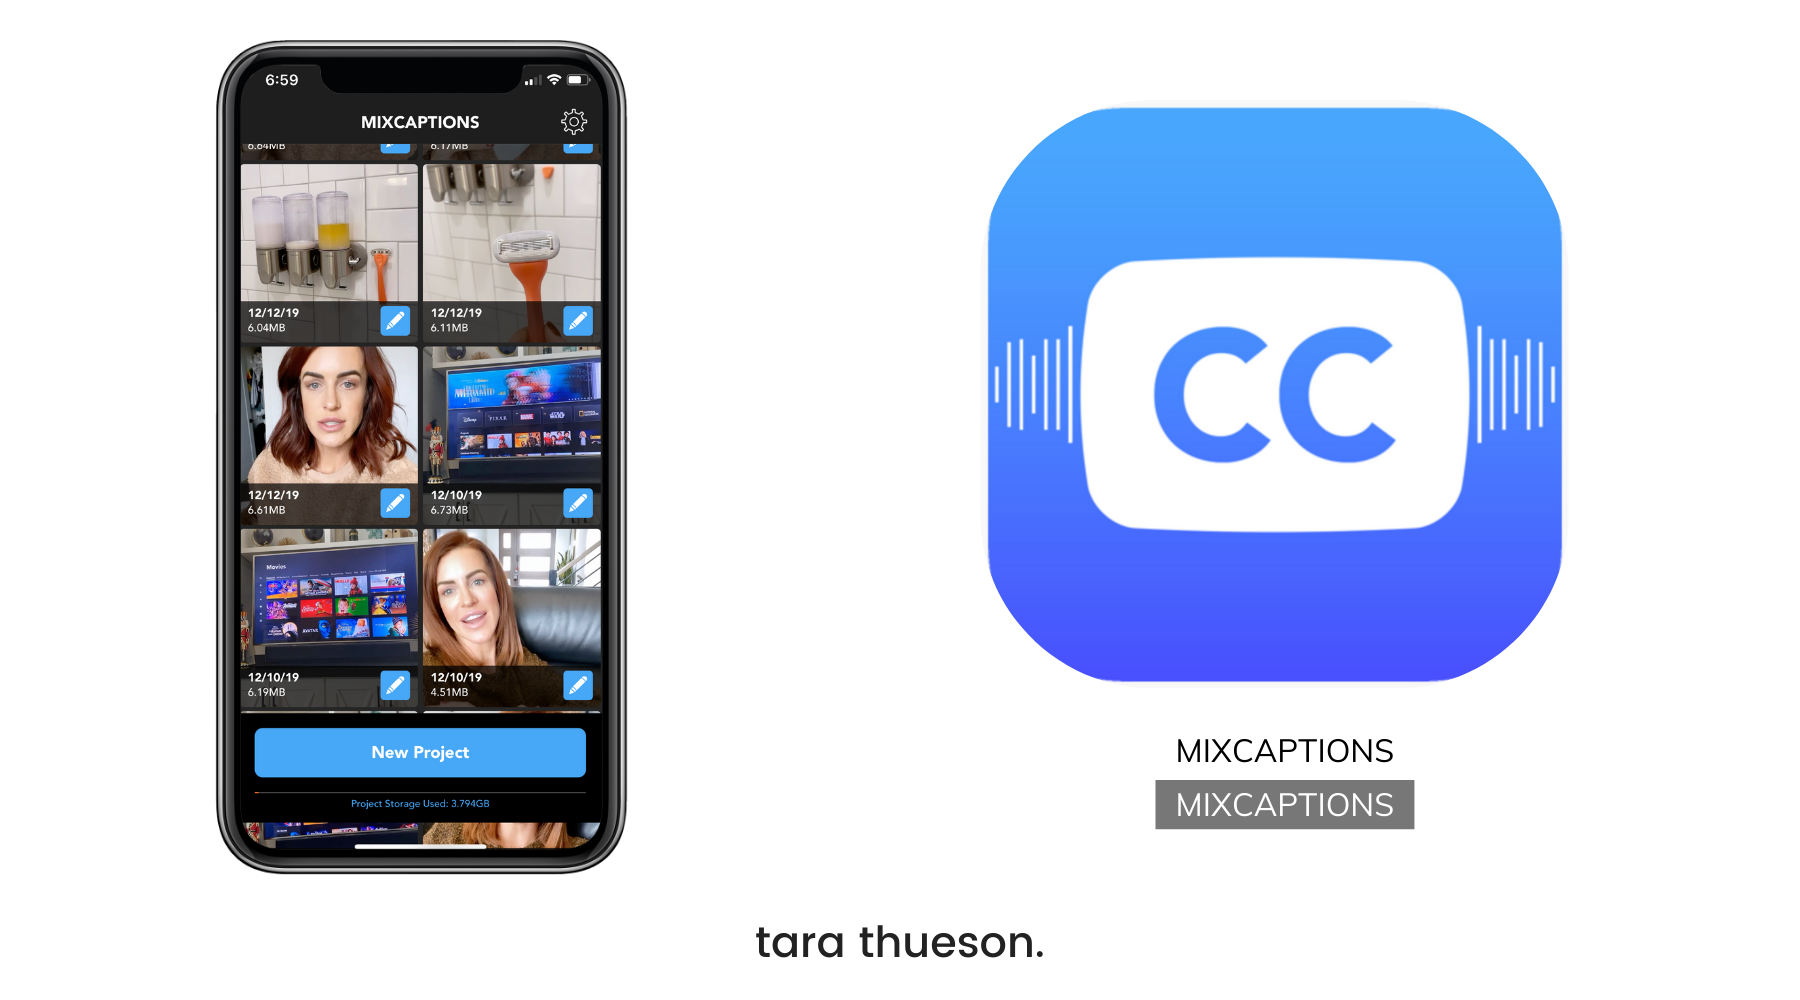
And I’ve been doing this using an app from the creators that brought us PicPlayPost, Acapella, PopAGraph.
Introducing MixCaptions
There are so many reasons to love this app but my favorite one by far, is how accessible your content becomes once you put captions on your videos. Whether your viewer is hearing-impaired, in a noisy location, or sitting somewhere that prevents them from listening to your videos as they watch. It means that they can watch your videos at any time and anywhere!
Easily Create Captions for Instagram, Facebook, YouTube, and Much More!
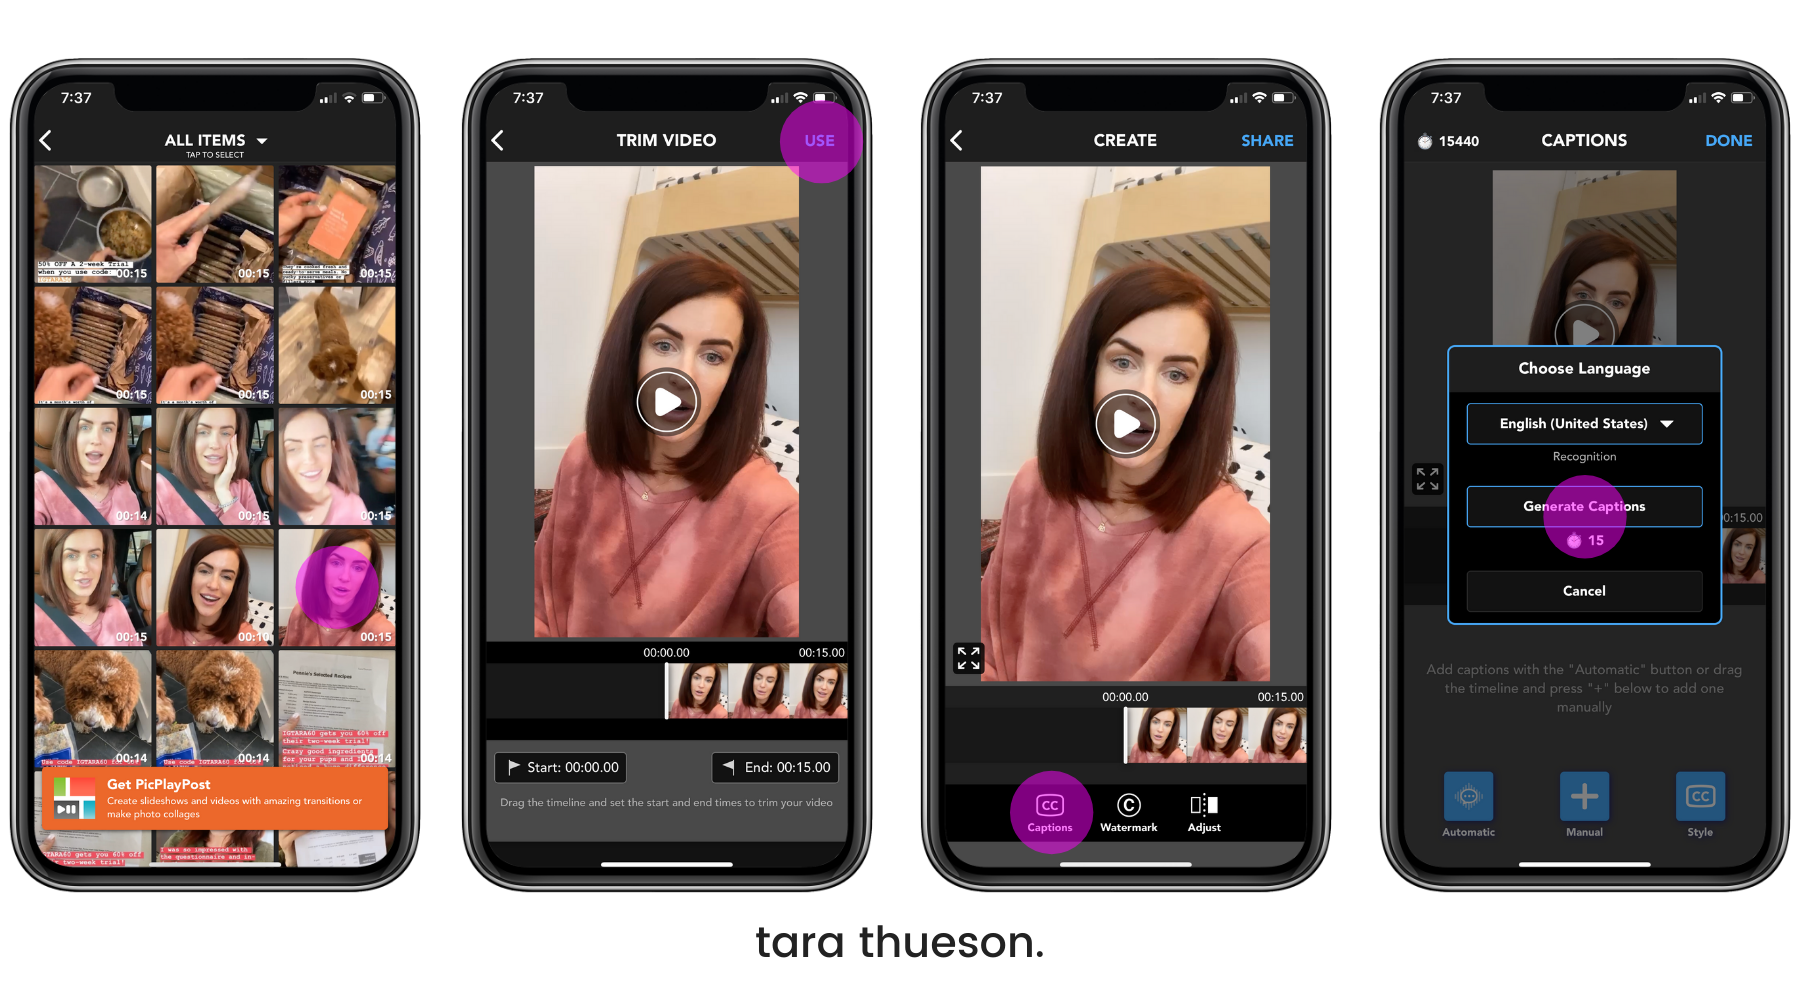
Using this app is incredibly intuitive! It’s a step-by-step process that can be as simple as choosing the video to transcribe and letting the app do all the work. Or, you can get creative with the different style options. Here’s how you get started:
- Choose a pre-recorded video and transcribe up to 10 minutes
- Select “Captions” at the bottom of the screen to begin your transcription. This is also the time to choose a watermark (if you want to brand your work) or to adjust your video.
- Select your language. MixCaption supports 23 languages (English, Croatian, Danish, Dutch, Finnish, French, German, Hebrew, Hungarian, Italian, Japanese, Korean, Norwegian, Polish, Portuguese (Portugal and Brazil), Russian, Spanish, Swedish, Thai, Traditional Chinese, Turkish, Vietnamese)
Perfecting Your Captions
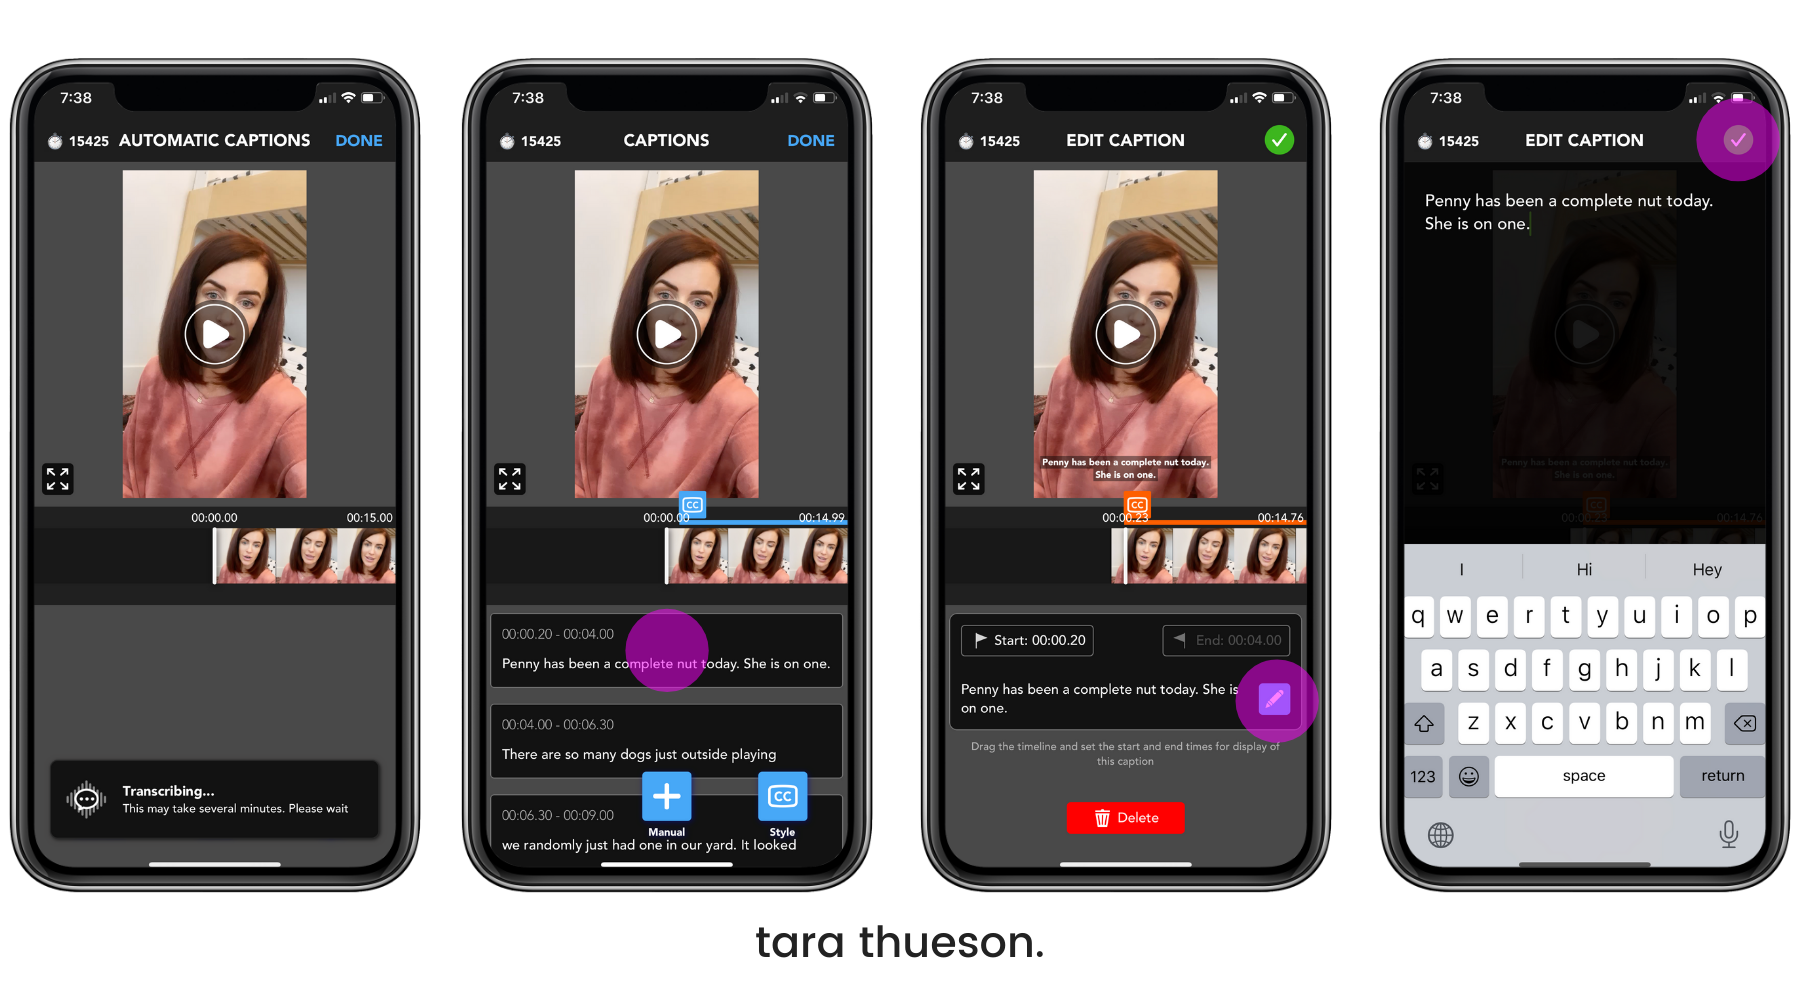
Depending on the length of your video, the app can take anywhere from a few seconds to a few minutes to transcribe. A little tip – when you’re recording your video, make sure you speak clearly and enunciate. Doing this will produce the BEST captions requiring very little adjustment when finished.
- Hit Play on your video and make sure that the captions displaying on the screen match the words coming out of your mouth.
- To edit any section, pause your video and select the passage of text you’d like to edit.
- Hit the pencil icon to make your adjustments.
- Tap the green checkmark in the corner to save your changes.
At this point in the process, you can simply save your video or you can take it a step further by customizing your captions!
Customizing the look and feel of your captions
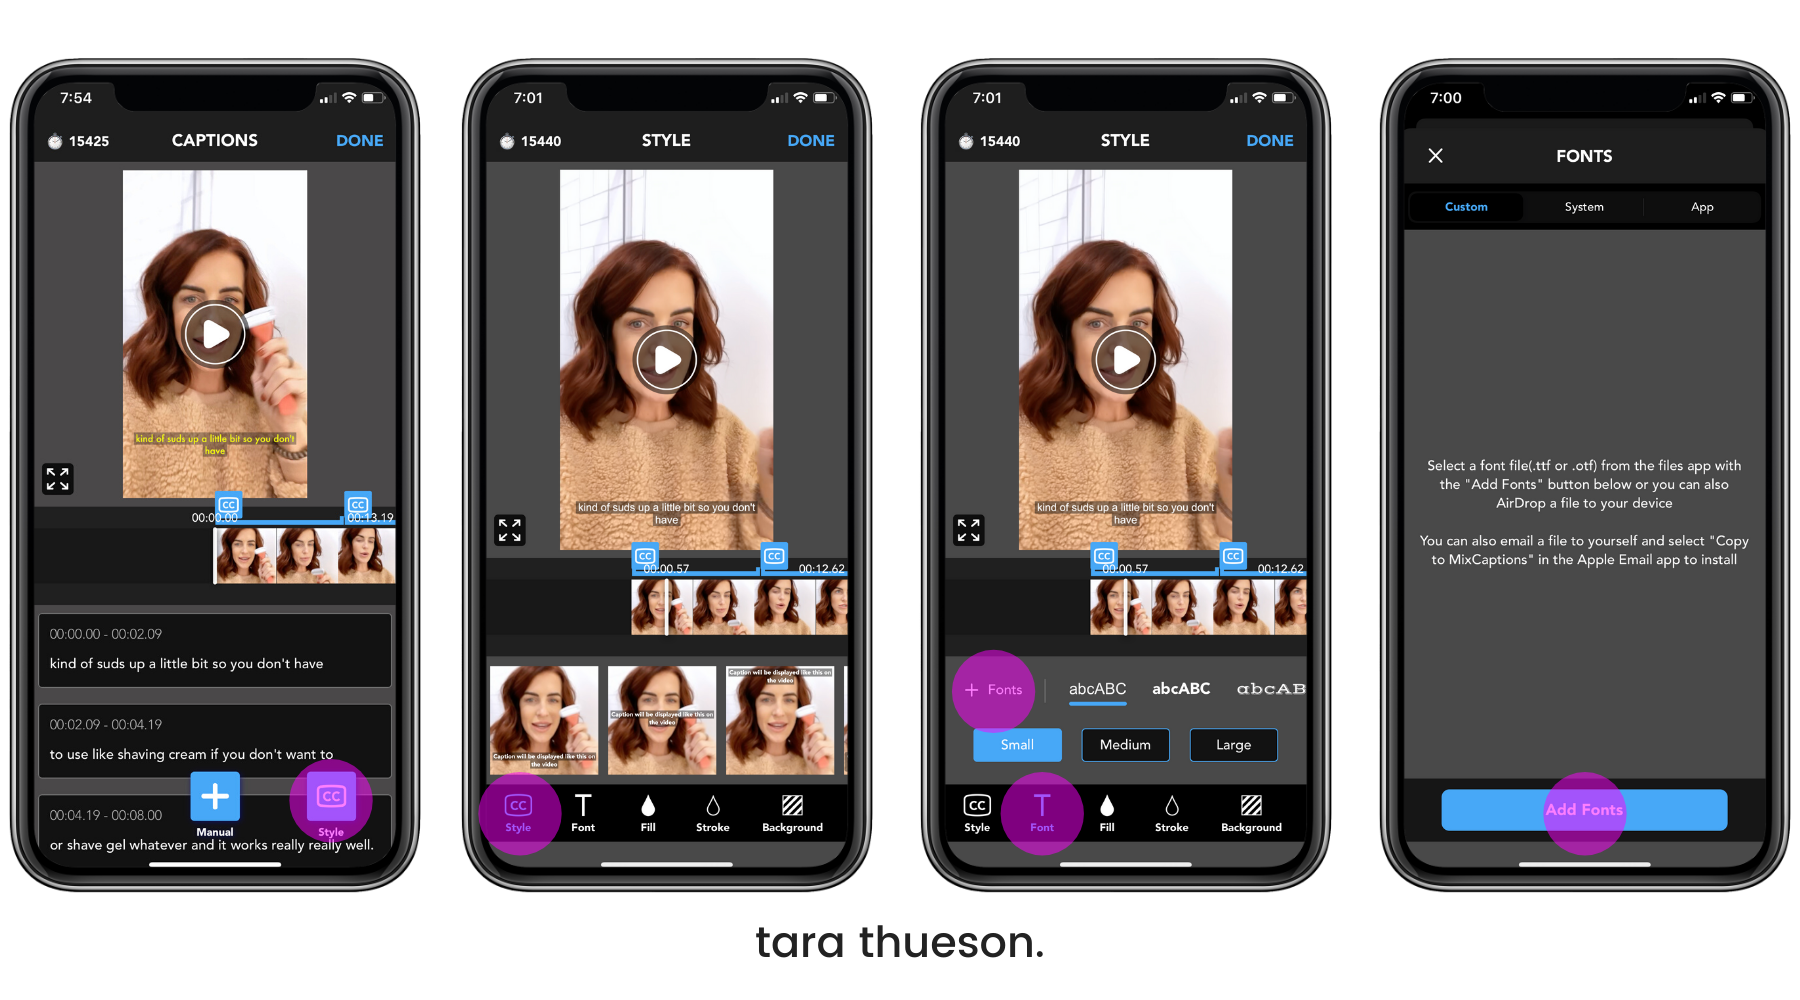
Once you’re happy with the text in your captions, you can select ‘Style’ to really customize the look and feel!
- Style CC: adjust the placement of your captions and the style of the layout
- Font: You can select a font that is preloaded in the app or upload your own font file if you really want to stay on brand. It’s important to keep in mind that you want your captions to be easily readable!
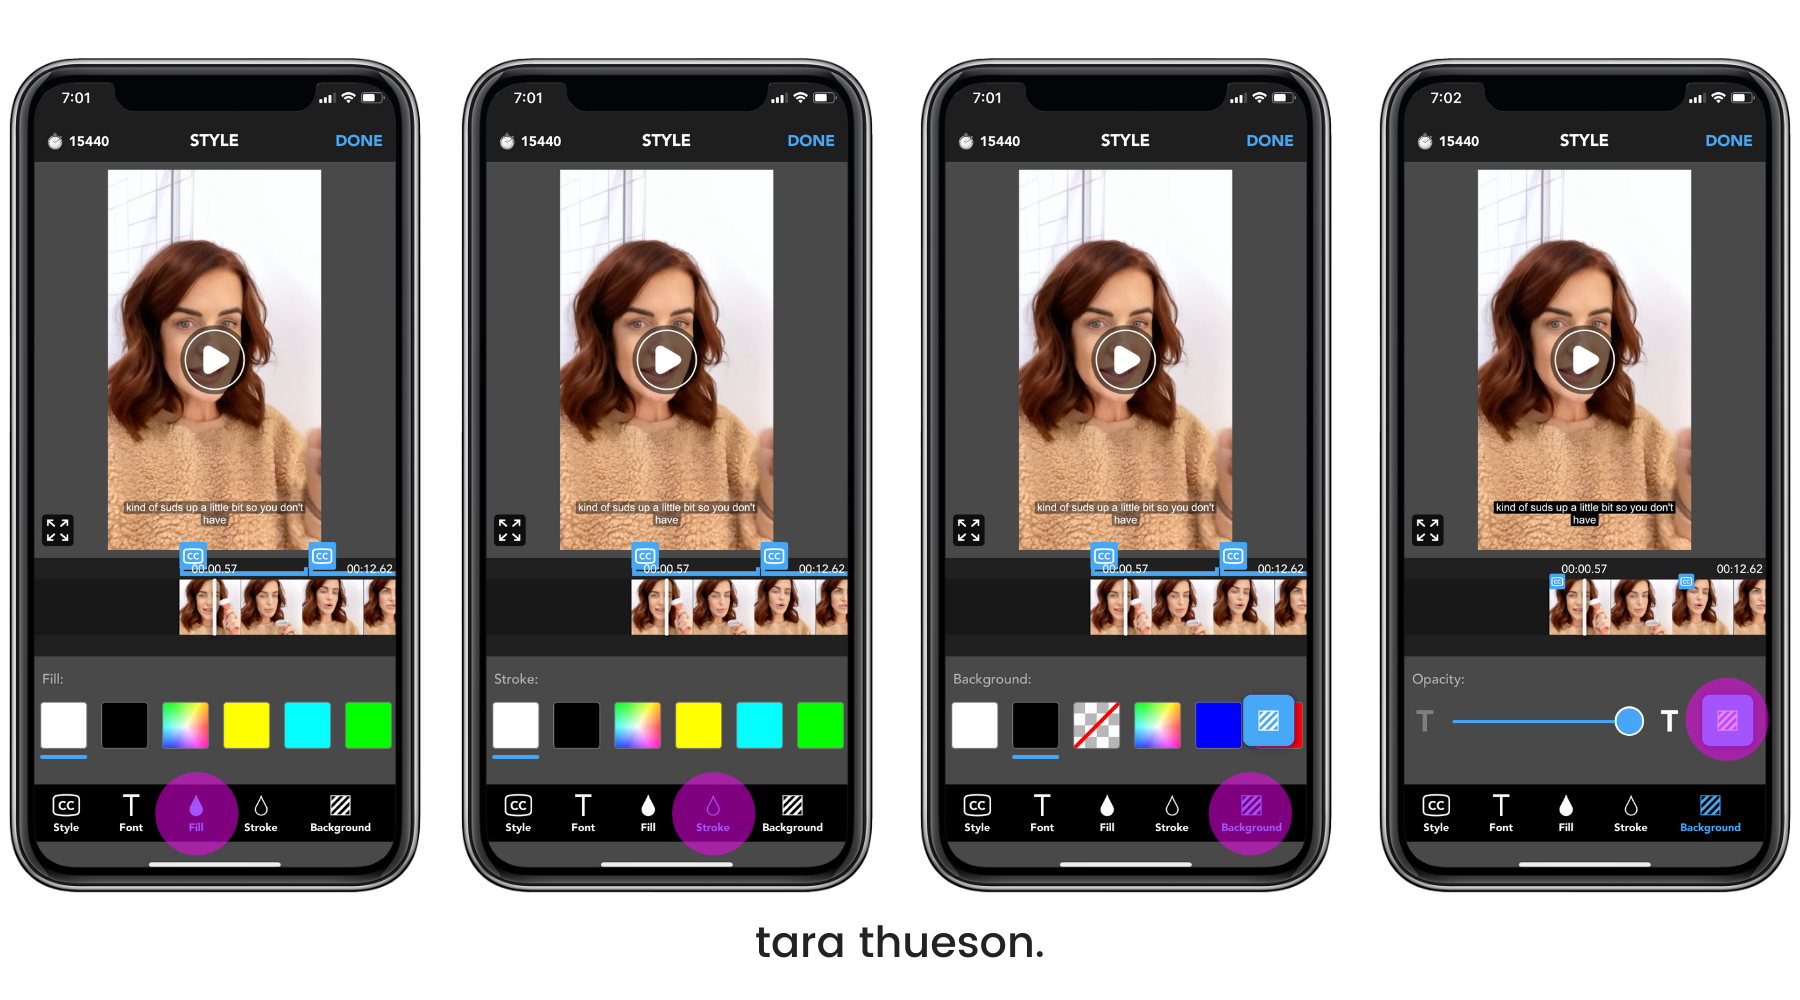
- Fill: This is the internal color of your text. This can be the same color as the ‘Stroke’ or outline or you can change it to contrast.
- Stroke: This is the outline of your text. This can be the same color as the ‘Fill’ or outline or you can change it to contrast.
- Background: Change this to change the color and opacity of the bars or colored background of your text!
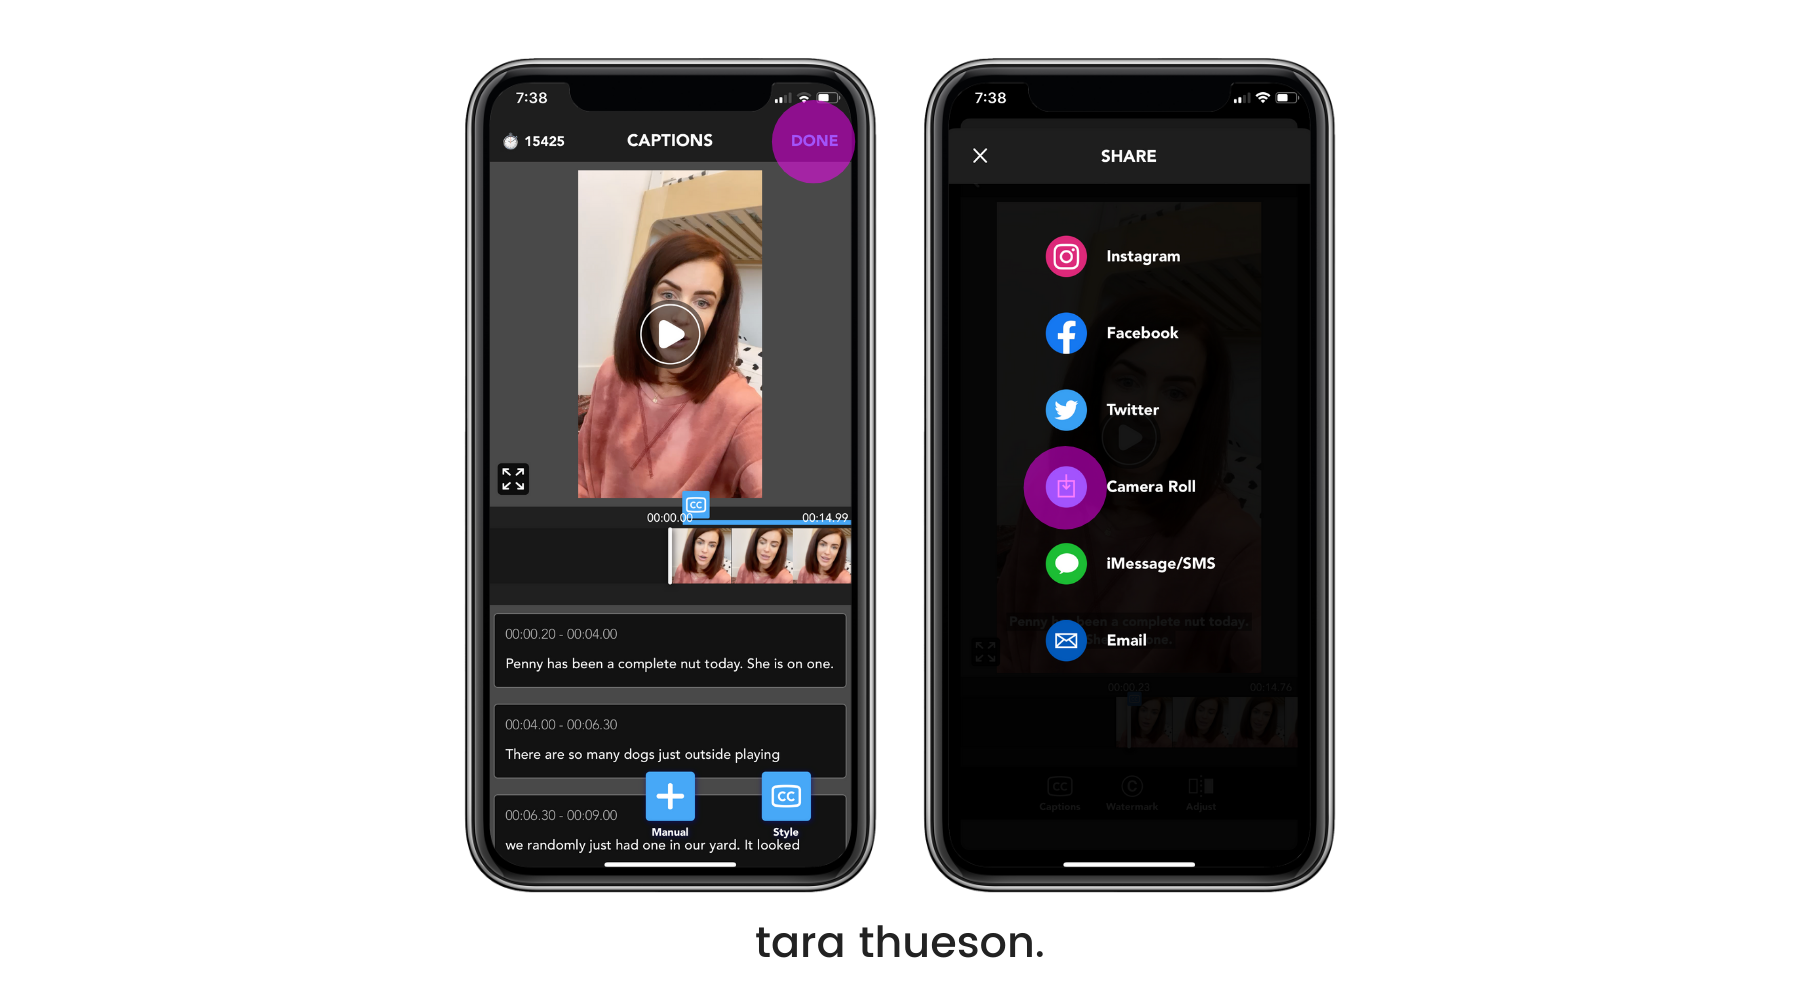
Saving Your Video
Once you’re done with all of your edits, simply select ‘Done’ in the top right corner. You can then save the video to any platform listed. I always save to my camera roll so I can share it to multiple platforms. But even if you don’t, you can always open up the app and visit past videos you’ve transcribed!
Videos have topped social media as the preferred format and most viewers watch video without sound (Instagram and Facebook both auto play video with sound OFF) or may be living with a hearing disability. Subtitles on your video will keep your audience engaged and coming back for more. And has been one of my favorite additions to my content this year!
Happy captioning!
Xx Tara
P.S. some of the features I mentioned above are only available if you purchase the pro subscription!
Hi Tara- Thank you so much for your tips. I am going to work on applying these ASAP. Most people listen at work etc so it’s time for captions!
This app is fabulous, thanks for the recommendation! I also started using Planoly at your recommendation. Planoly won’t let me upload videos longer than 15 seconds to schedule stories. It trims it down to 15 seconds and throws away the rest. Any way to schedule stories and upload longer videos that are spliced into multiple stories?
I would use an app called ‘Continual’ to chop your video into 15-second segments and then upload those to Planoly! Hope that helps!
Glad this helped!