Even without the social distancing that everyone is practicing right now, cutting your boy’s hear at home is simple, cost-saving, and easier than dragging them into a salon.
At least when you give him a little bald spot because he moved, you won’t be ticked that you paid $15 for that bald spot!

So here are my supplies and step-by-step instruction for cutting your boy’s hair!
The Tools You’ll Need
1) Clippers
A good clipper set is worth the investment, especially if you will be cutting hair for several people in your family. When it comes to clippers, you totally get what you pay for. I find that the standard clipper set that you would normally buy is overly bulky. I actually use Braun’s beard trimmer to get the job done! It’s lightweight, super sharp, and will last quite a long time.
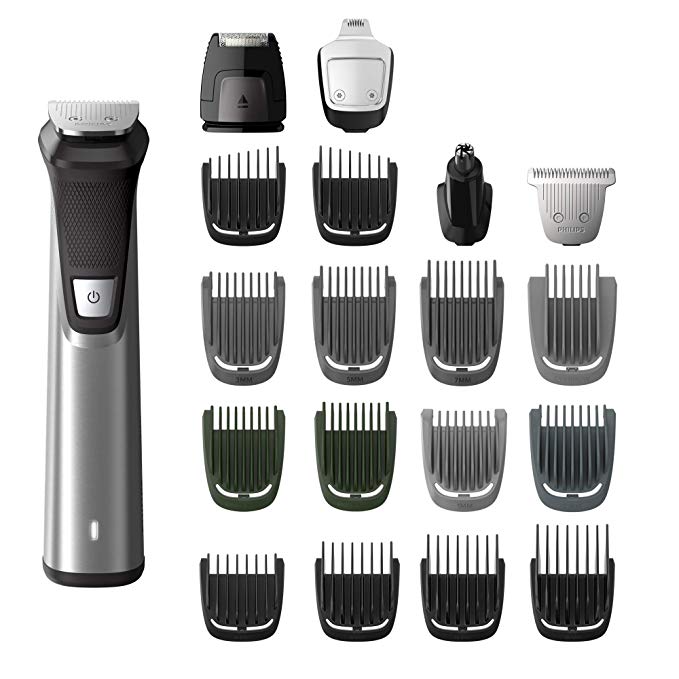
It’s just over $50 and comes with all the attachments you need to keep your kid’s hairline cleaned up! And if the comb sizes confuse you, here is a quick guide:
- #1: one-eighth of an inch
- #2: one-fourth of an inch
- #3: three-eighths of an inch
- #4: one-half of an inch
- #5: five-eighths of an inch
- #6: three-fourths of an inch
- #7: seven-eighths of an inch
- #8: one inch
I use a #7 all around my boys’ heads except for the top.
2) Scissors
The quality of your scissors is important. you don’t want a pair that dulls quickly. The hair is fragile and if you don’t have a sharp, clean cut, your hair may fray, causing split ends. I’ve read through quite a few reviews on Amazon and I love this pair.
3) Continuous Spray Bottle
If you haven’t discovered these water bottles yet, I’m about to totally change the game for you! You only need to press and hold down the trigger once and it continues to spray a fine mist. This heps prevent against big drops of water soaking your kid and getting water everywhere – I love these!
SHOP ALL MY TOOLS

• • •
4) Comb
Now, what comb you get isn’t the most important thing in this whole equation but having one with a really low profile and the ability to grip hair without pulling does wonders. It cuts down on the work your hand has to do and make cutting hair so much easier. Here’s the one I love.
5) A Cape
Save yourself the headache of cleaning up hair from every nook and cranny and get a haircutting cape. It will save you and make your kids less wiggly.
CUTTING STEP-BY-STEP
1) cutting the sides
- fit the #7 comb onto your clippers (you can do whatever size you like – the smaller the number the shorter the cut)
- draw an imaginary line directly up from the ends of your kids’ eyebrows on both sides and go straight towards the back of their heads.
- with the clippers in hand, follow this line and cut both sides of the head and the back, connecting the 2 lines in a perfect ‘U’ shape looping around the back top of the head
- make sure to hold the top hair out of the way while you trim along your invisible line – this will keep the cut looking clean

2) cutting the top
- start by spraying the hair with your spray bottle – this will make it easier to gather and cut
- next, gathering the hair across the front of the hairline and cutting it to the desired length – one straight line across
- gather the hair down the center of the head from front to back and cut it the same length as you did the hair in the front. Note: every time you grab hair to cut, you will grab the hair that’s already been trimmed to act as your guide.
- Now you can work front to back or center to each side to trim the rest of the hair on top
- I tend to angle my fingers closer to the head as I near the sides so the hair around the perimeter of the top lays better.
- Once I’ve gotten the top hair to my desired length, I will gather the hair around the perimeter and take my scissors at an angle and cut into my straight line, creating texture.
3) Cleaning up the edges
- take any comb attachments off your clippers
- level your clippers and go straight across the back hairline, cutting any long hair and make the hairline straight
- from the far end of the back hairline, take the clippers and go at a diagonal to the bottom curve of the hairline before it curves over the ear
- with the edge of your clipper, follow along the hairline as it curves over the ear as you hold the ear down with your other hand
- repeat on the opposite side
- hold the trimmer in a vertical position facing you, and trim the sideburns in a downward motion. Comb the sideburns forward and trim off any hairs that extend beyond the natural hairline. Comb the sideburns back and trim off any hairs that extend beyond the natural hairline. Trim the bottom edge parallel to the floor
And that’s it!

Then use some of this hair gel in totally dry hair to get a fresh look for your boys! Watch my video to see the entire process:
Happy cutting! Leave any questions you have in the comments below.
Xx Tara


