If you know me you know I love a good soup and Chicken Noodle Soup is at the top of my list. If you’re looking for something quick that you can just throw in the pressure cooker, you can check out my original Chicken Noodle Soup recipe. I think I prefer this one because it’s more of classic comfort food. With the creamy base and buildable flavors, this one is even BETTER as leftovers!
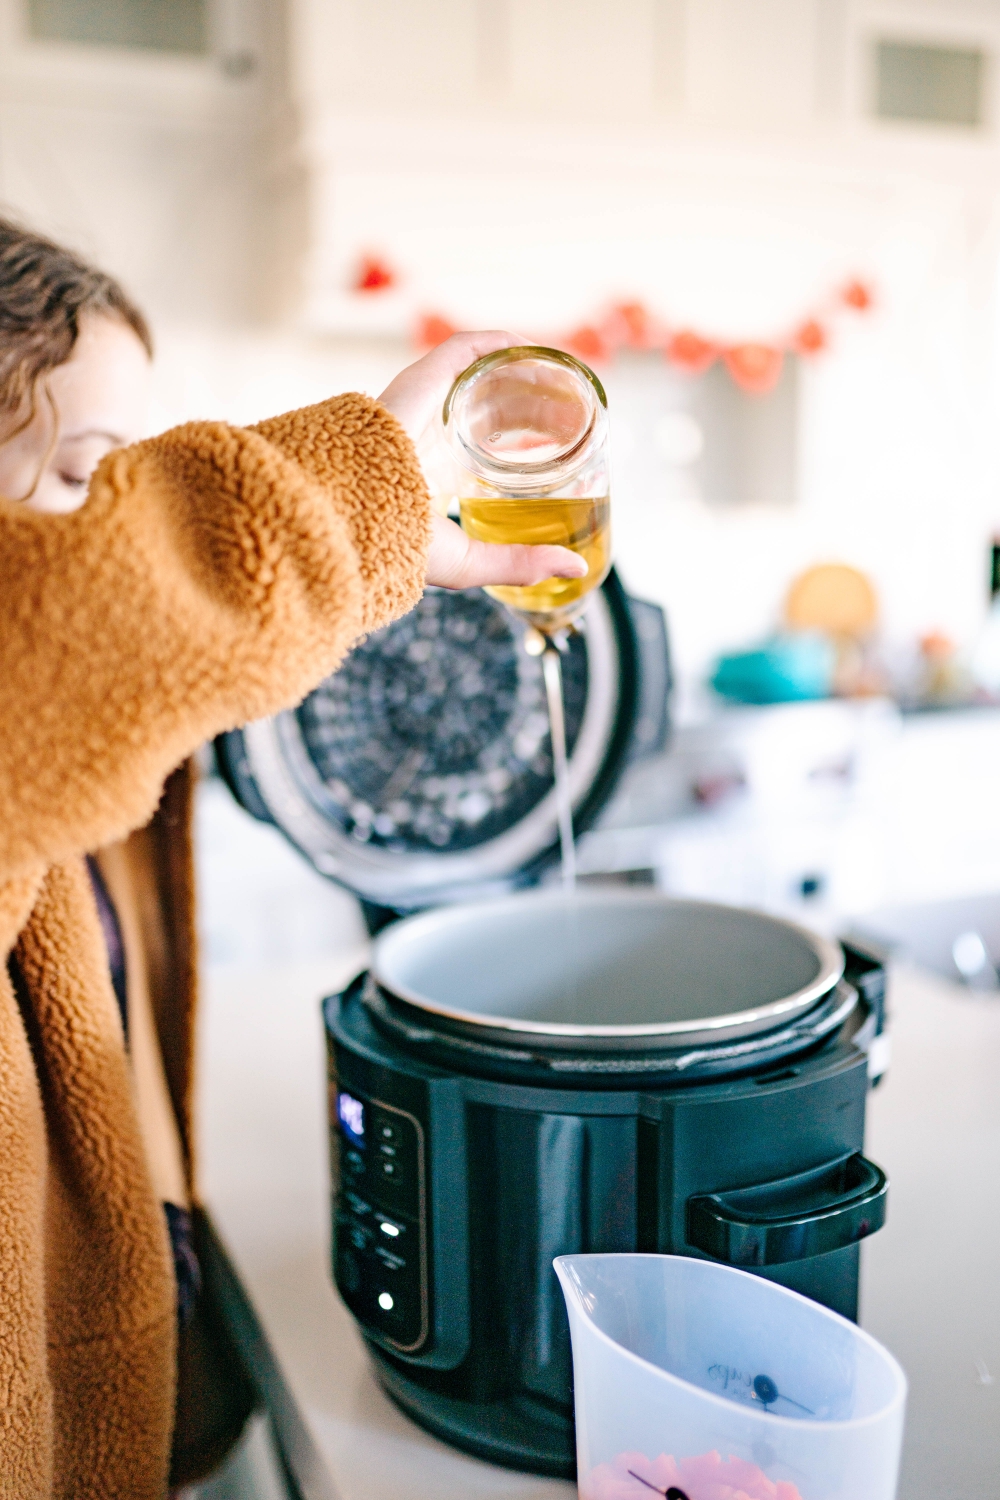
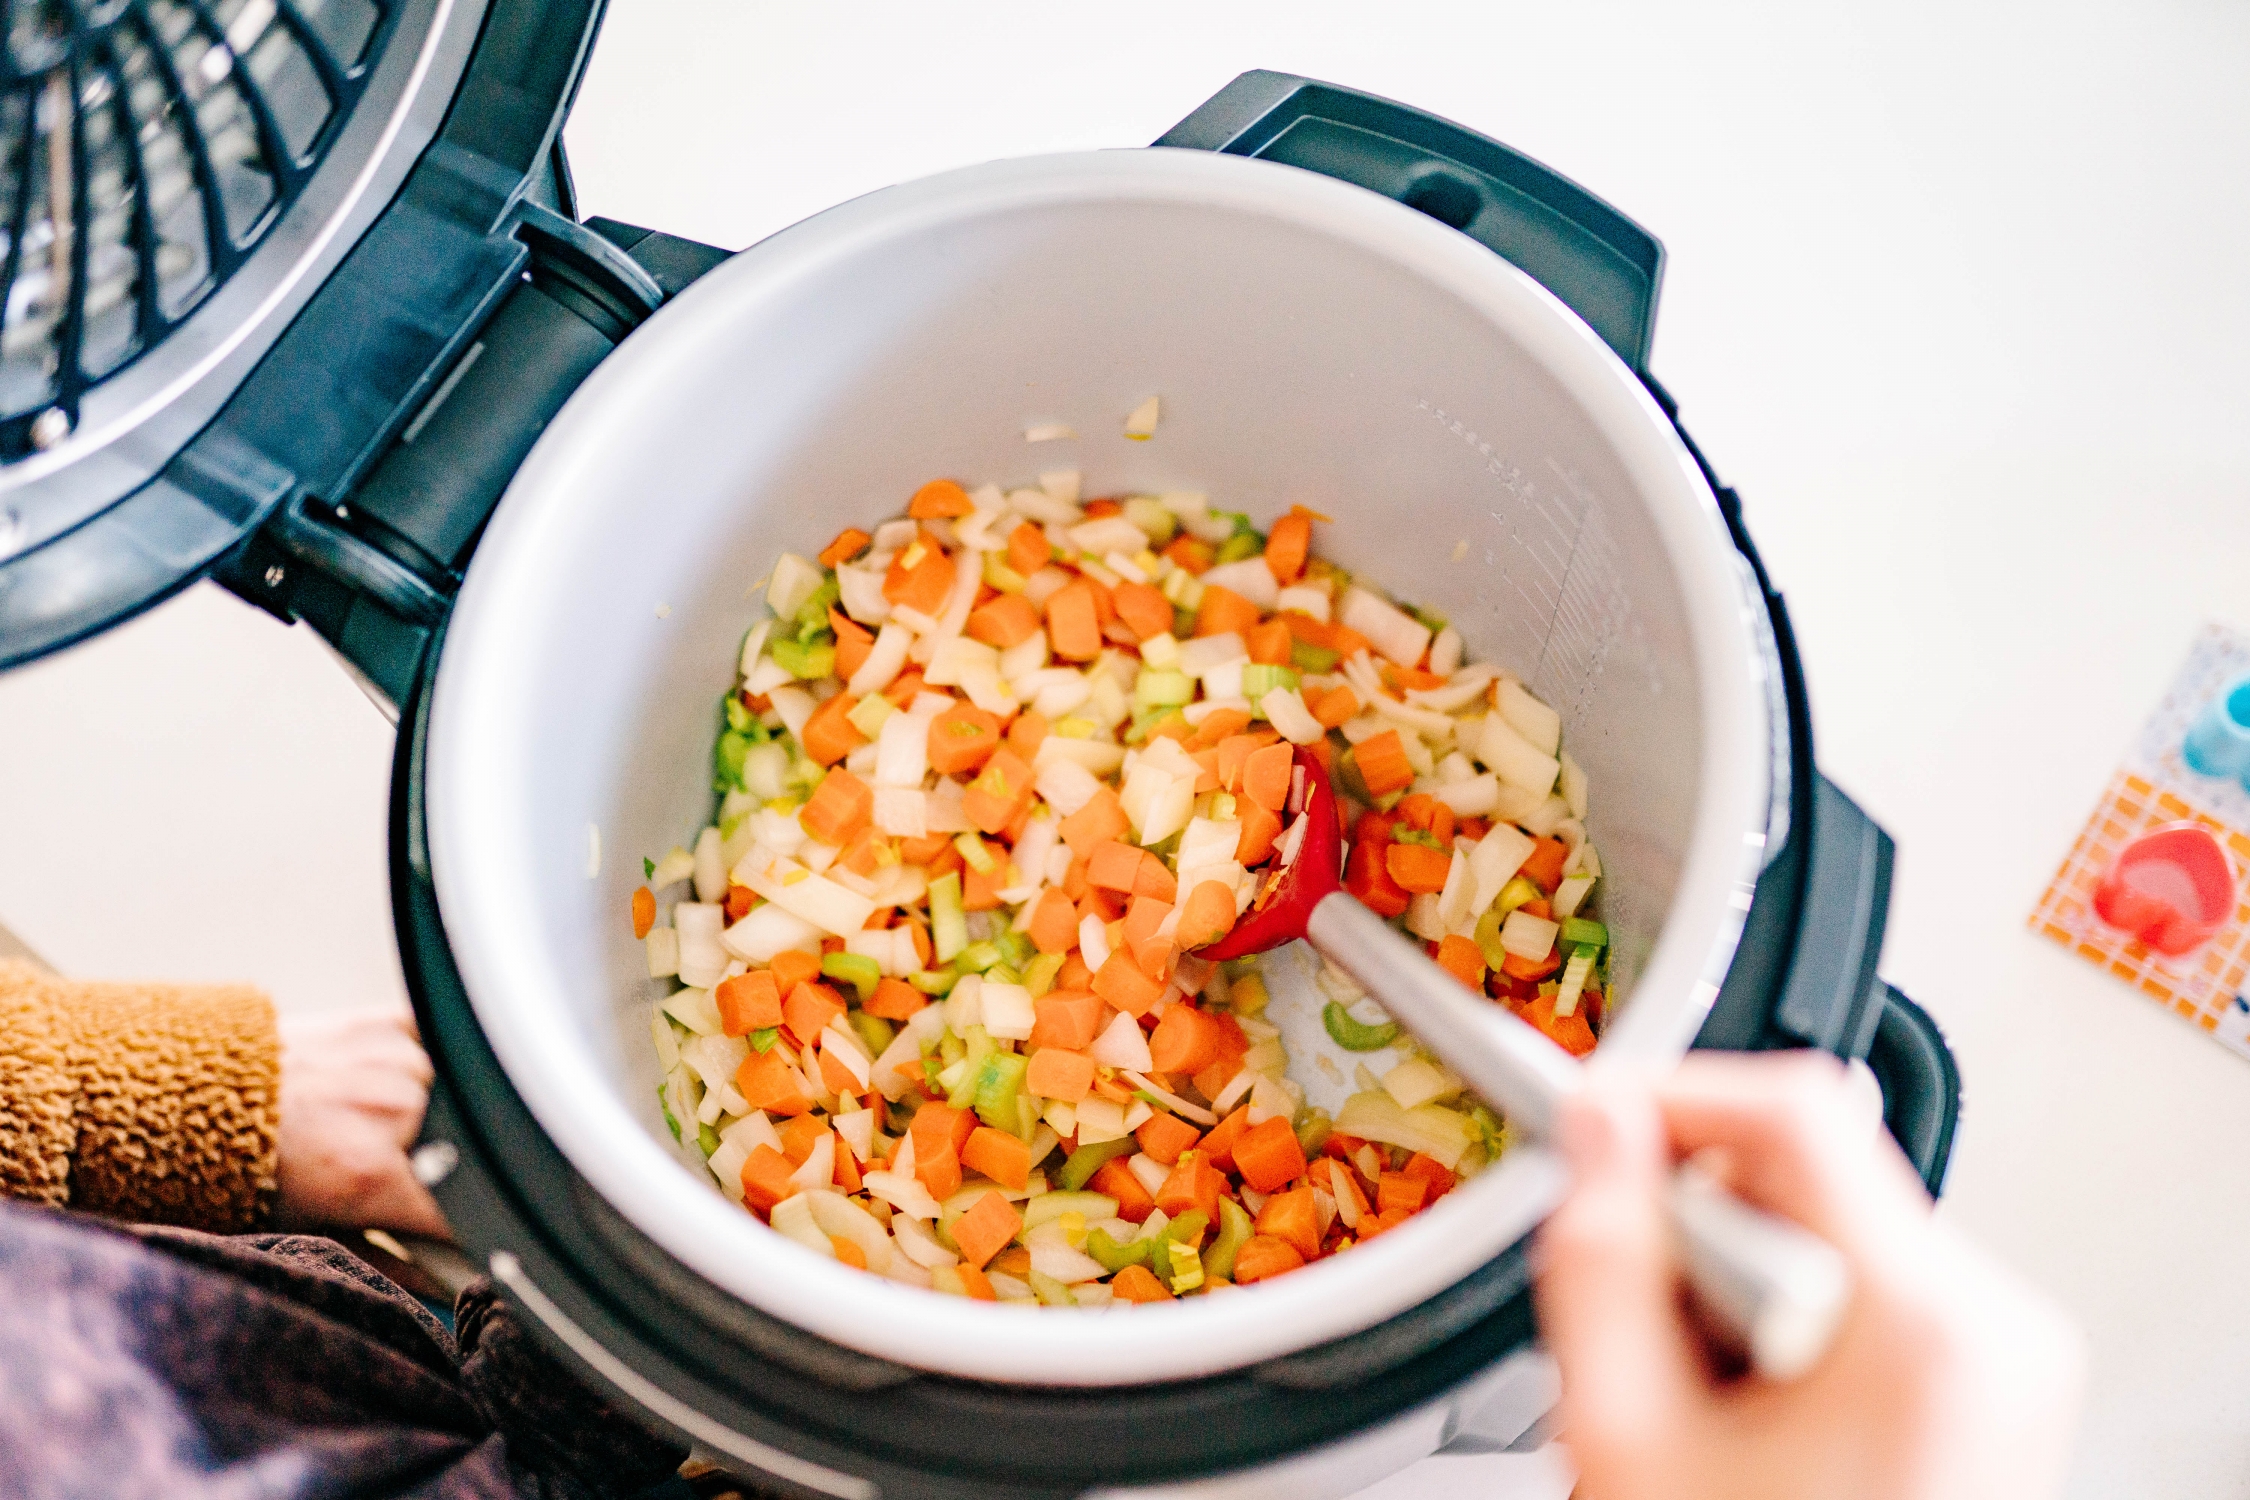
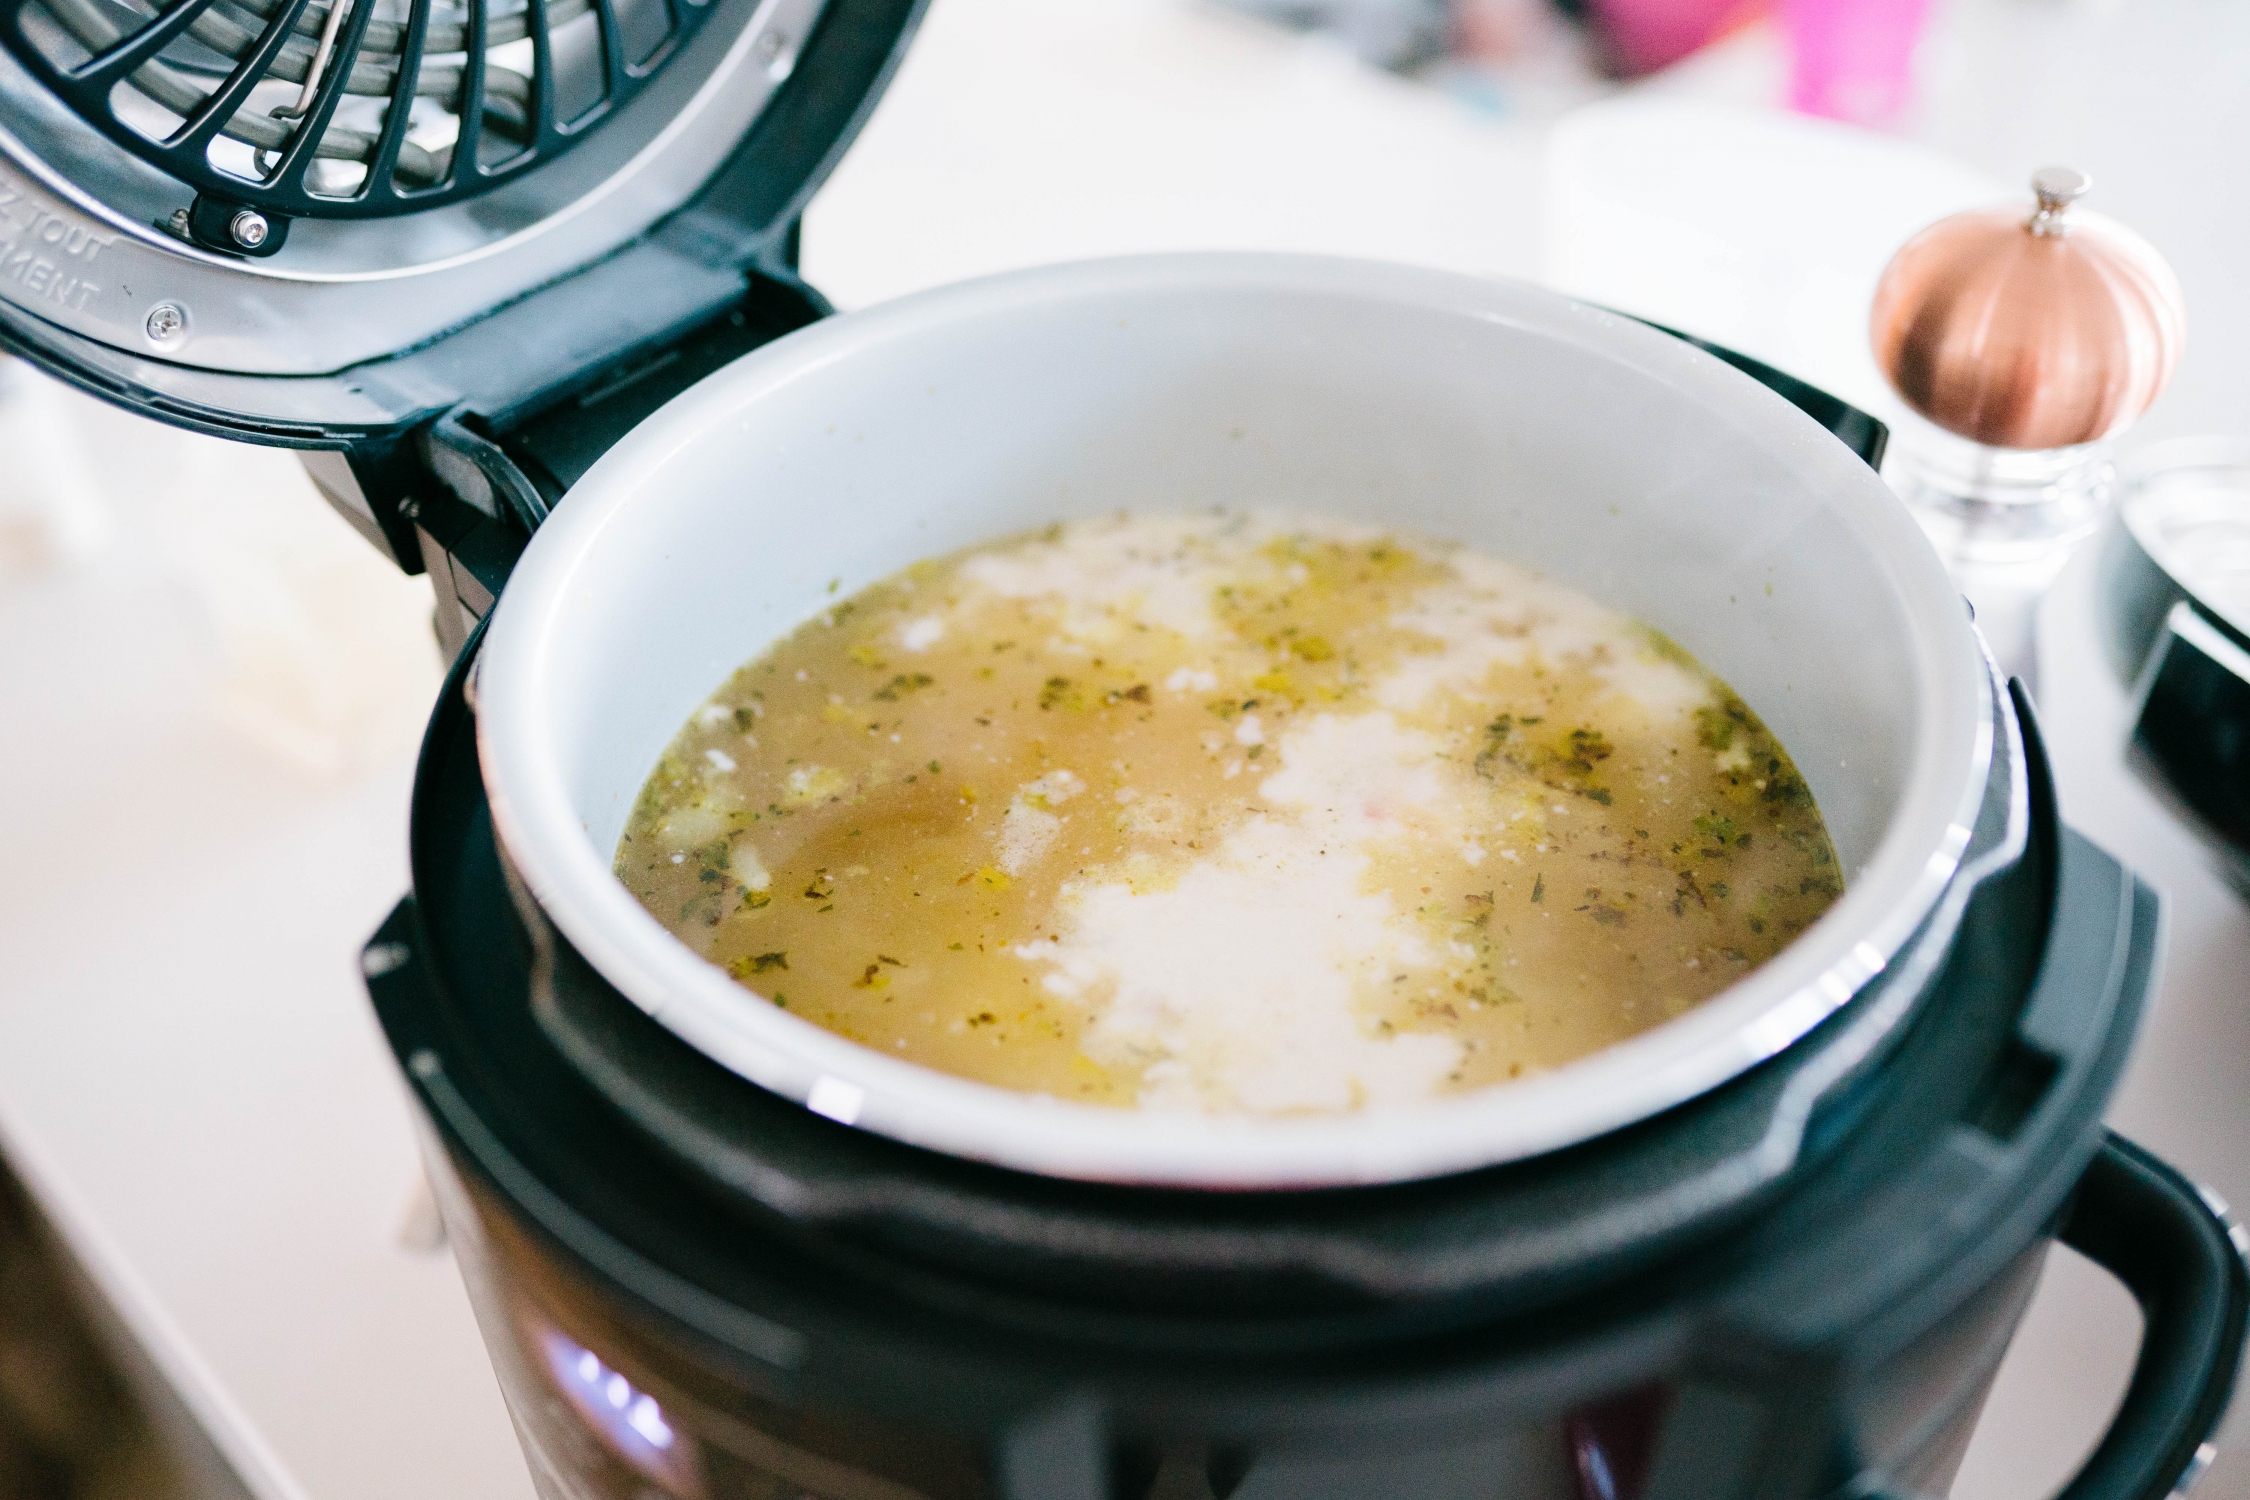
I used my Ninja in these pictures because it was new and I wanted to test out the sauté function on it, but I much prefer cooking soups like this on my stove! I like being able to adjust the heat. 🙂 My Le Creuset is my FAVORITE pot ever. I use it all the time! + the pot provides unique glazing on the vegetables that I wasn’t quite able to achieve in the Ninja. It’s that glaze and brown bits that help add so much flavor when you start to de-glaze the pot when you add the water and bouillon.
Prepping Your Ingredients
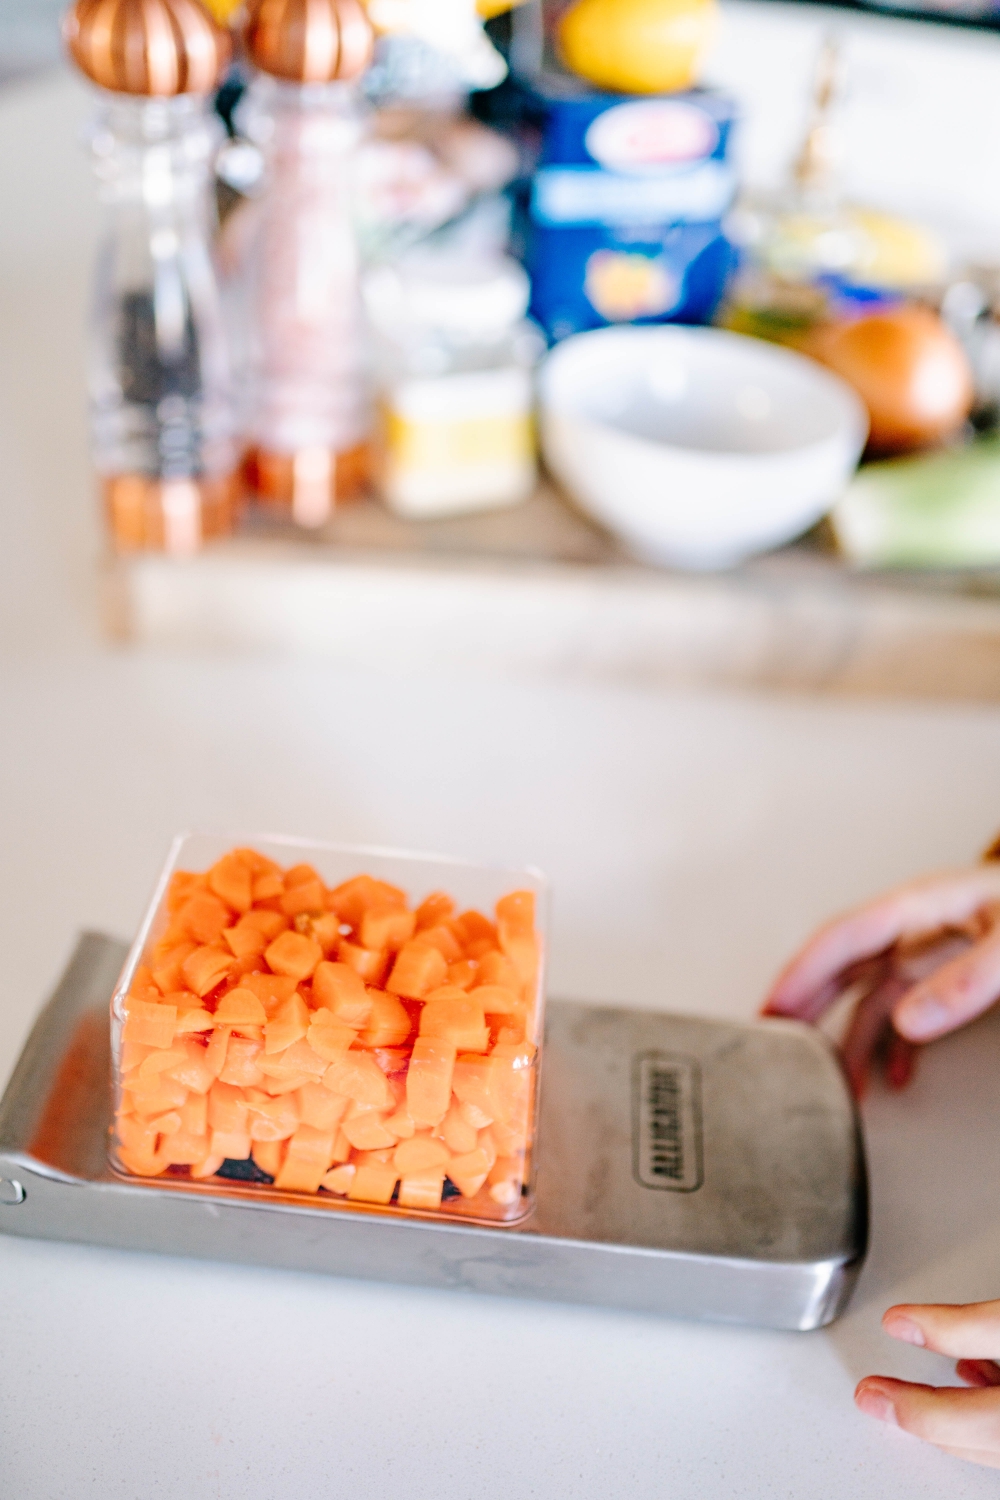
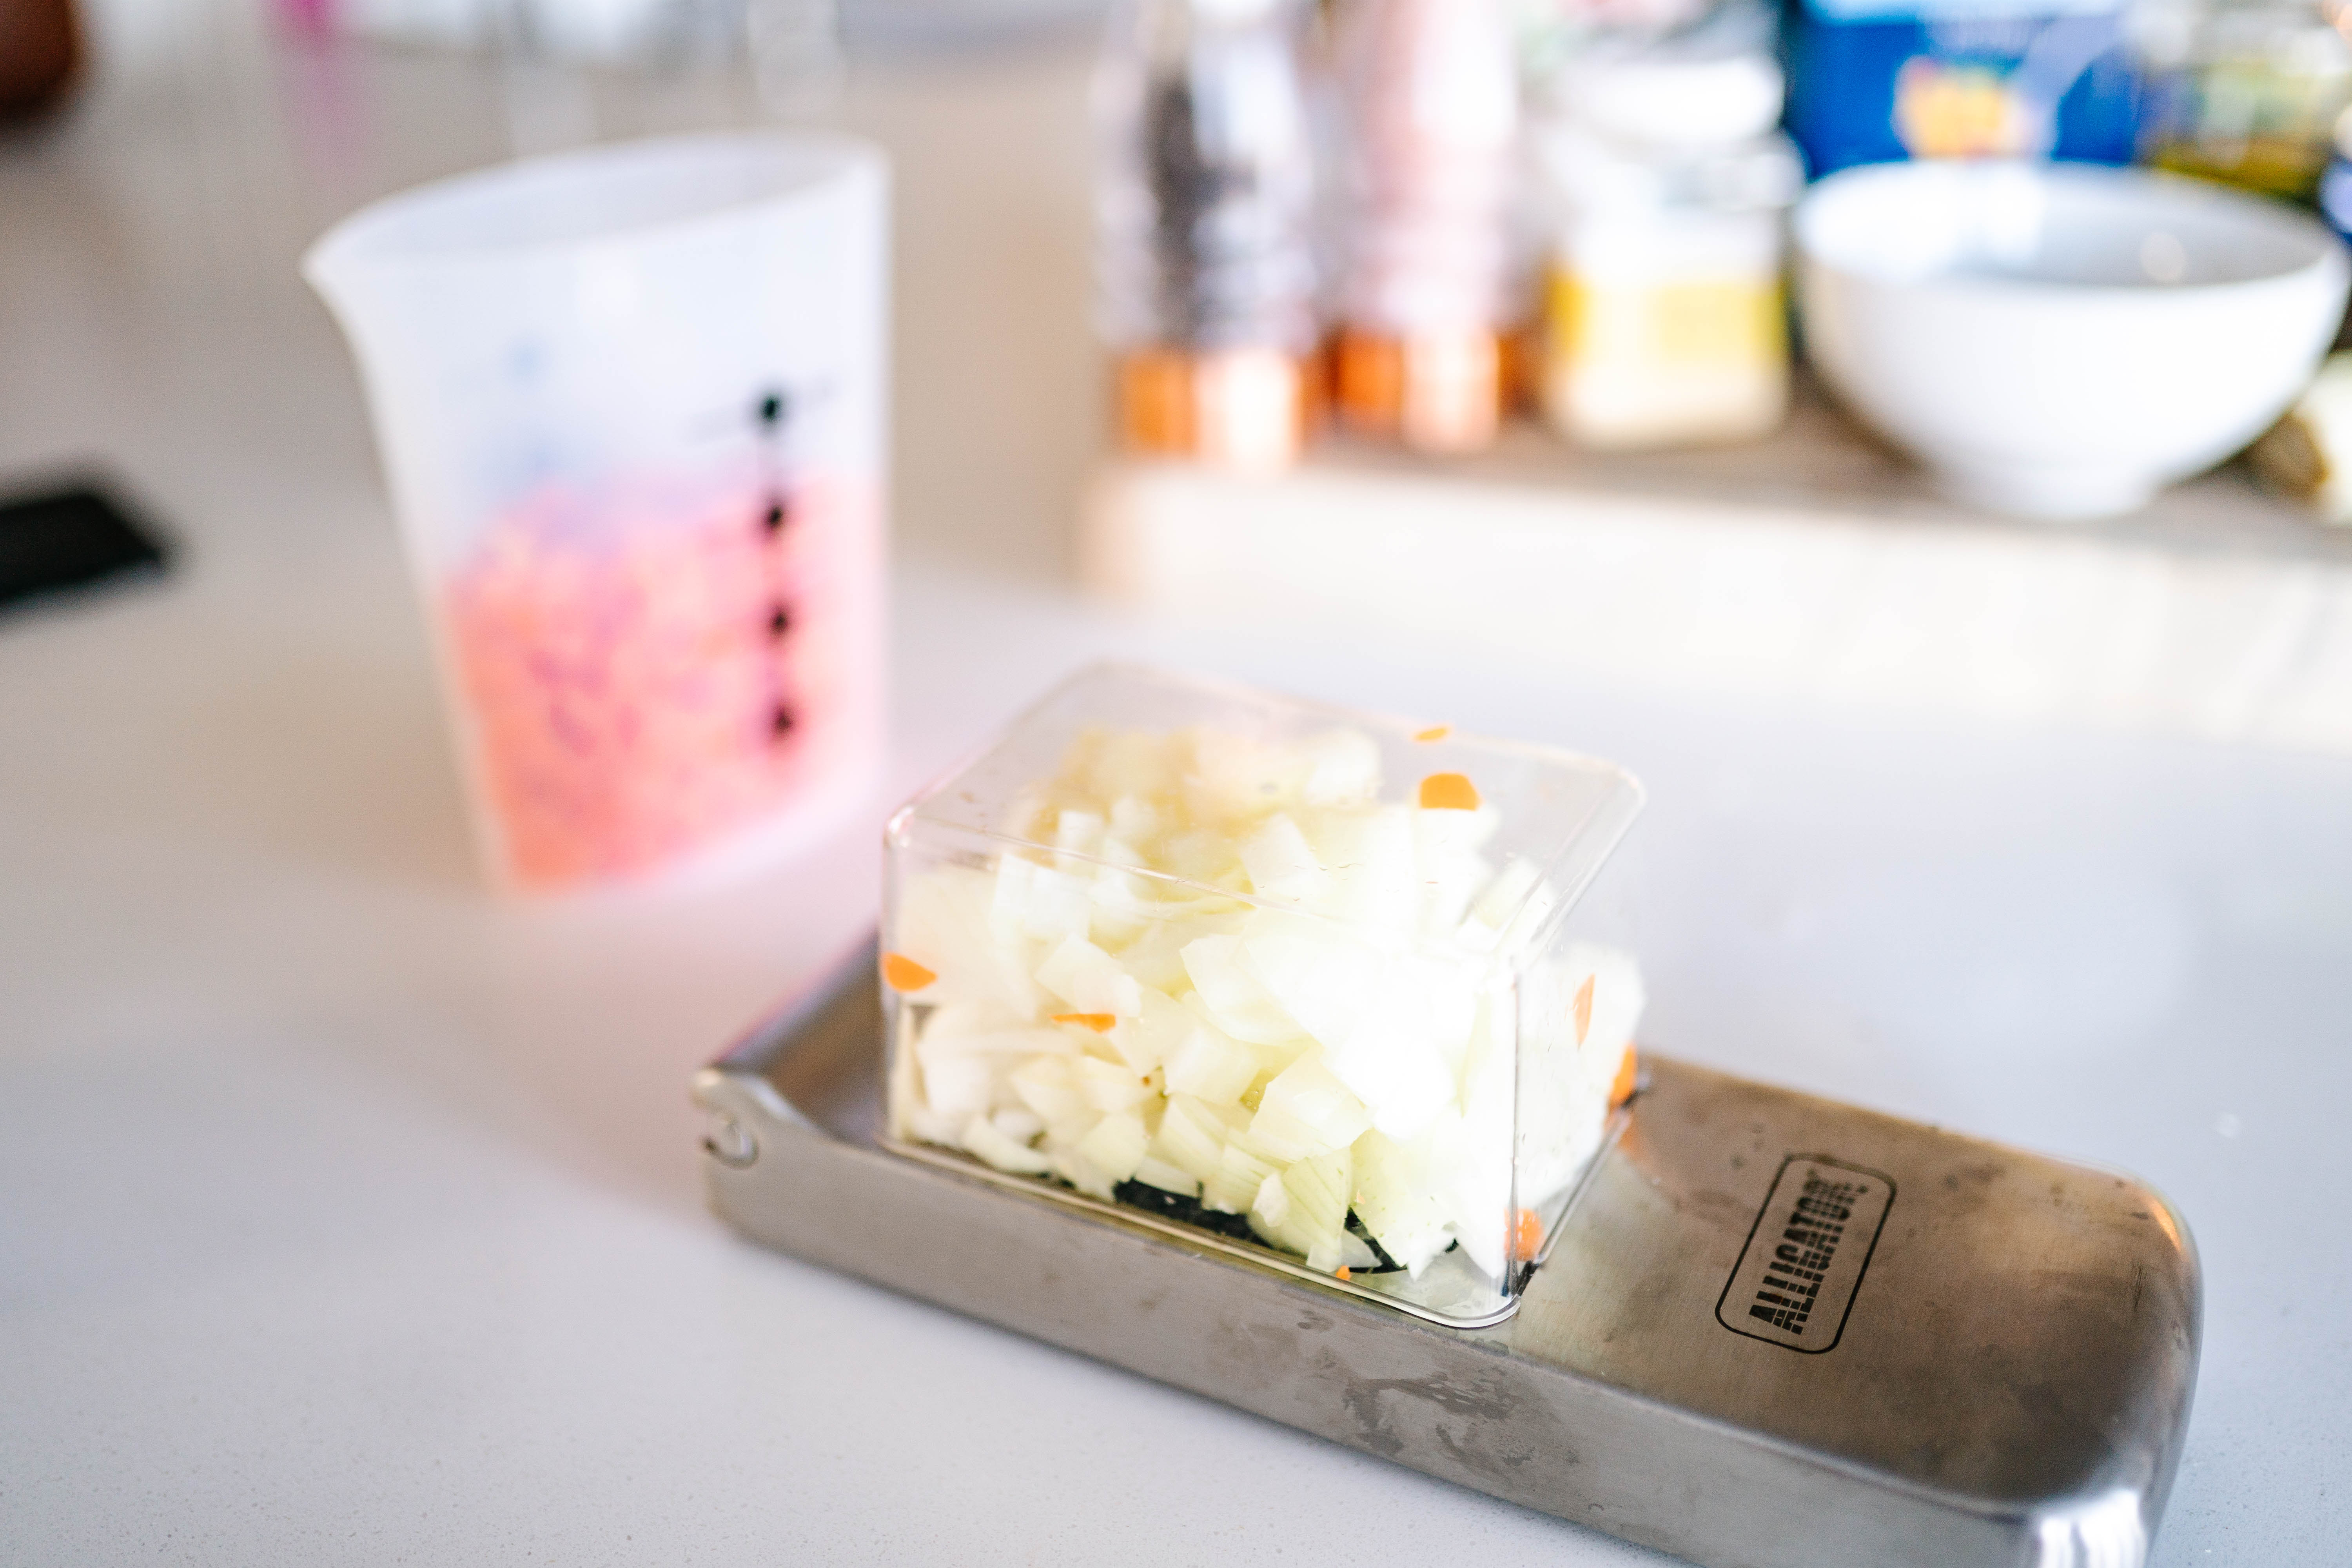
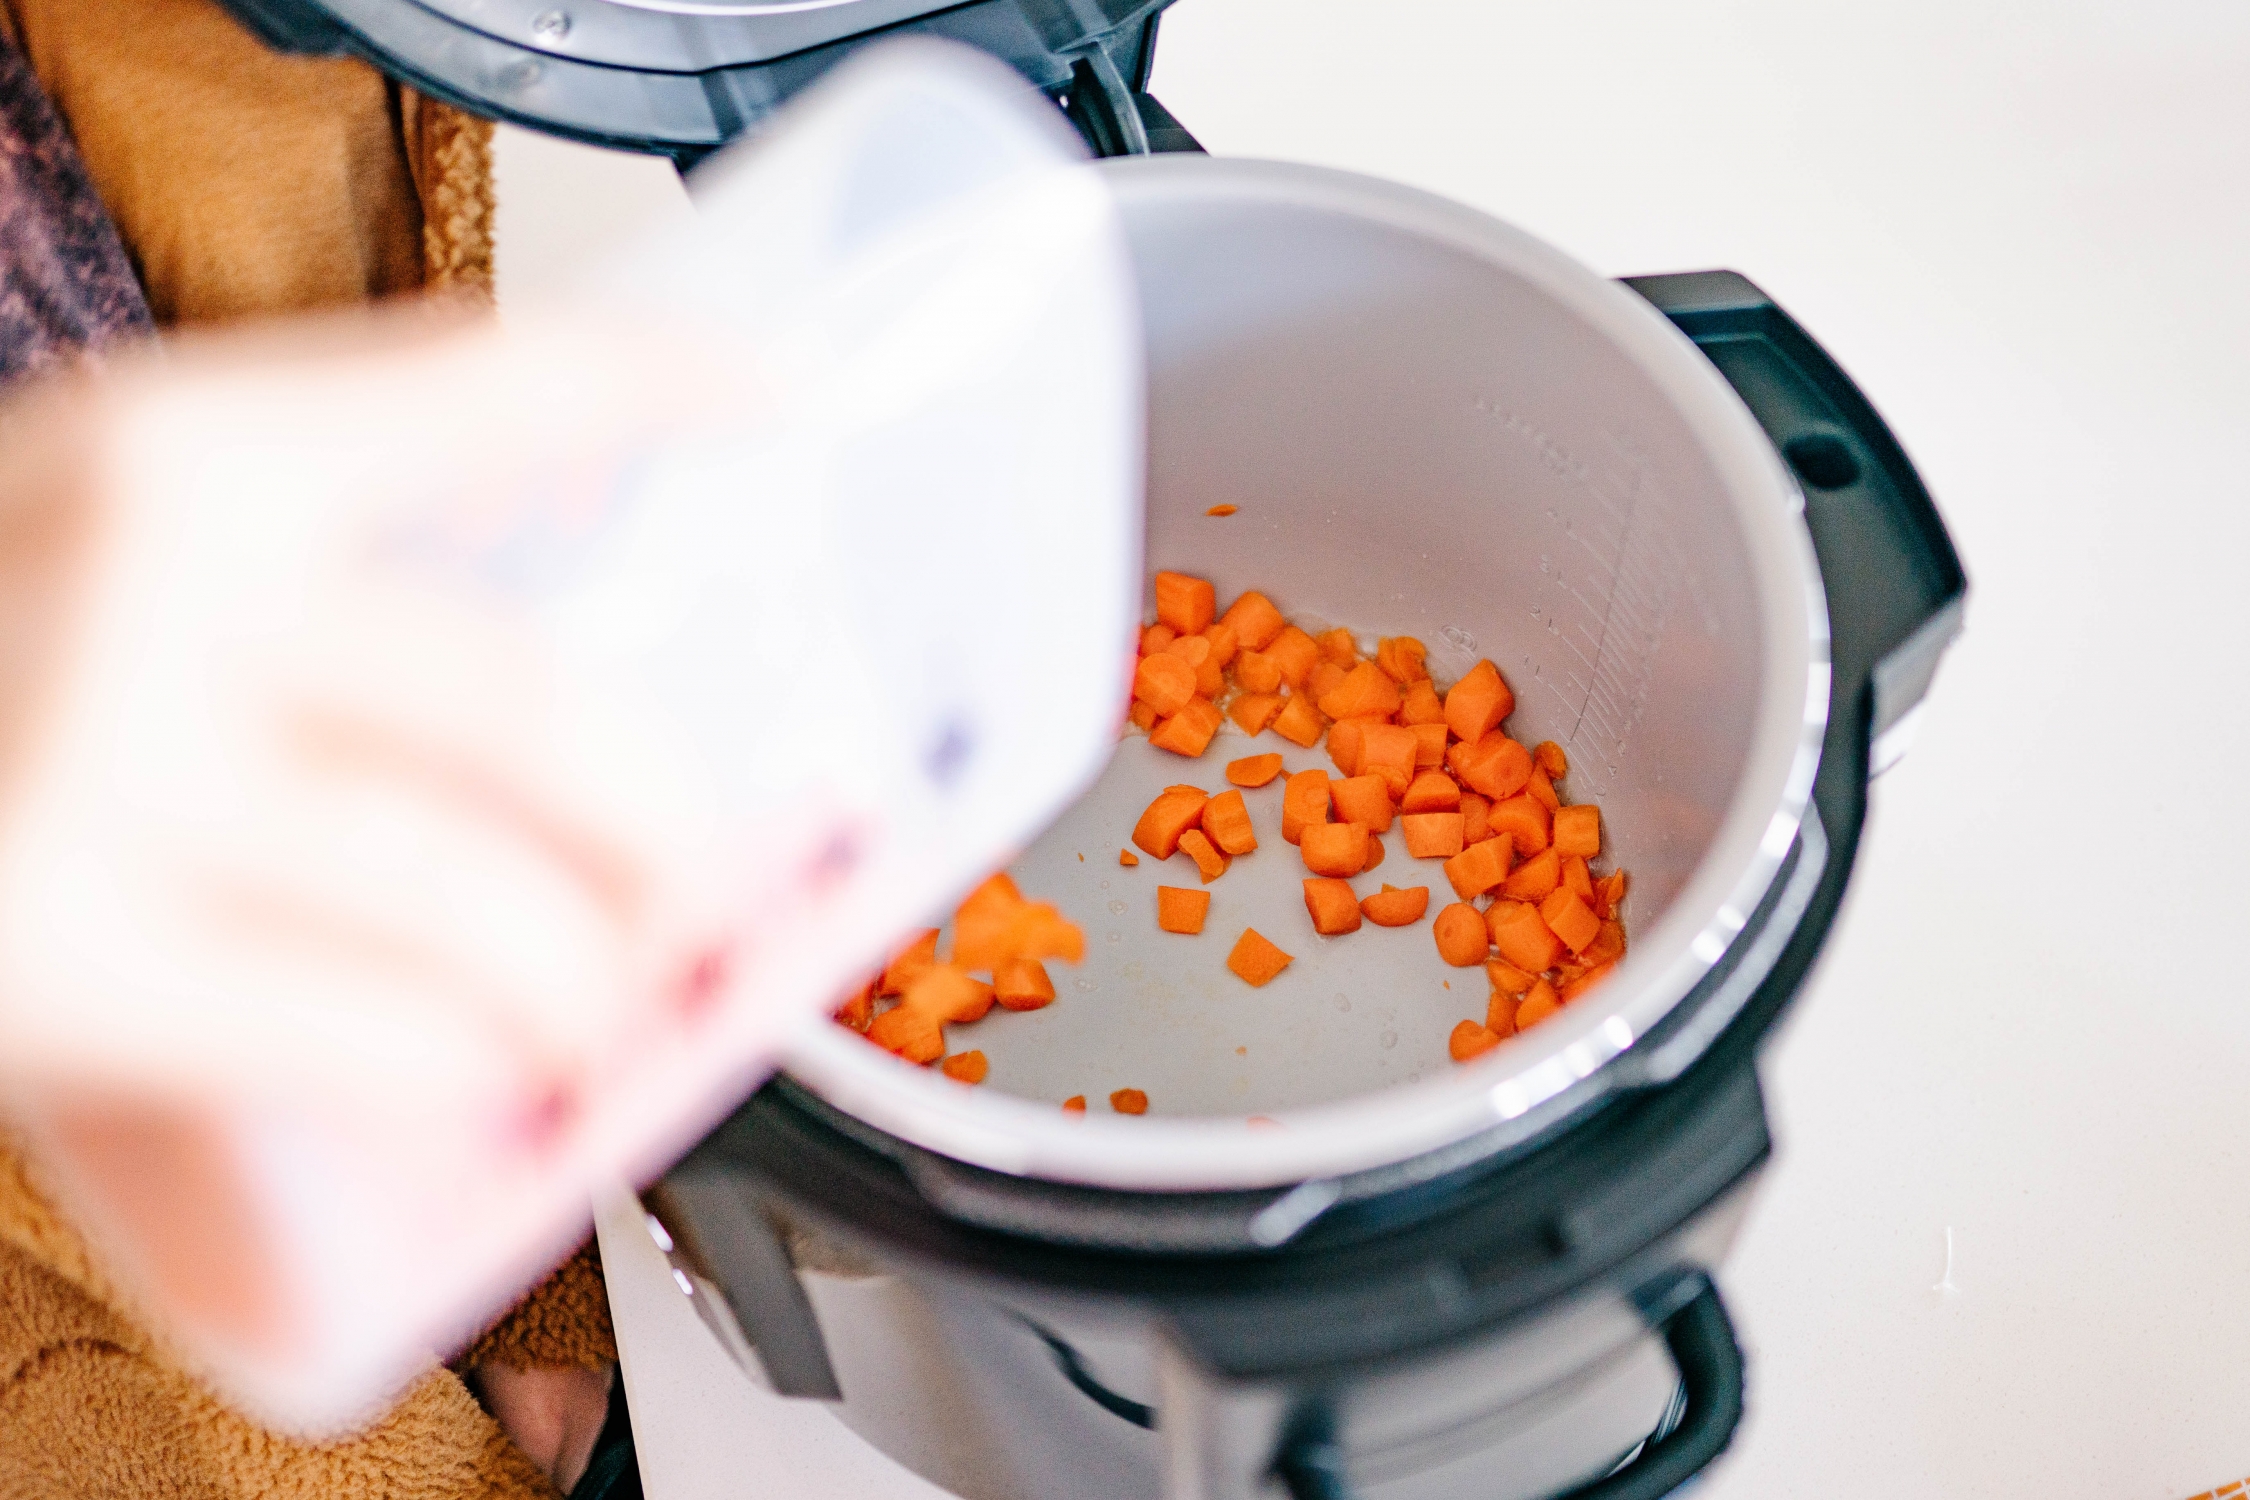
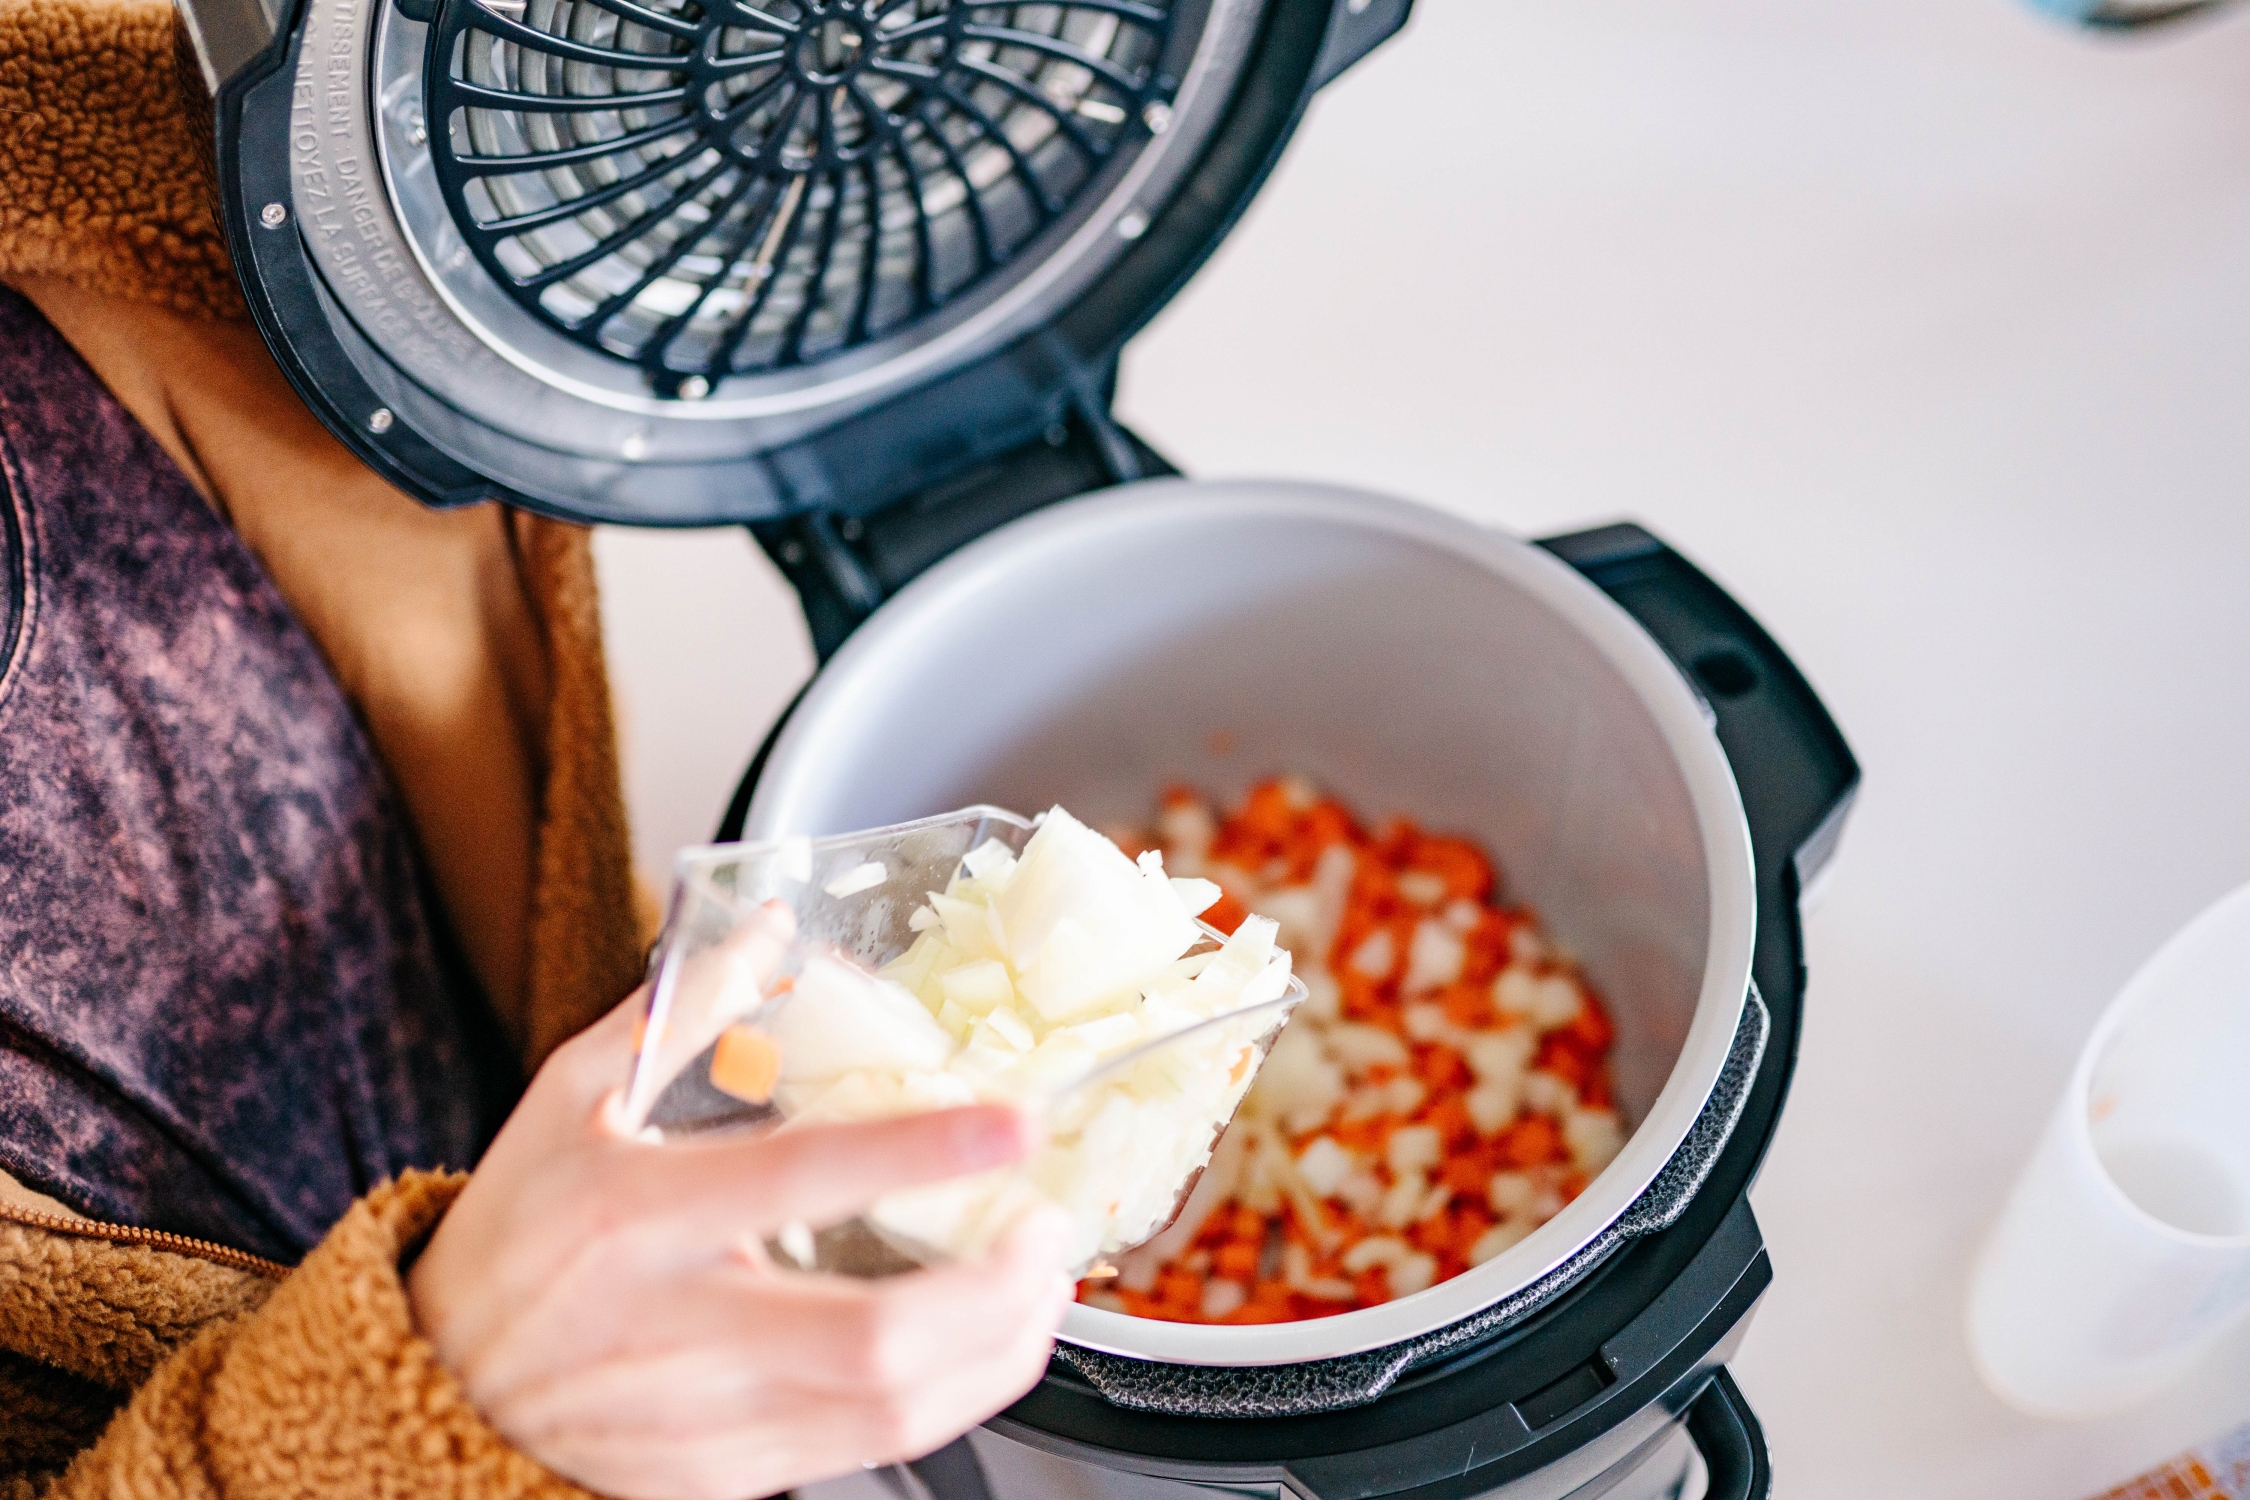
When I cook, I like to have all of my ingredients prepped and ready to throw into whatever pot or bowl I’m working with. For this recipe, that means cutting up your carrots, onions, and celery.

I love using my Alligator chopper. It literally cuts my prep time in half and gives me really consistently sized pieces which makes my food to cook more evenly. This can be used for almost all vegetables and is easily cleaned. I like the sturdiness of the stainless steel but there is also a really highly-rated version that I also own that’s fantastic! It’s also better for cutting really wet produce like tomatoes because the catch-all is on the bottom.

SHOP ALL OF MY FAVORITE KITCHEN GADGETS

• • •
Building Your Base
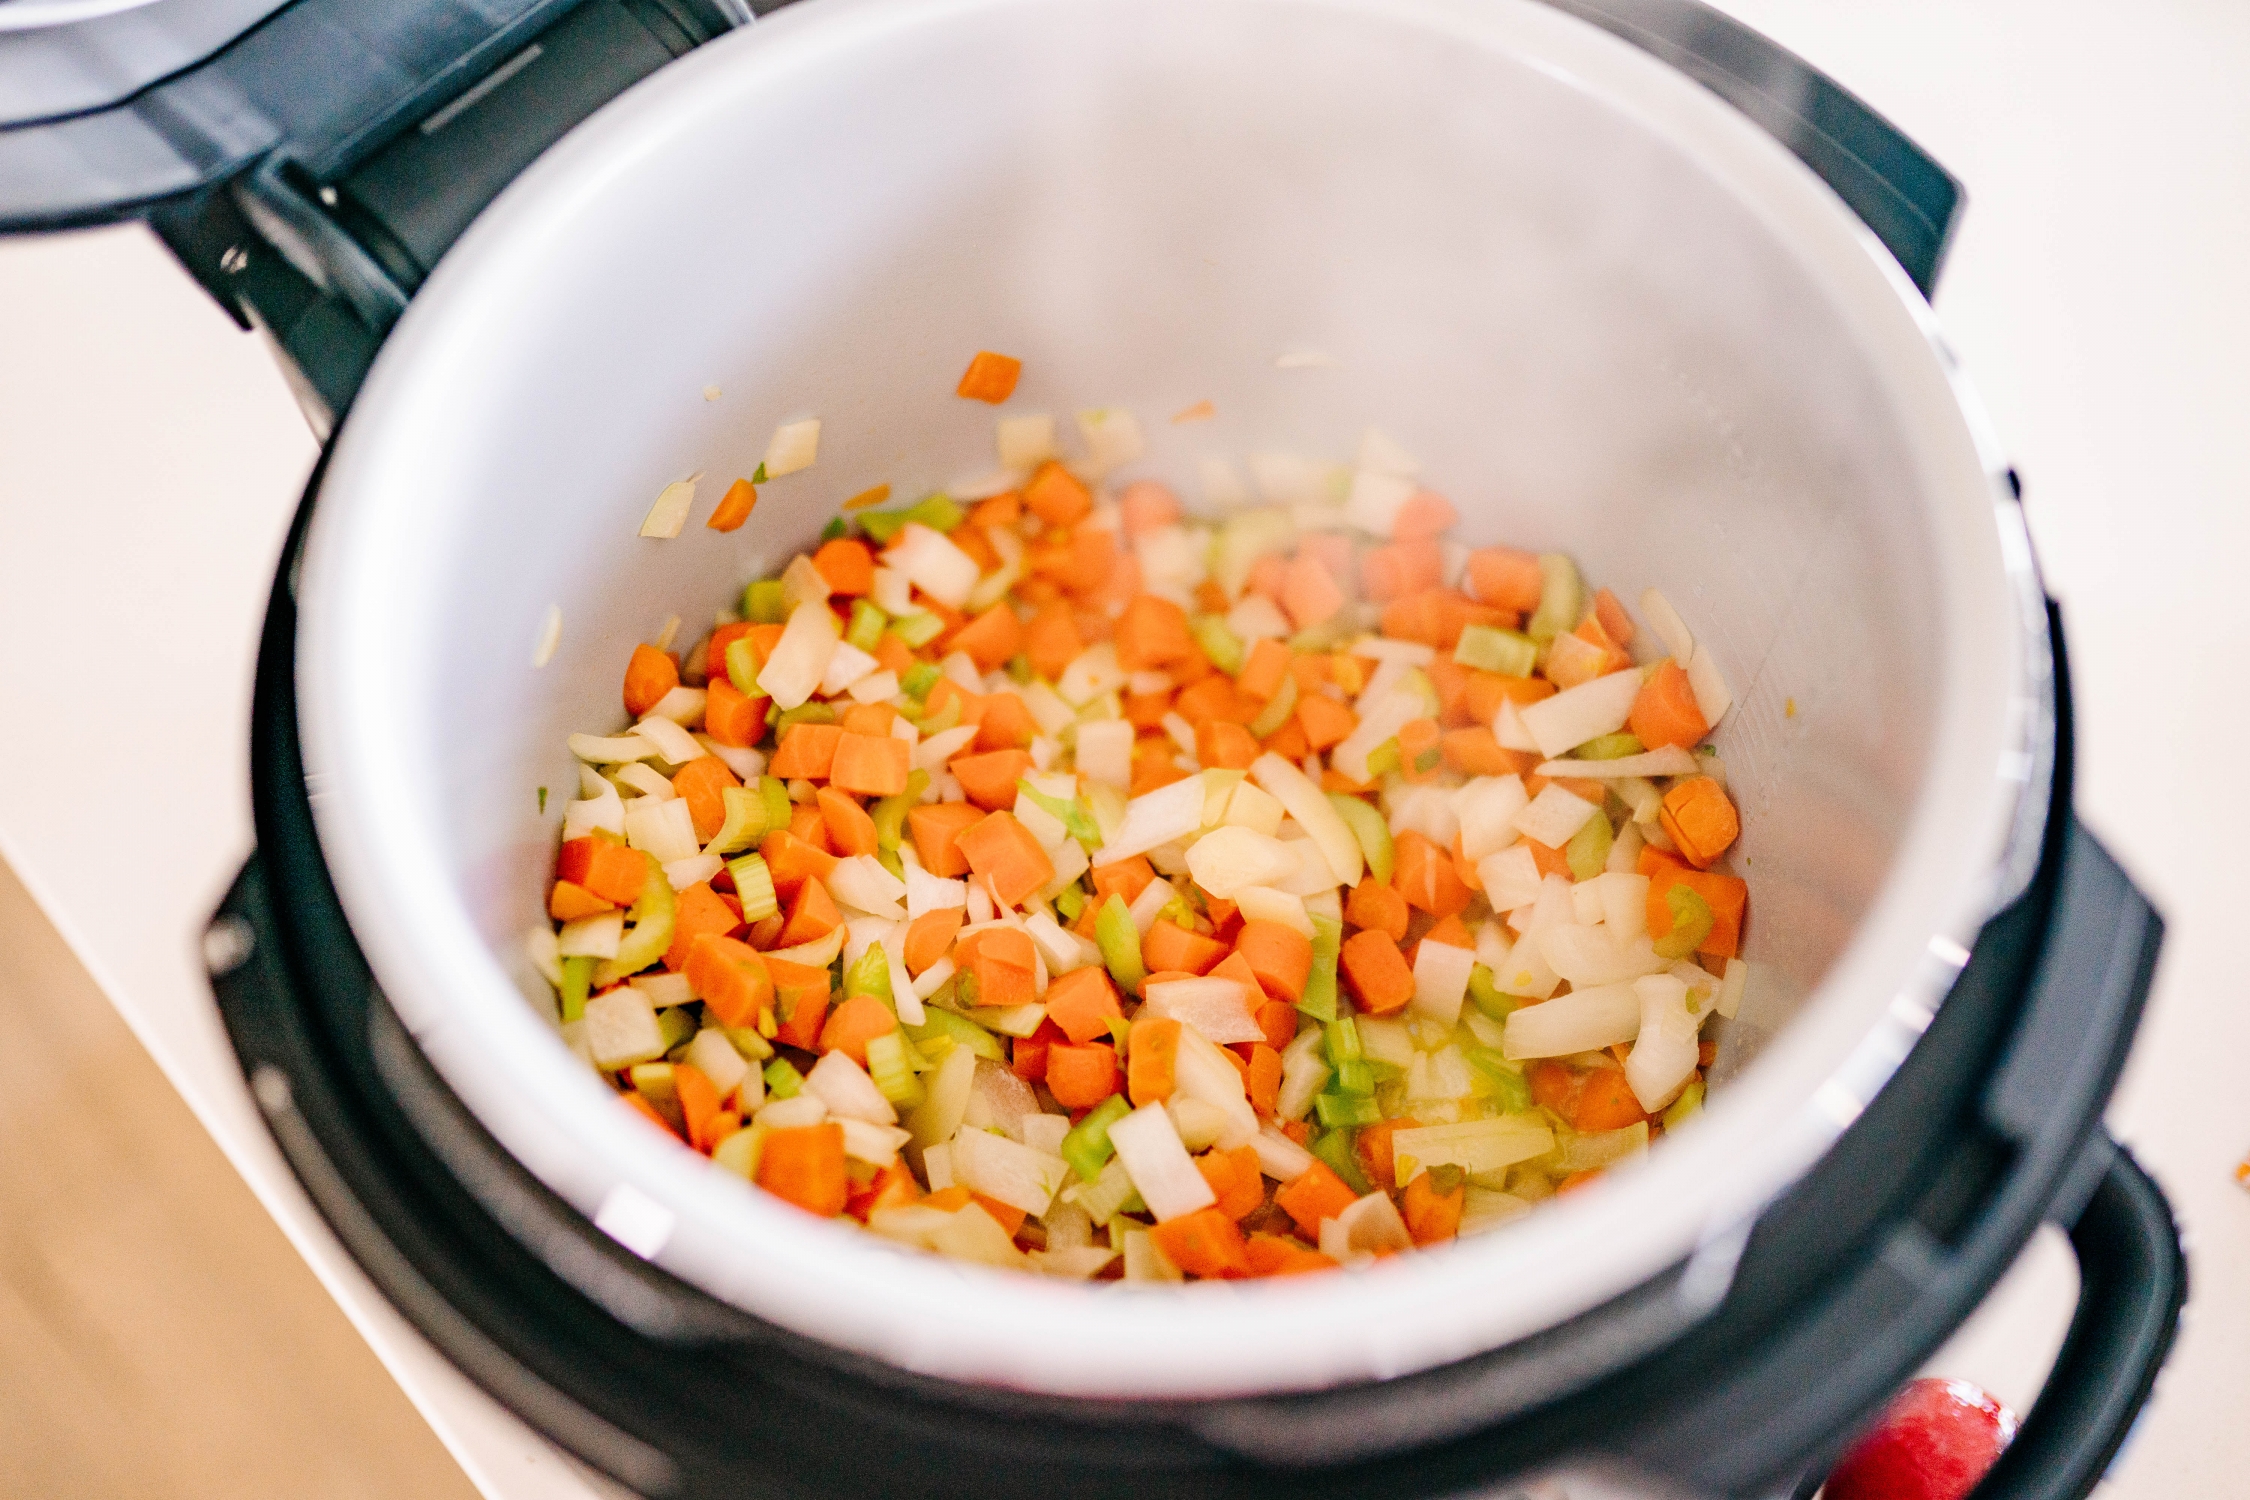
It’s this step that is responsible for a huge amount of flavor in your soup! Pour 2 Tbsp oil into your pot on medium heat and wait until it shimmers. Add carrots to pot. Stir to coat in oil and cook for 5 minutes. Add chopped onion and celery. Cook for 5 minutes. I like to cook my veggies until they start to show they’re cooked. A little black on the veggies is a good thing!
If you use a chopper like the one above, your vegetables are more likely to be uniform in shape allowing them to cook evenly!
OTHER KITCHEN GADGETS I LOVE
• • •
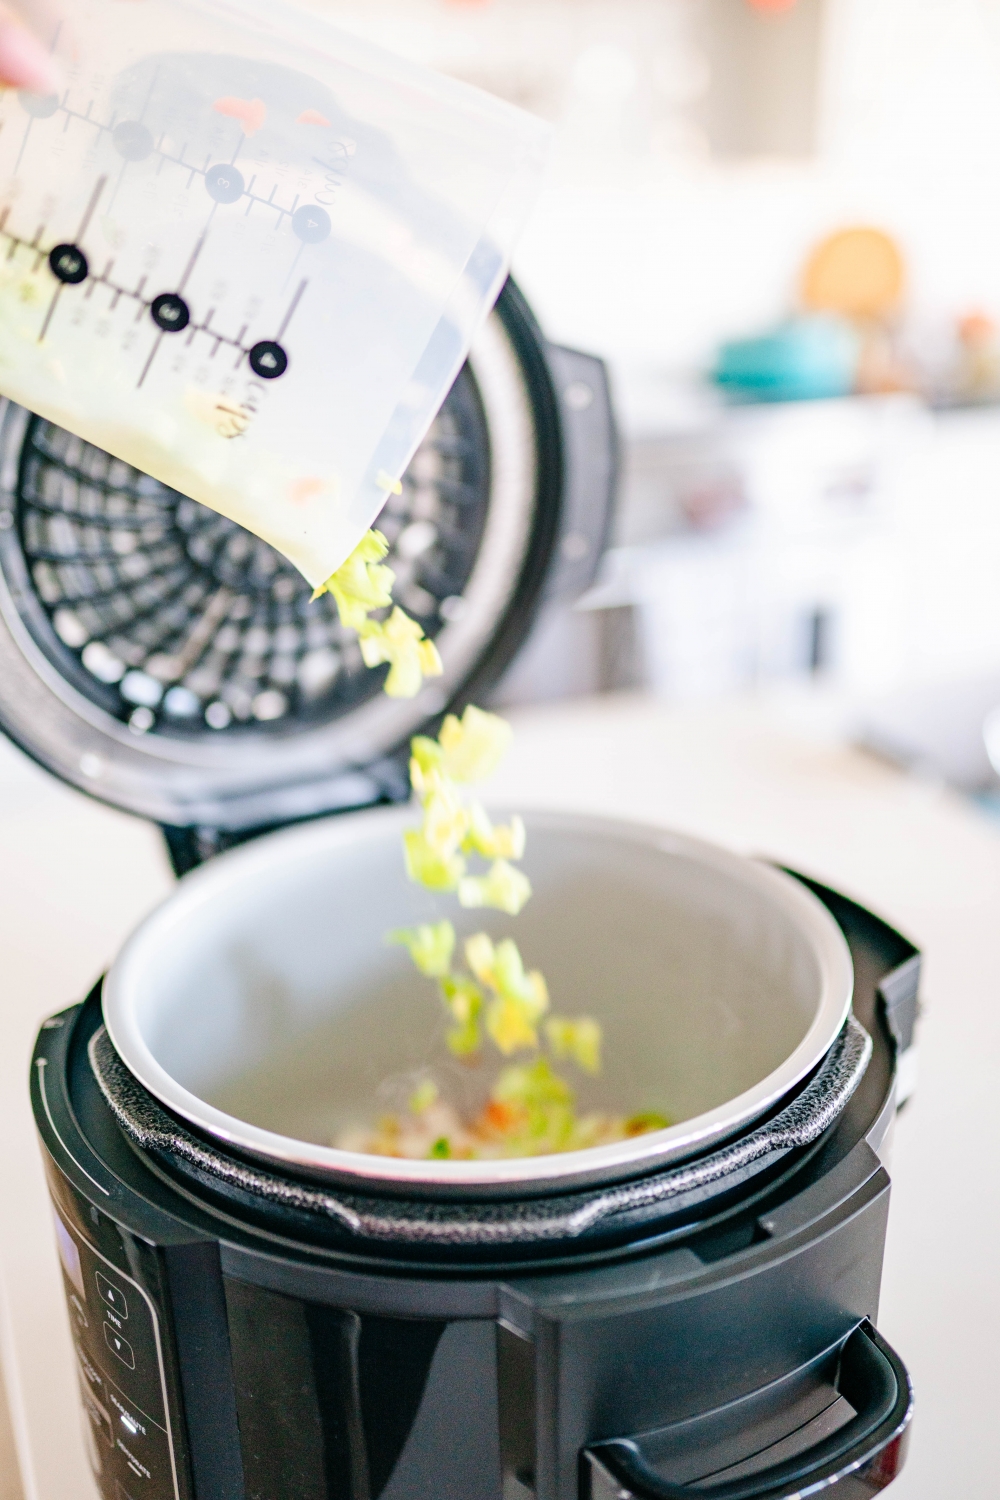
Once you’ve added in all of your vegetables you’re going to let them cook for 5-10 minutes. Your onions should be translucent and your carrots should be fork-tender. This caramelization and glazing of these vegetables will add a ton of flavor to your finished soup! When they’ve cooked, you can go ahead and toss in your thyme!
Freezing Your Herbs
Why do fresh herbs so often come in ginormous bundles?! Need a tablespoon of fresh parsley? Too bad. You have to buy an entire forest of parsley just so you’ll feel bad as it dies a slow death in your refrigerator because there’s no way you can possibly use it fast enough.
Or, you grow it yourself and watch it die a slow death in your garden because there’s no way you can possibly use it fast enough.
You just can’t win.
But there’s a solution: freezing your herbs. Once you know how to freeze herbs, you’ll reduce food waste—and you’ll have flavor-boosting herbs at your fingertips at all times! And they’re perfect for sauces, soups, marinades, or stews, but you don’t want to use thawed herbs in a salad or as a garnish – most don’t hold up well enough.
Herbs That Freeze Well
- Basil.
- Borage.
- Chives.
- Dill (better frozen than dried)
- Lemongrass.
- Mint.
- Oregano.
- Sage.
- Thyme
You can lay your herbs flat and freeze them on a cookie. Once frozen, you can then transfer them to a zip-top freezer bag. I like to do this with my thyme. You may also cut up your herbs if you want them to be super convenient when cooking with once frozen. For small quantities of herbs, just use a knife. If you have a large amount of herbs, you can throw them in the food processor and pulse to finely chop. If using the food processor, add 2 tablespoons of a neutral-tasting avocado, vegetable, or olive oil—the oil will help preserve the flavor of the herbs as they freeze, and frozen oil melts faster than plain water, too. And there is such a small amount of oil overall that it should not affect any recipe!
If you do end up chopping them, I find the easiest way to freeze them is in an ice cube tray. You can easily portion out spoonfuls of your chopped herbs and press them into the trays. Once frozen solid, transfer them to a freezer bag for long-term storage.
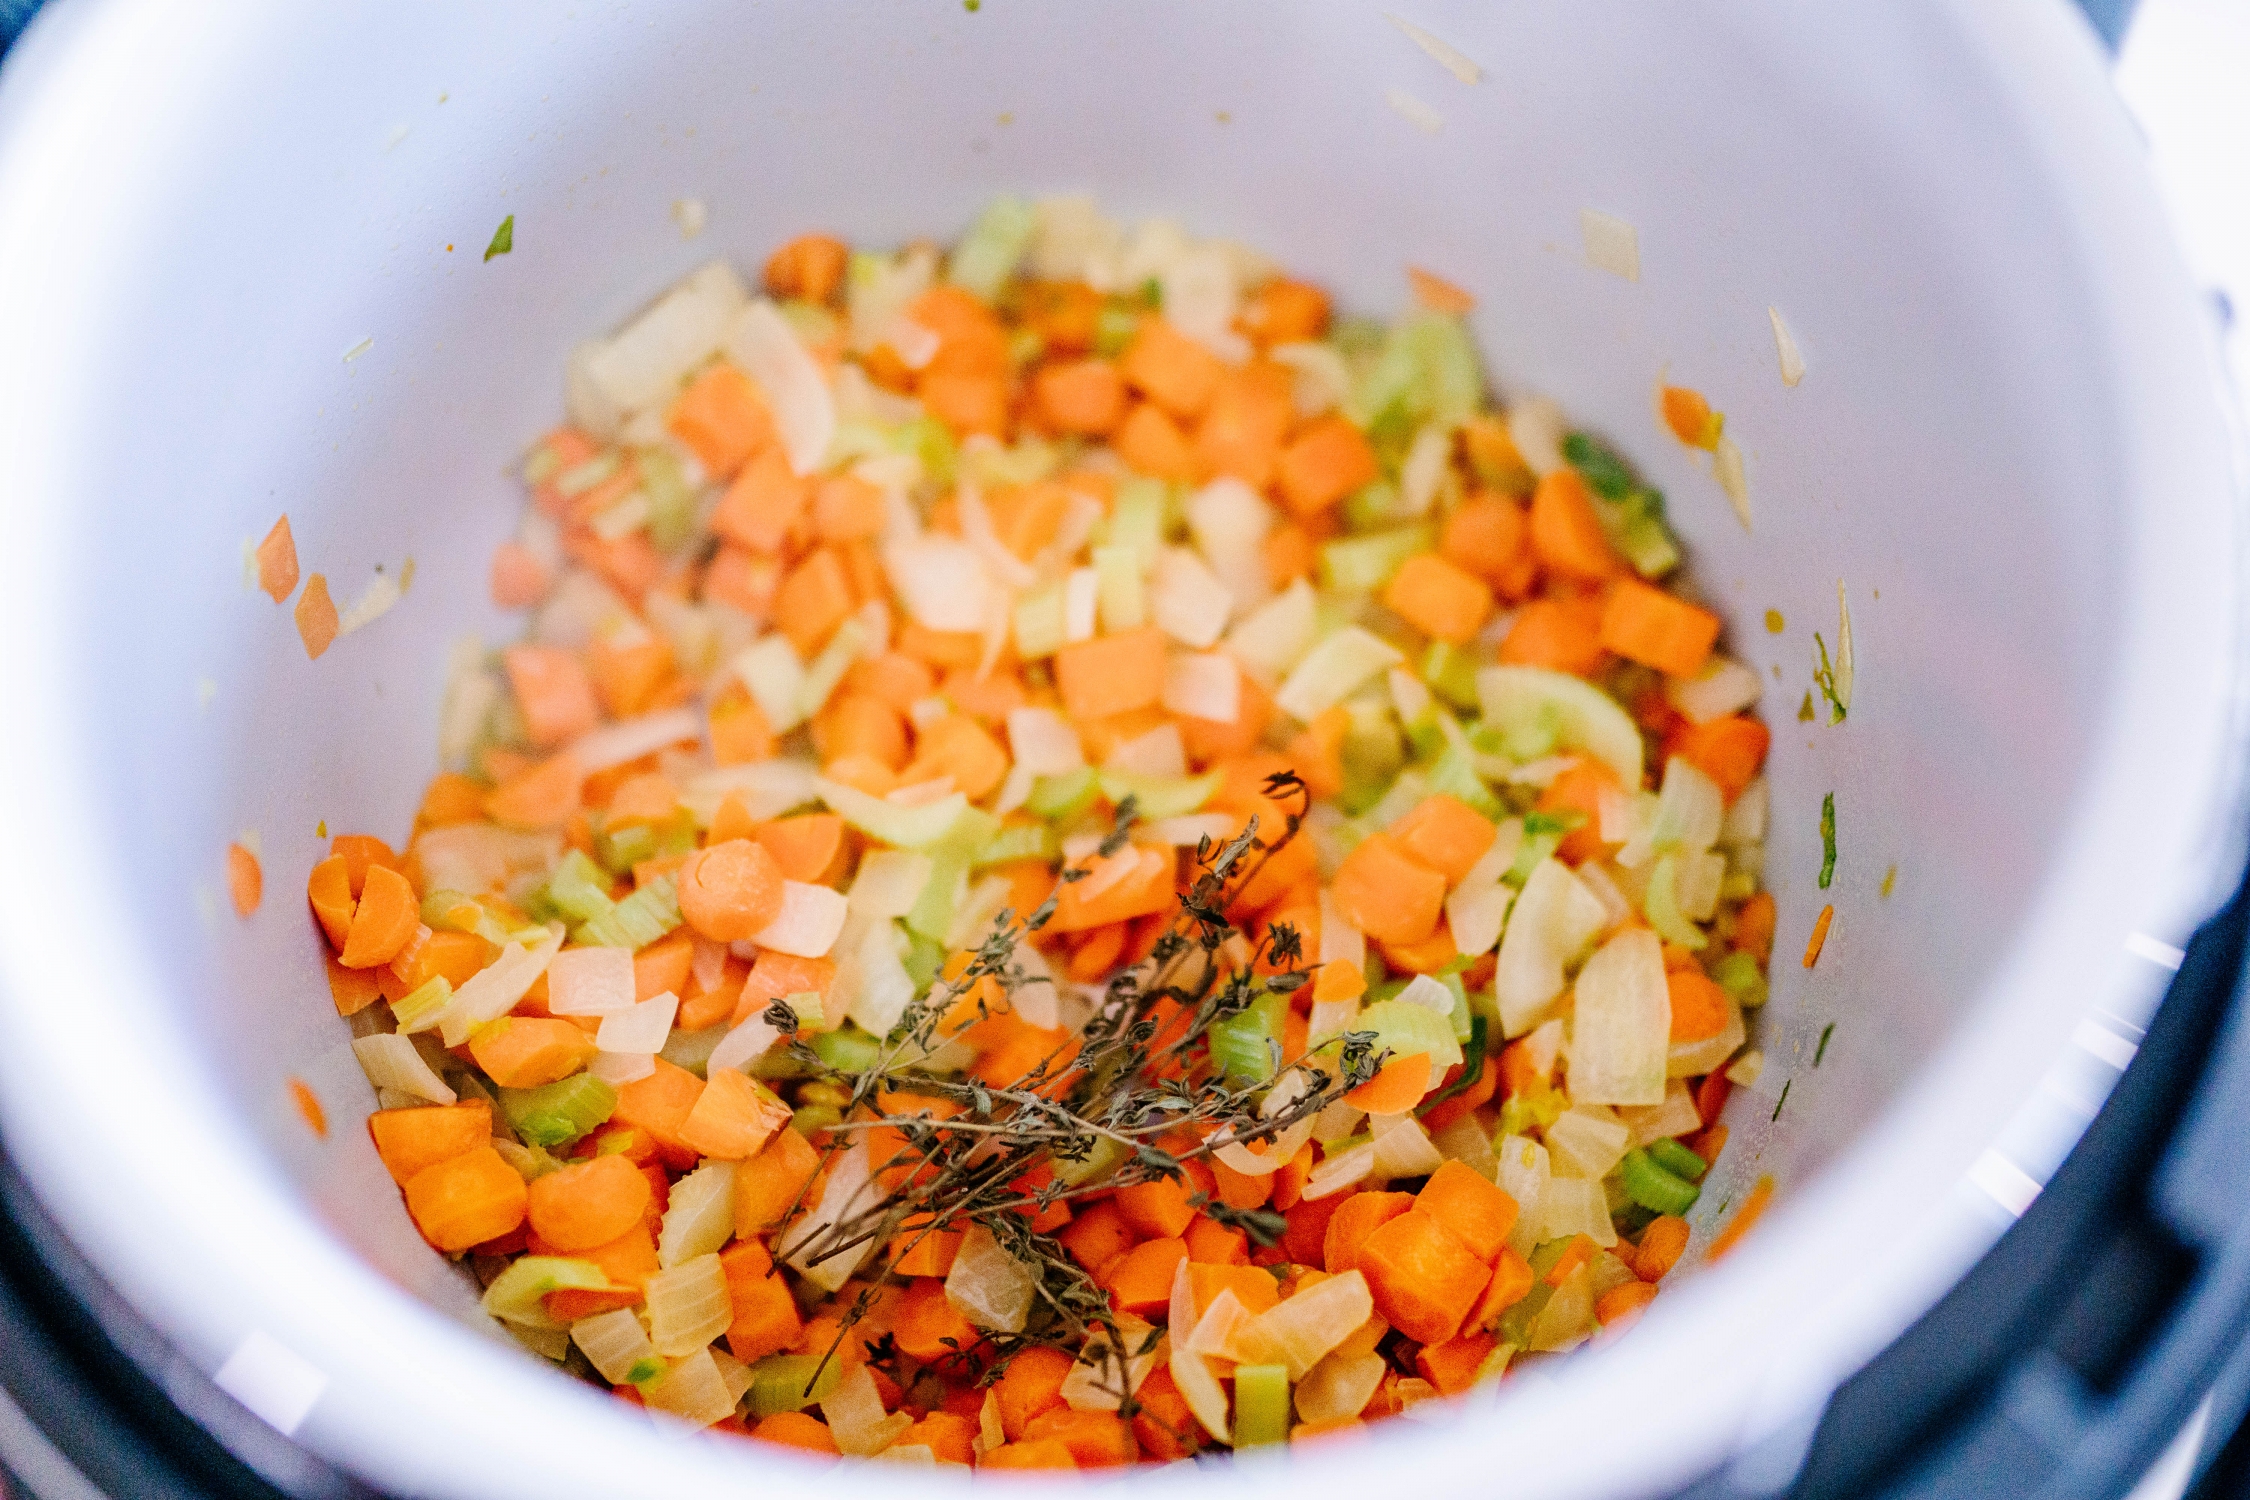
Once I’ve cooked my vegetables through (onions will be transparent and carrots will be fork-tender) and added my frozen herbs, I pour in my water and bouillon to create the base of my soup.
Bouillon vs Broth vs Stock
Stock, like its name suggests, is flavored water made by cooking the bones of chicken or some other animal in it until the flavors and collagen are released. Broth, however, is made by cooking the meat of said animal or a collection of vegetables (if making vegetable broth).
Bouillon is a dehydrated powder or cube that can be rehydrated in water to make broth. One bouillon cube or 1 teaspoon of granules dissolved in 1 cup of boiling water may be substituted for 1 cup of broth in any recipe.
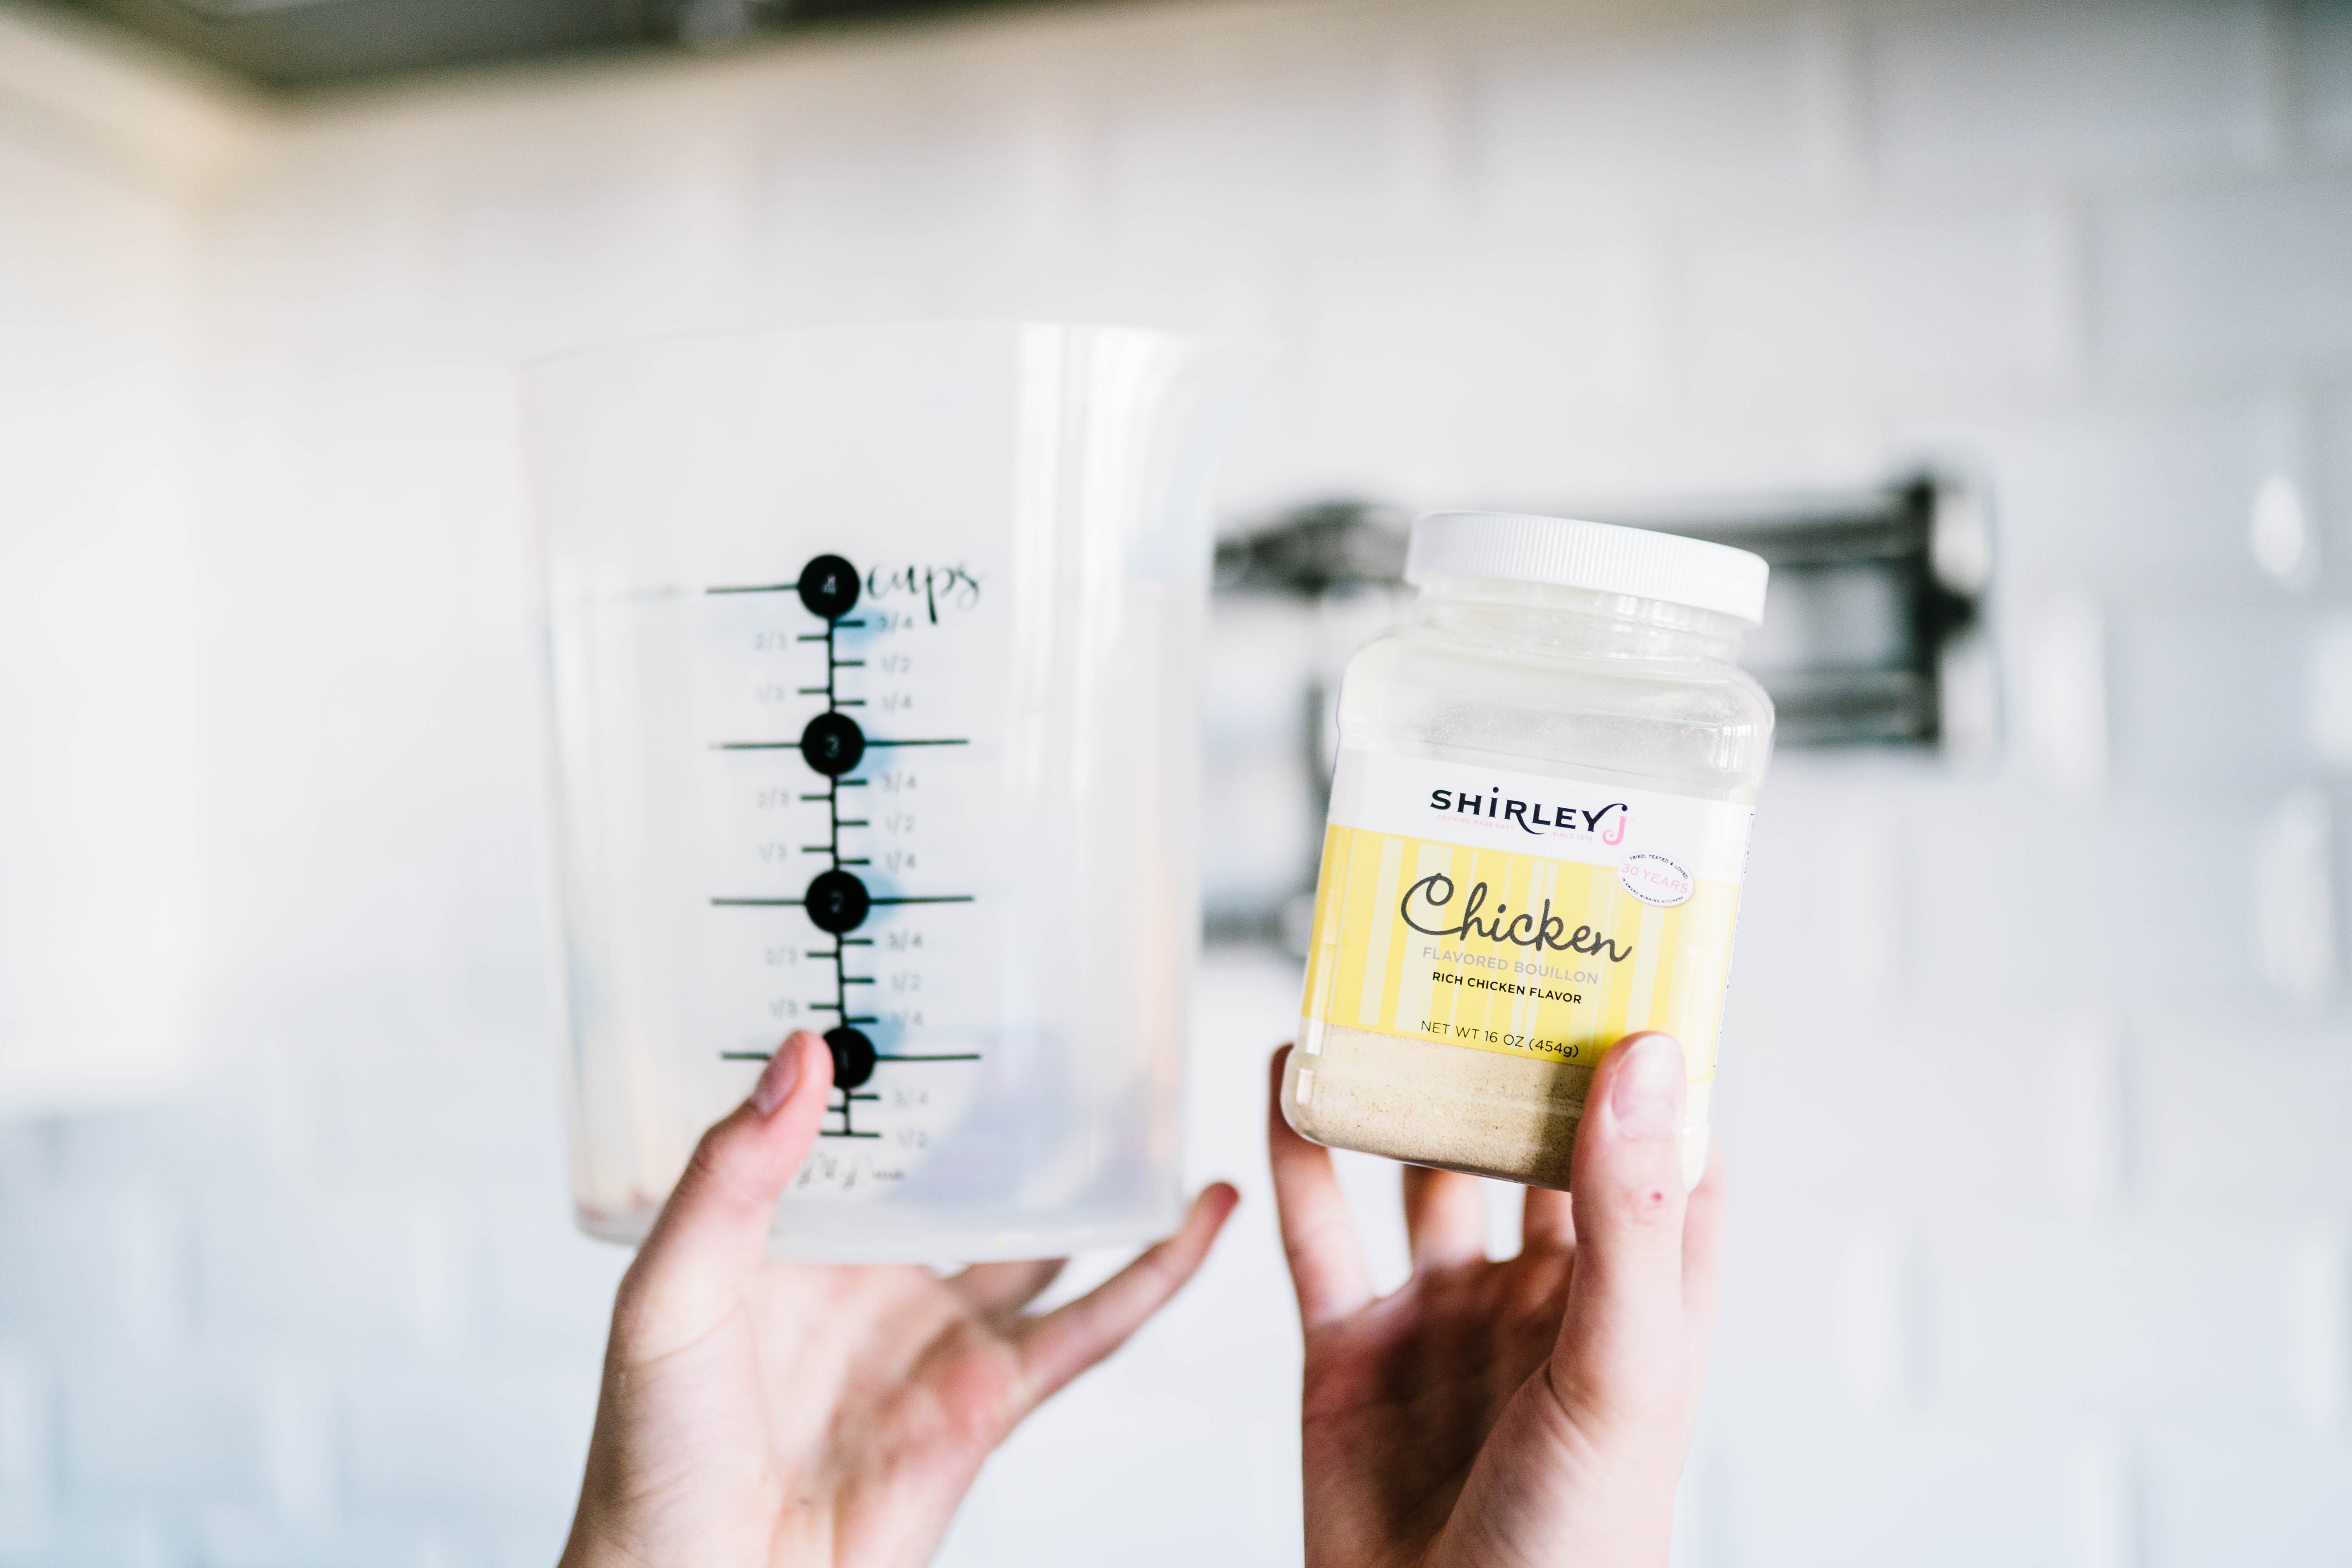
Here’s Why I Prefer Bouillon over Broth
It’s simple, bouillon keeps forever, unlike a box of meat or vegetable broth, which will go bad after just a few days sitting around in the fridge. Plus, it’s PACKED with flavor. I find I’m always adding more seasonings to broth or stock than I normally would otherwise. There are always exceptions and both homemade broth and stock are great on their very own. But when it comes to cooking, I always use Shirley J’s Chicken Flavored Bouillon.
It’s seriously so yummy, gluten-free, and has less sugar and sodium than traditional bouillons. Try it – I promise you’ll be hooked!
SHOP MY FAVORITE SEASONINGS
• • •
Prepping Your Chicken
At this point, you’re going to add in your chicken. You can use rotisserie chicken or something else pre-cooked but cooking your raw chicken in this flavorful mixture will pack it with the most delicious flavors!
When your chicken is cooked (internal temp should be a minimum 165) you can remove the chicken from the liquid and shred. This can be done with a stand mixer, a handheld mixer, or two forks. Save the juice that collects from your chicken and pour it back into your soup – you don’t want to lose a drop.
Thickening Your Soup
Unlike a traditional chicken noodle soup, this version is meant to be creamy and hearty. My favorite way to achieve this is by adding in a bit of Whisk Bliss by Shirley J.
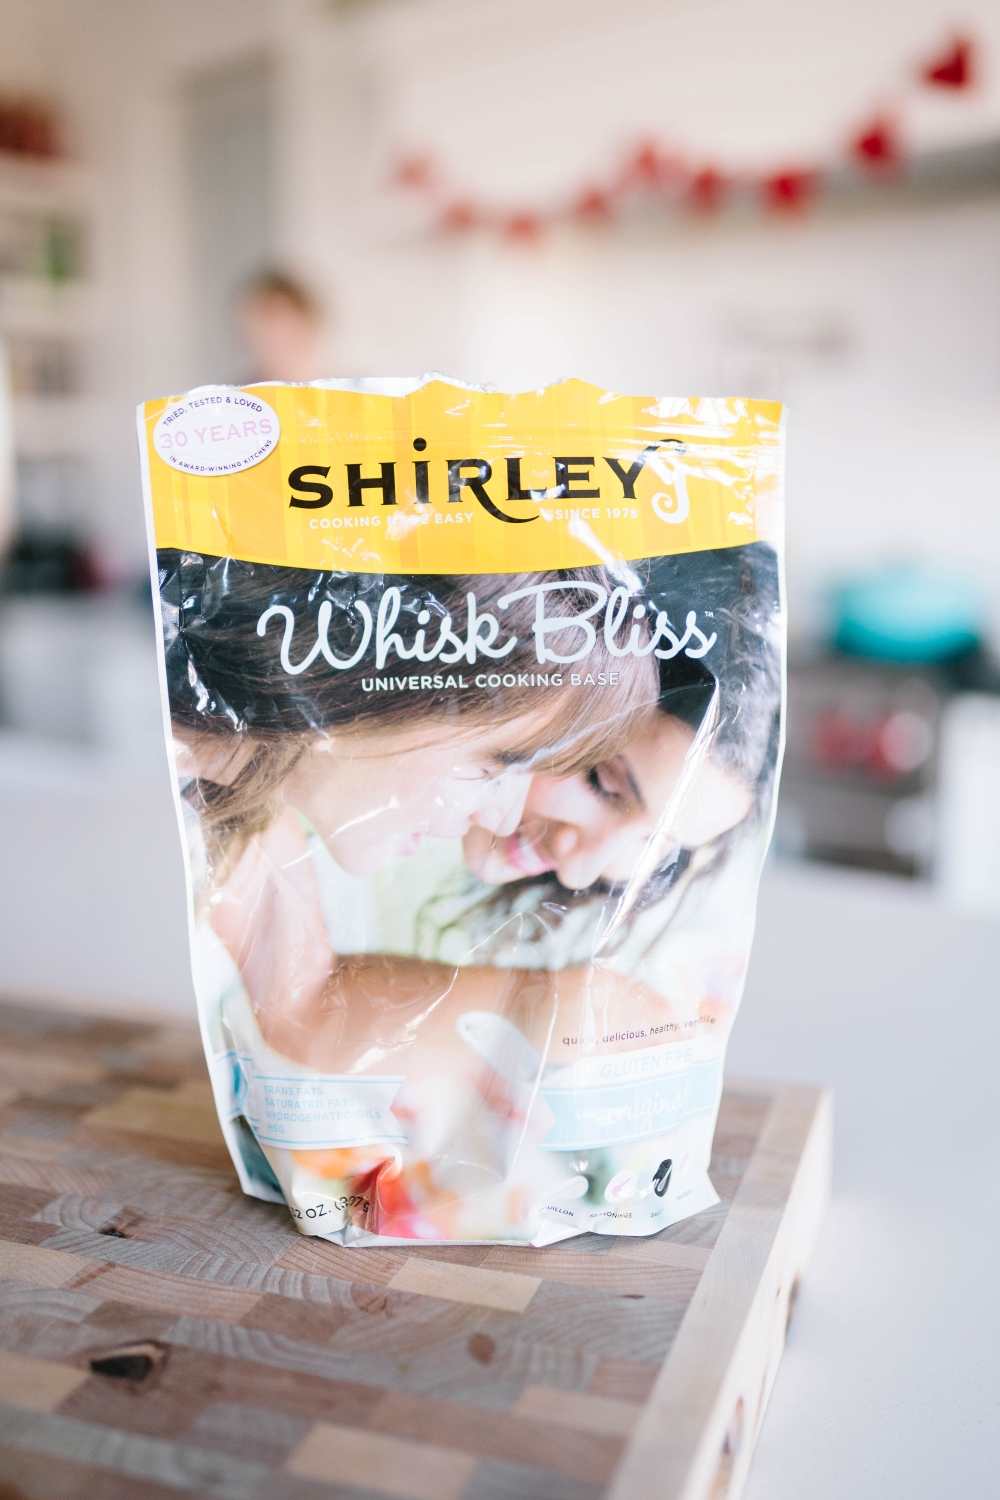
If you don’t want to use Whisk Bliss (it takes the soup to a whole new level but I understand its annoying buying something online that you’ve never tried) just thicken it with corn starch and water. To thicken with cornstarch start with 1 tablespoon of cornstarch in a small bowl. Add an equal amount of cold liquid and stir until smooth paste forms. This is your slurry.
Whisk the slurry into the hot, simmering liquid that you want to thicken. Bring to a boil and simmer until any starchy taste has been cooked away. I will do this until its as thick as I want the soup. And I promise, the whisk bliss makes it SOOO good though so try it eventually! I use it all the time!

Taste Test & Final Seasoning
This is the point where I will taste test my base and make sure it has enough flavor. You can add salt, pepper, and even additional bouillon if you feel your base needs more flavor. And I’ll also add in the now shredded chicken.

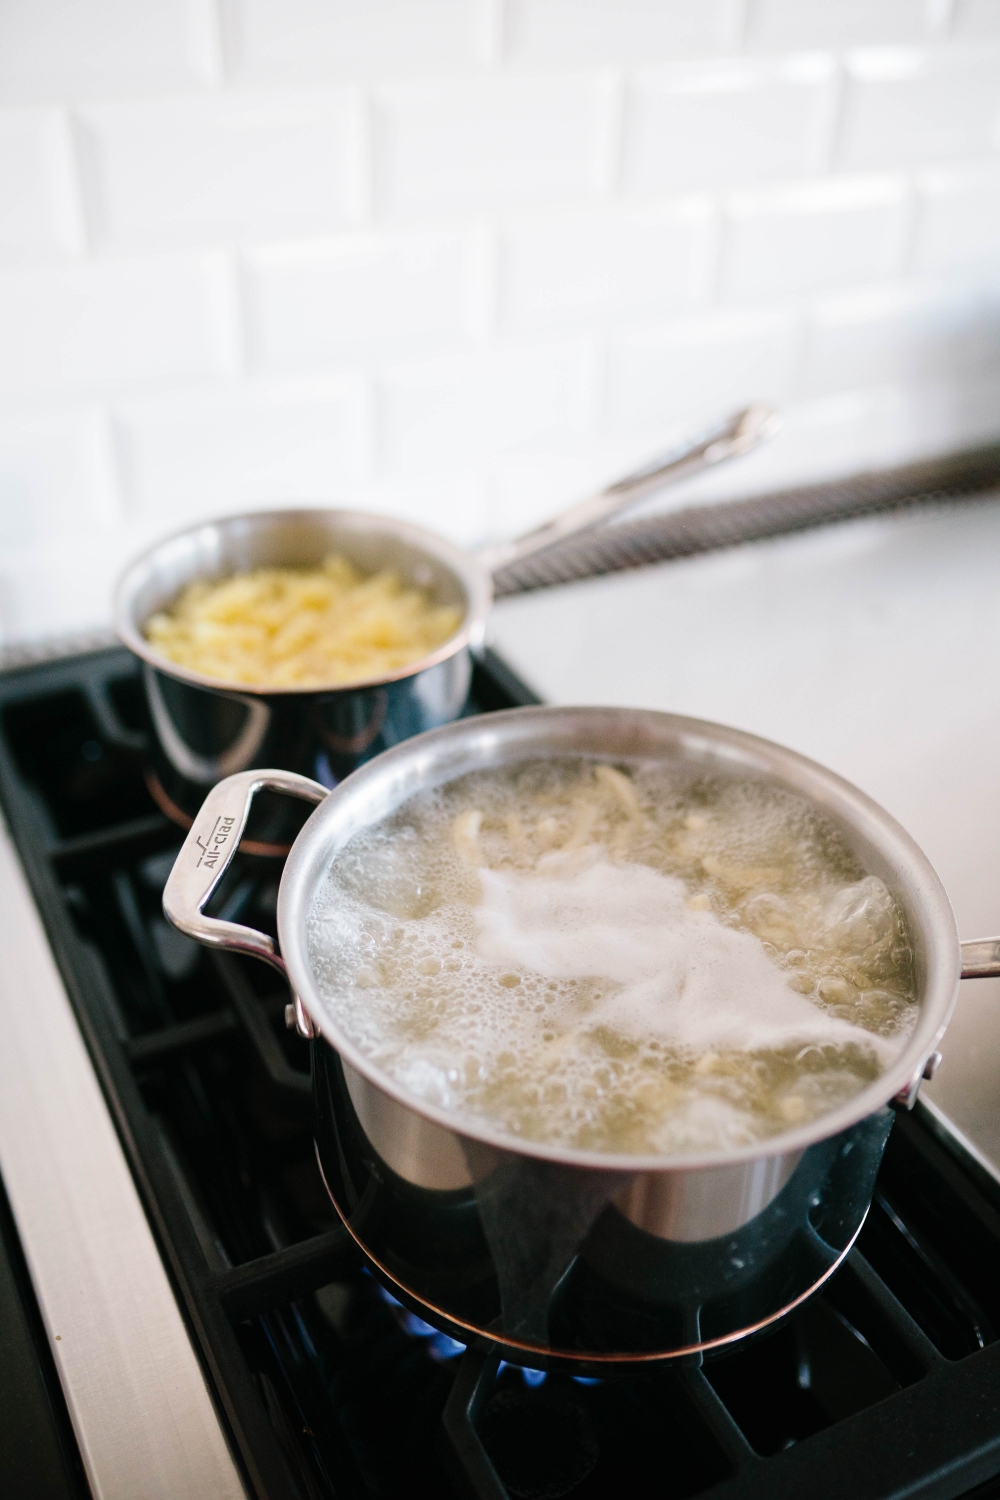
Cooking Your Noodles
While my soup is thickening, I will usually put the noodles on to cook. But because I’m using egg noodles, I usually have all the time I need. And I also make sure I make a gluten-free option for myself.
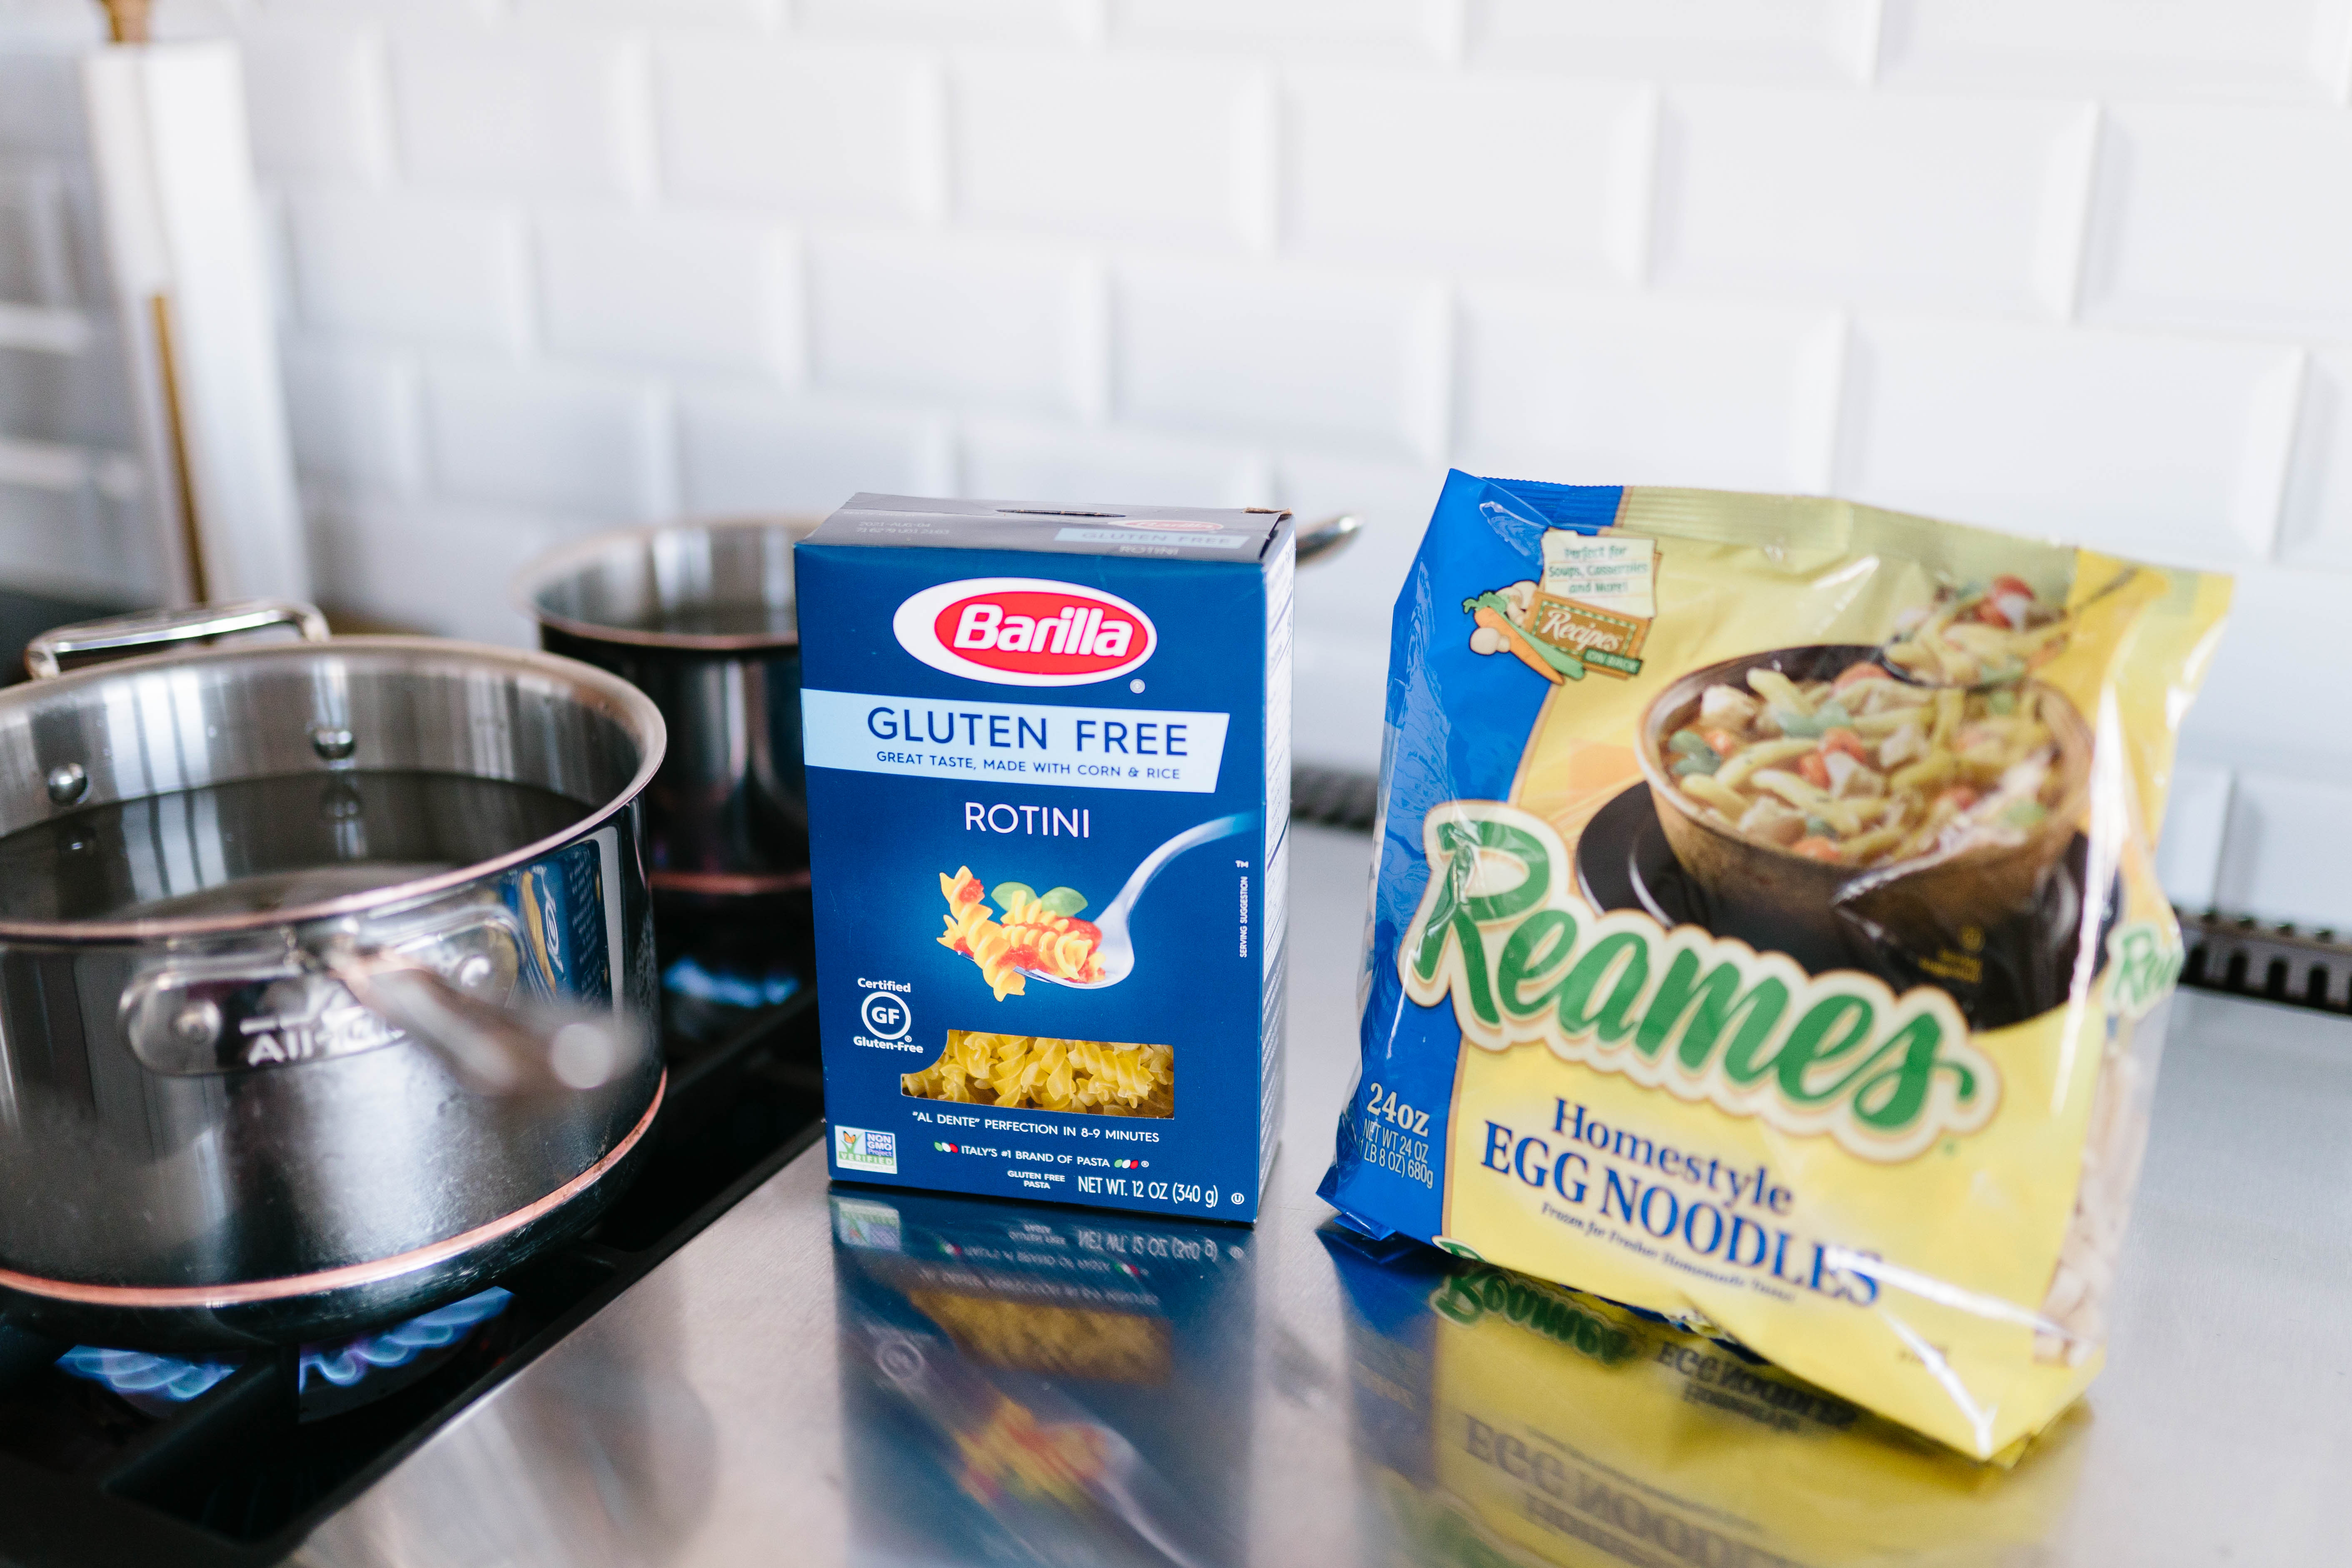
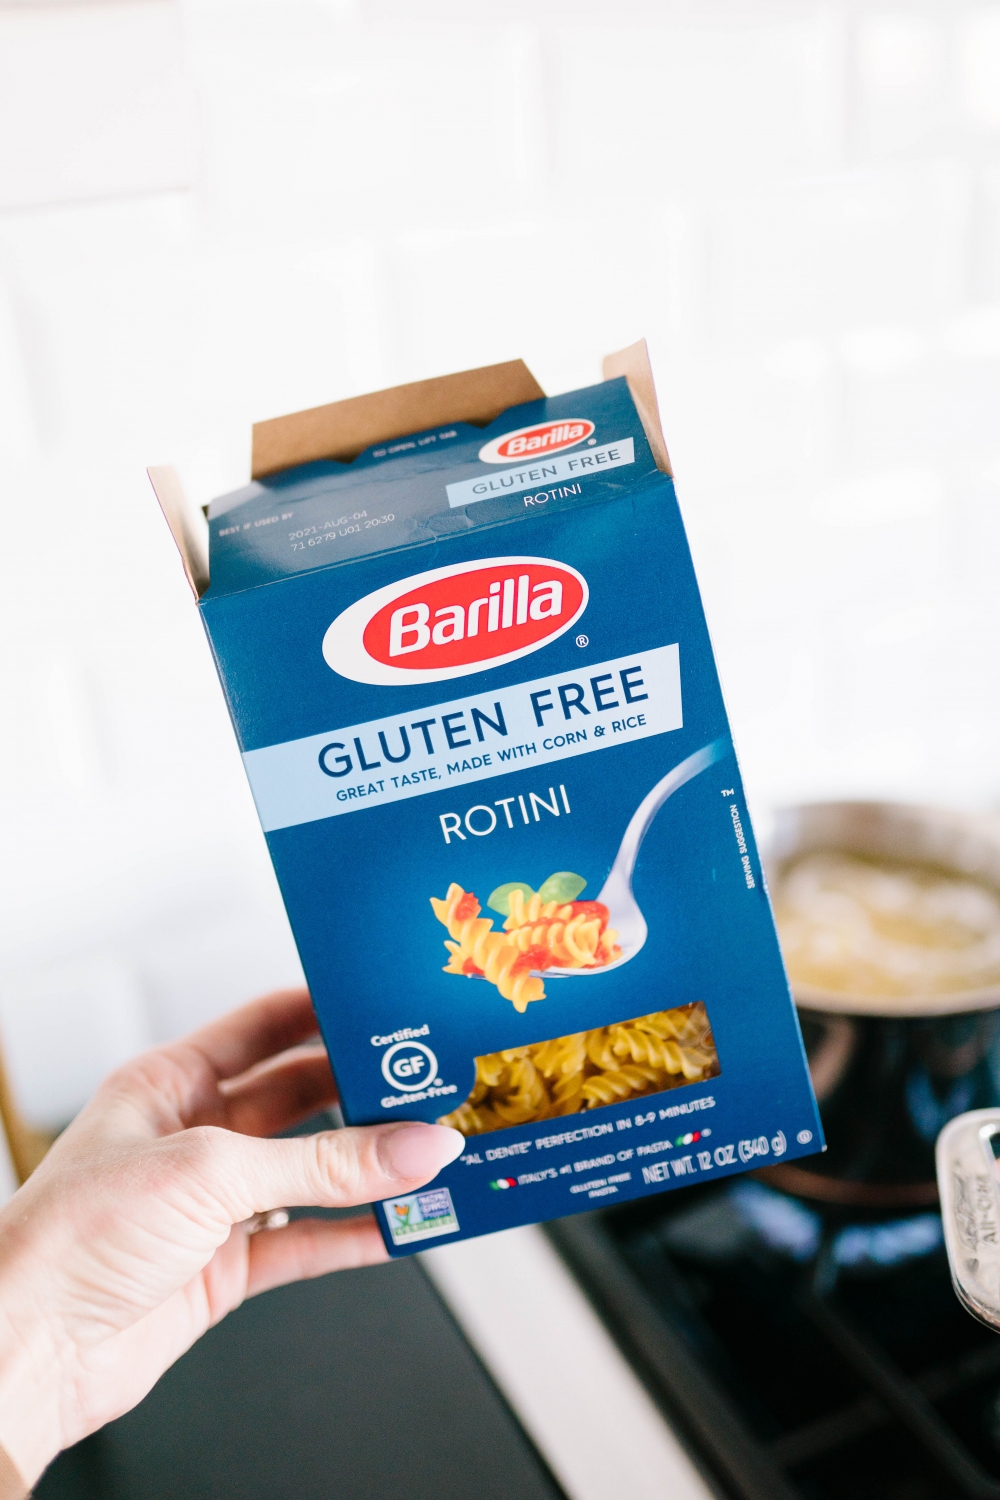
This is my favorite brand of gluten-free pasta. But if you are using gluten-free pasta, I suggest following my lead and only adding the soup to freshly cooked pasta. And keep leftovers separately and cook a fresh batch of pasta when making yourself soup the next day. Gluten-free pasta doesn’t hold up like traditional pasta – it rarely, if ever, holds up overnight. It’s just not good!
Finishing & Serving Your Soup
Once your noodles are done cooking, add a serving to a bowl and ladle your soup on top! Serving this with a warm roll or Whisps crackers makes this so yummy! 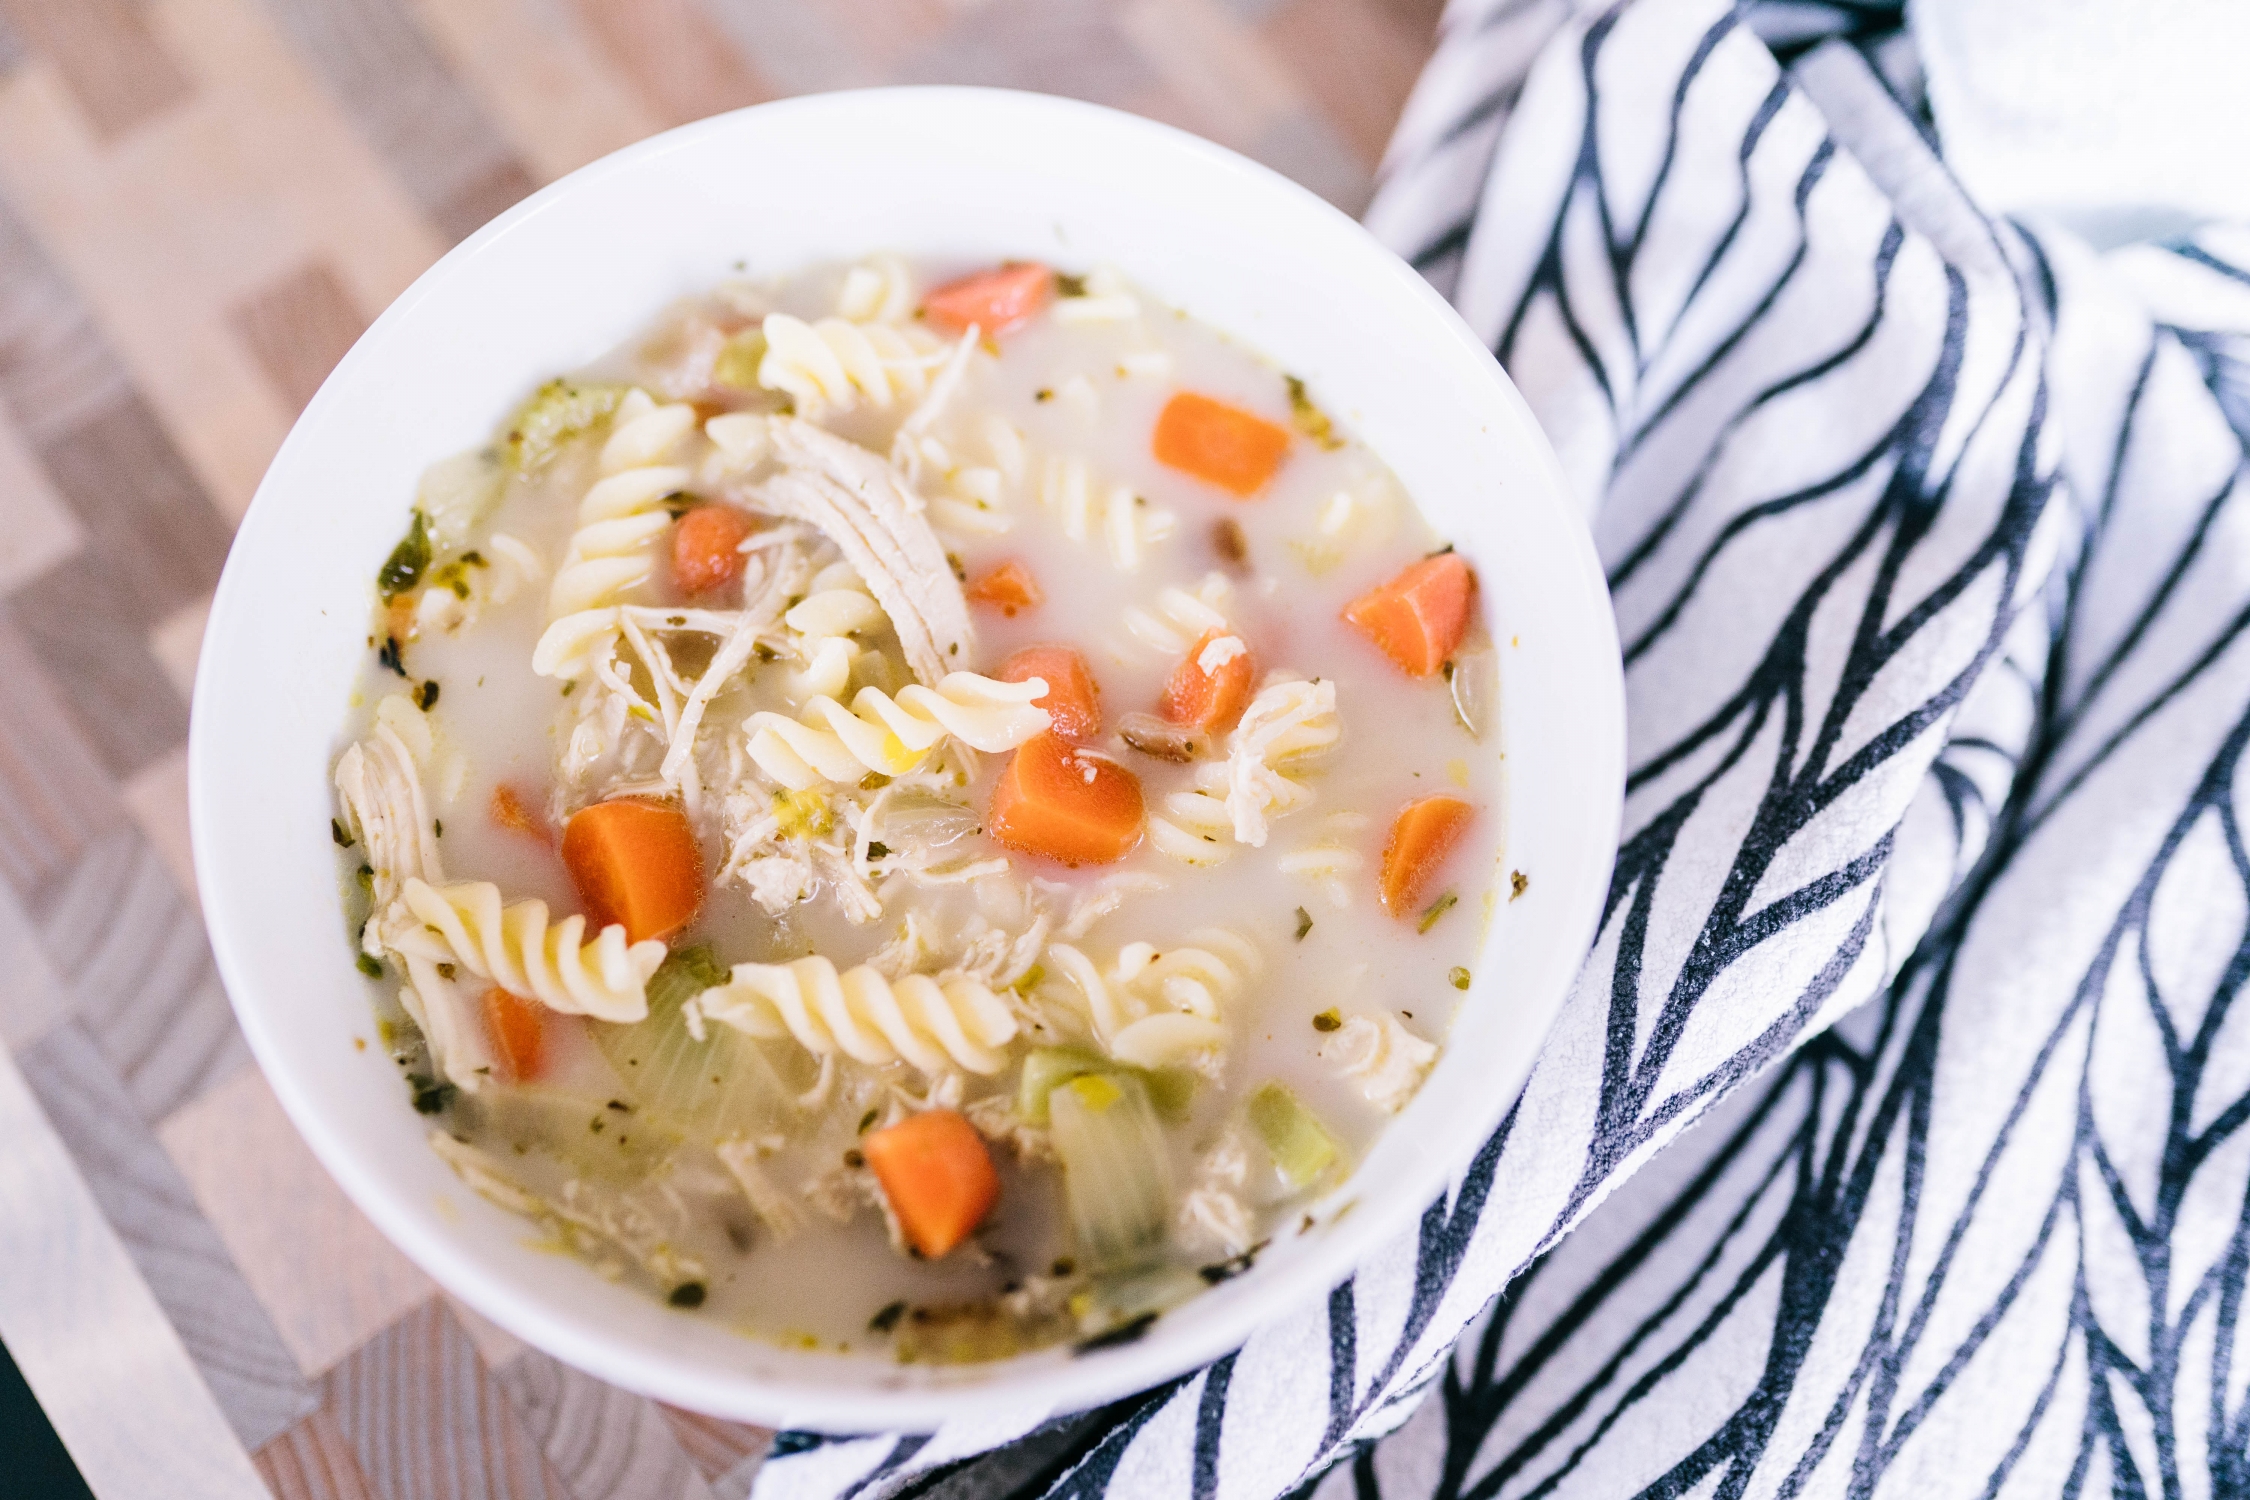
I hope you love this recipe as much as I do! It’s such a great classic recipe and I guarantee you’ll add it to your regular line-up!
Xx Tara

Creamy Chicken Noodle Soup
Ingredients
- 1 Cup Chopped onion
- 3 Cups Chopped carrots
- 1.5 Cups Chopped celery
- 2 Qrt Water (8cups) water + chicken bouillon (see package to know how much you add) OR 8 cups chicken broth
- 2-3 Uncooked chicken breasts
- 2 Tsp salt
- 1/2 Tsp pepper
- 4/5 Sprigs Fresh Thyme
- 3/4 Cup Whisk Bliss OR Cornstarch Water mixture to thicken (both options are gluten-free)Egg Noodles
- Egg Noodles
- Lemon (optional)
Instructions
- Heat up dutch oven or pot over medium-high heat. Add in a few tablespoons avocado oil in the pot. Add carrots to the pot and stir to coat in oil. Cook for 5 minutes.
- Add chopped onion and celery. Cook for 5 minutes. I like to cook my veggies until they start to show they’re cooked. A little black on the veggies is a good thing!
- Add fresh thyme (I always freeze mine from the garden and use all year long).
- Add in water* OR chicken broth. *If using water, add in the appropriate amount of chicken bouillon to the pot as well. Mine calls for 1/2 tsp per cup of water so I added in 4 tsp. chicken bouillon. Bring to a boil.
- Add in raw chicken breasts. Cook through. Remove chicken breasts from pot and shred.
- Whisk in whisk bliss* to thicken. Sometimes if my soup is really chunky, I will mix remove some of the liquid from my soup and mix the whisk bliss in separately so it doesn’t clump. I haven’t ever had an issue with it in this recipe since there is so much liquid but I thought it may be good to mention.
- Return to boil and let whisk bliss thicken the soup. Return shredded chicken to the pot. Taste soup…sometimes I will add a little more salt, pepper or chicken bouillon here. Turn off heat.
- Boil water separately. Cook noodles according to package directions. I usually buy my kids and husband the homemade frozen egg noodles and make my separate gluten-free noodles. Add noodles to each bowl and pour the soup/veggie mixture over the top. See note about adding noodles to the soup.†
- Top with a squeeze of lemon juice and serve with rolls or breadsticks. Enjoy!!