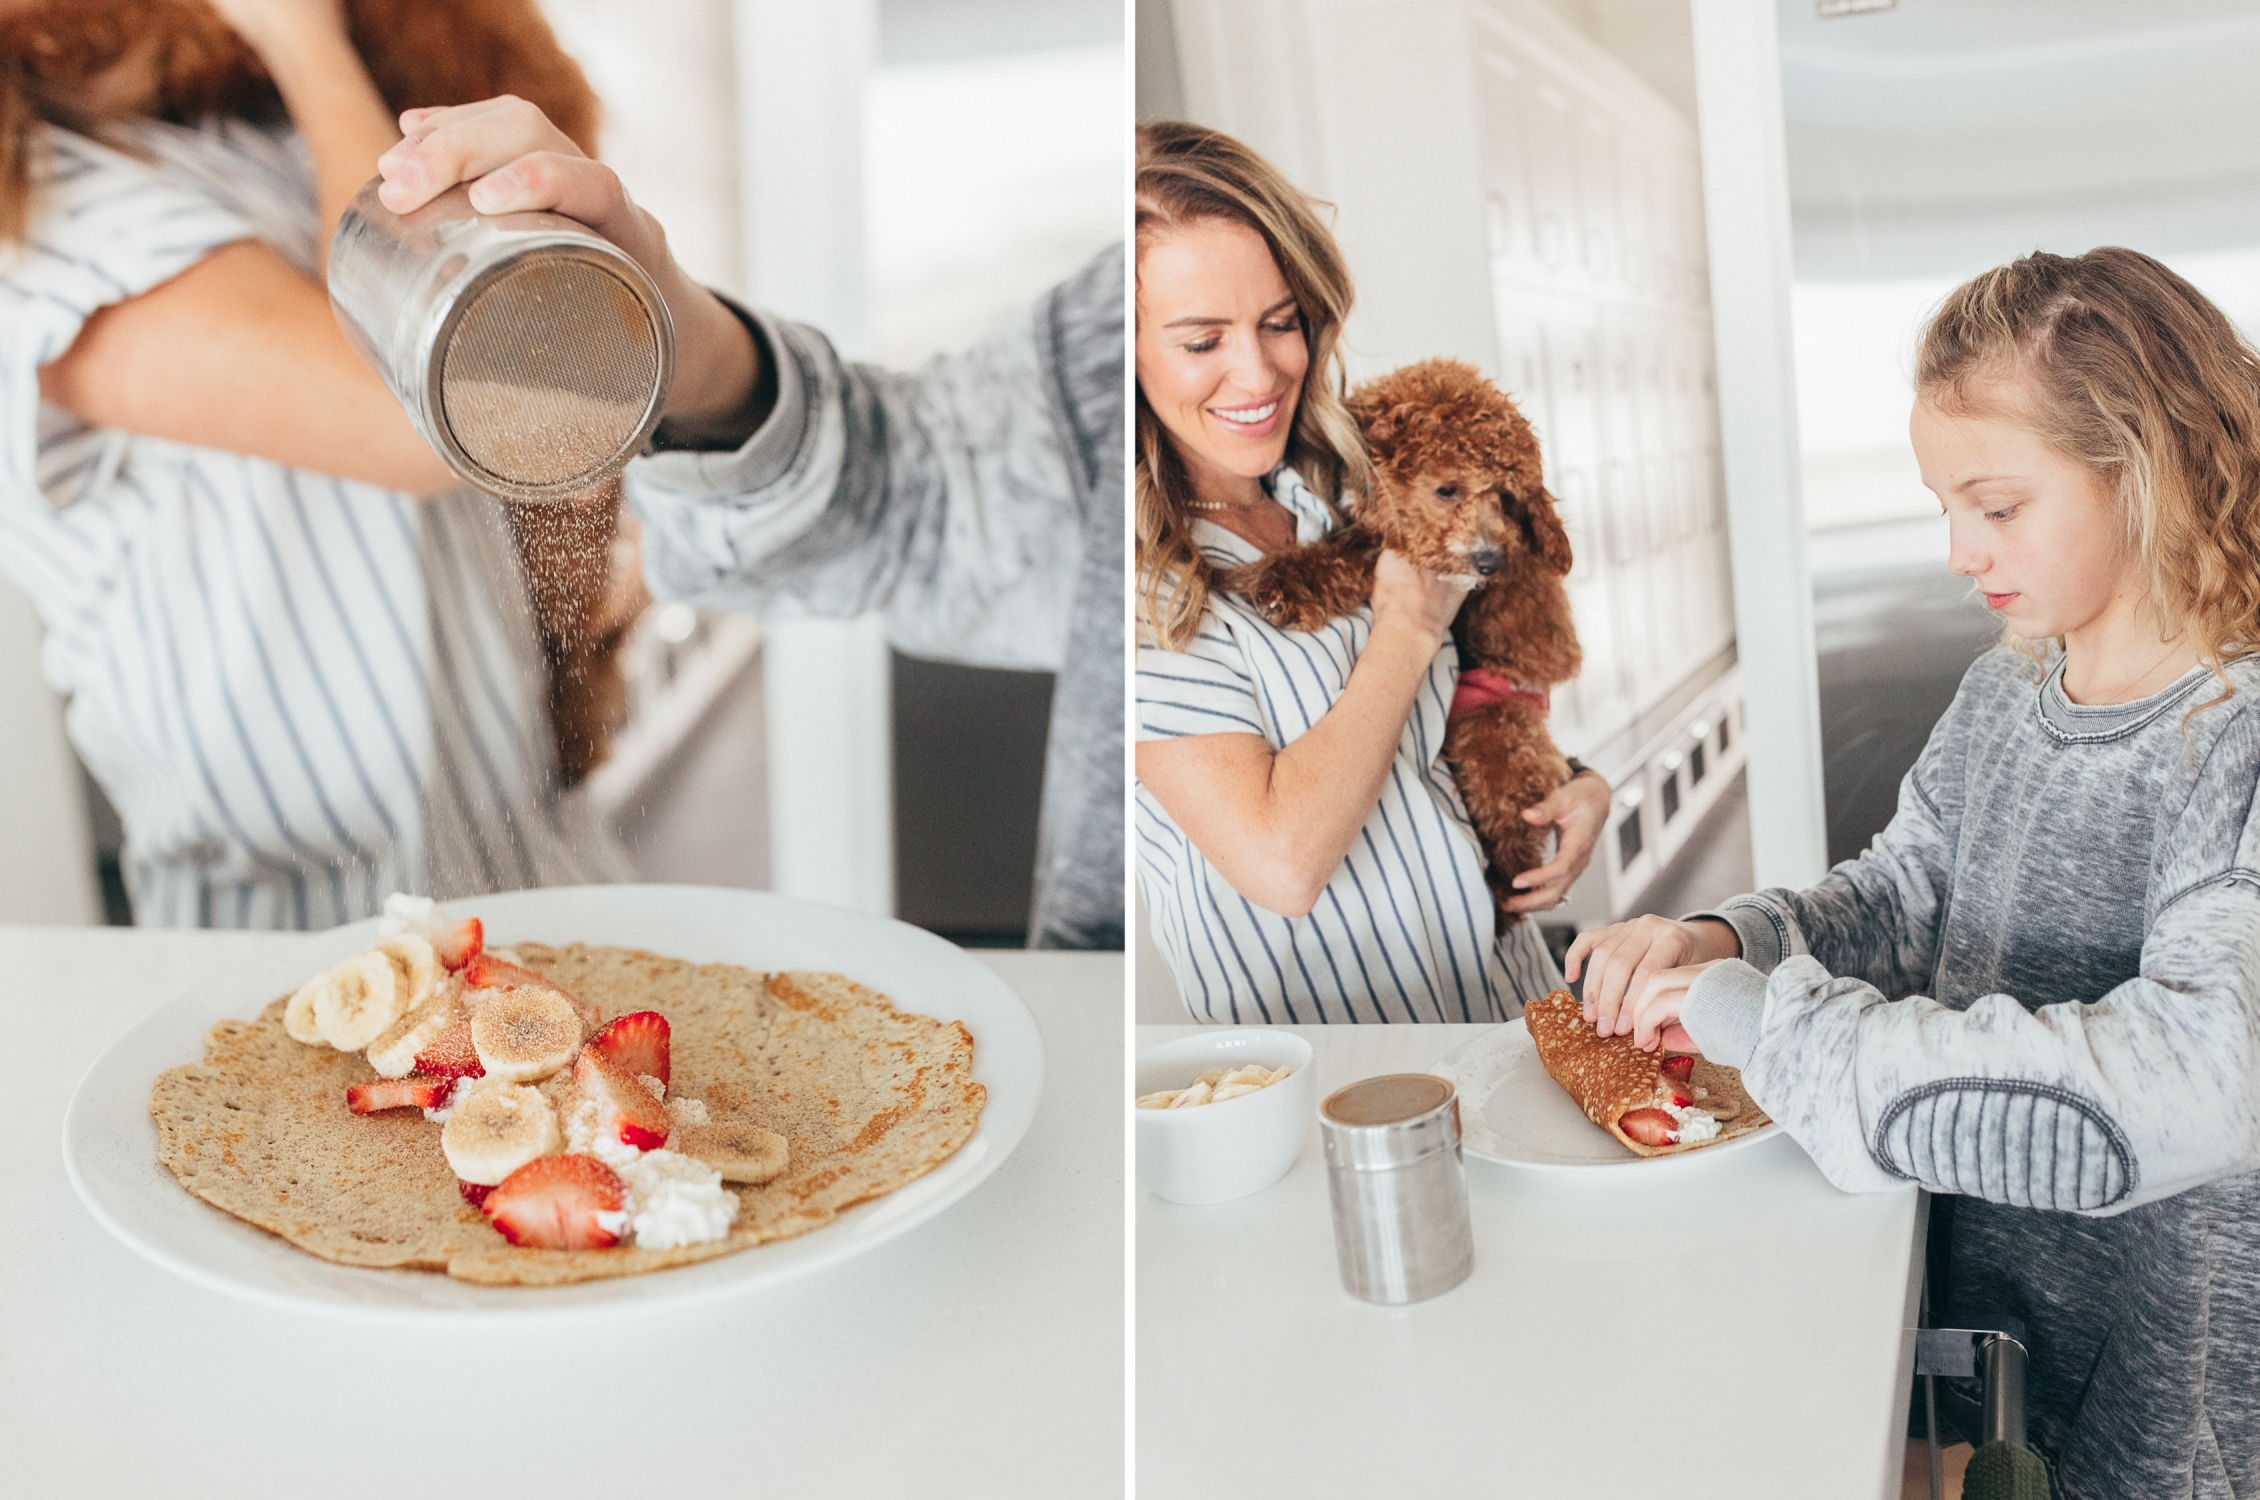
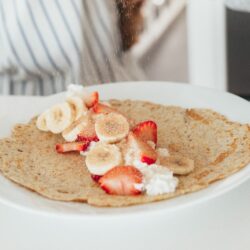
Ohhh goodness. If you were to ever ask my kids what their favorite food is, it would be WITHOUT A DOUBT crepes. I never had crepes growing up but now that I have been introduced to them, they are some of my favorite foods too! We mostly stick to easy fillings… whipped cream, bananas, strawberries, raspberries and topped with a little cinnamon sugar. But I have had all sorts of things on them.

When Layla and I went to Paris this fall, we discovered that Paris had gluten free crepe stands all over the city. We pretty much lived off them the whole time we were there. They were DELICIOUS. Their coloring was a little off though at some locations. haha. Some were grey which was weird but they tasted delicious so I was able to look past the color.

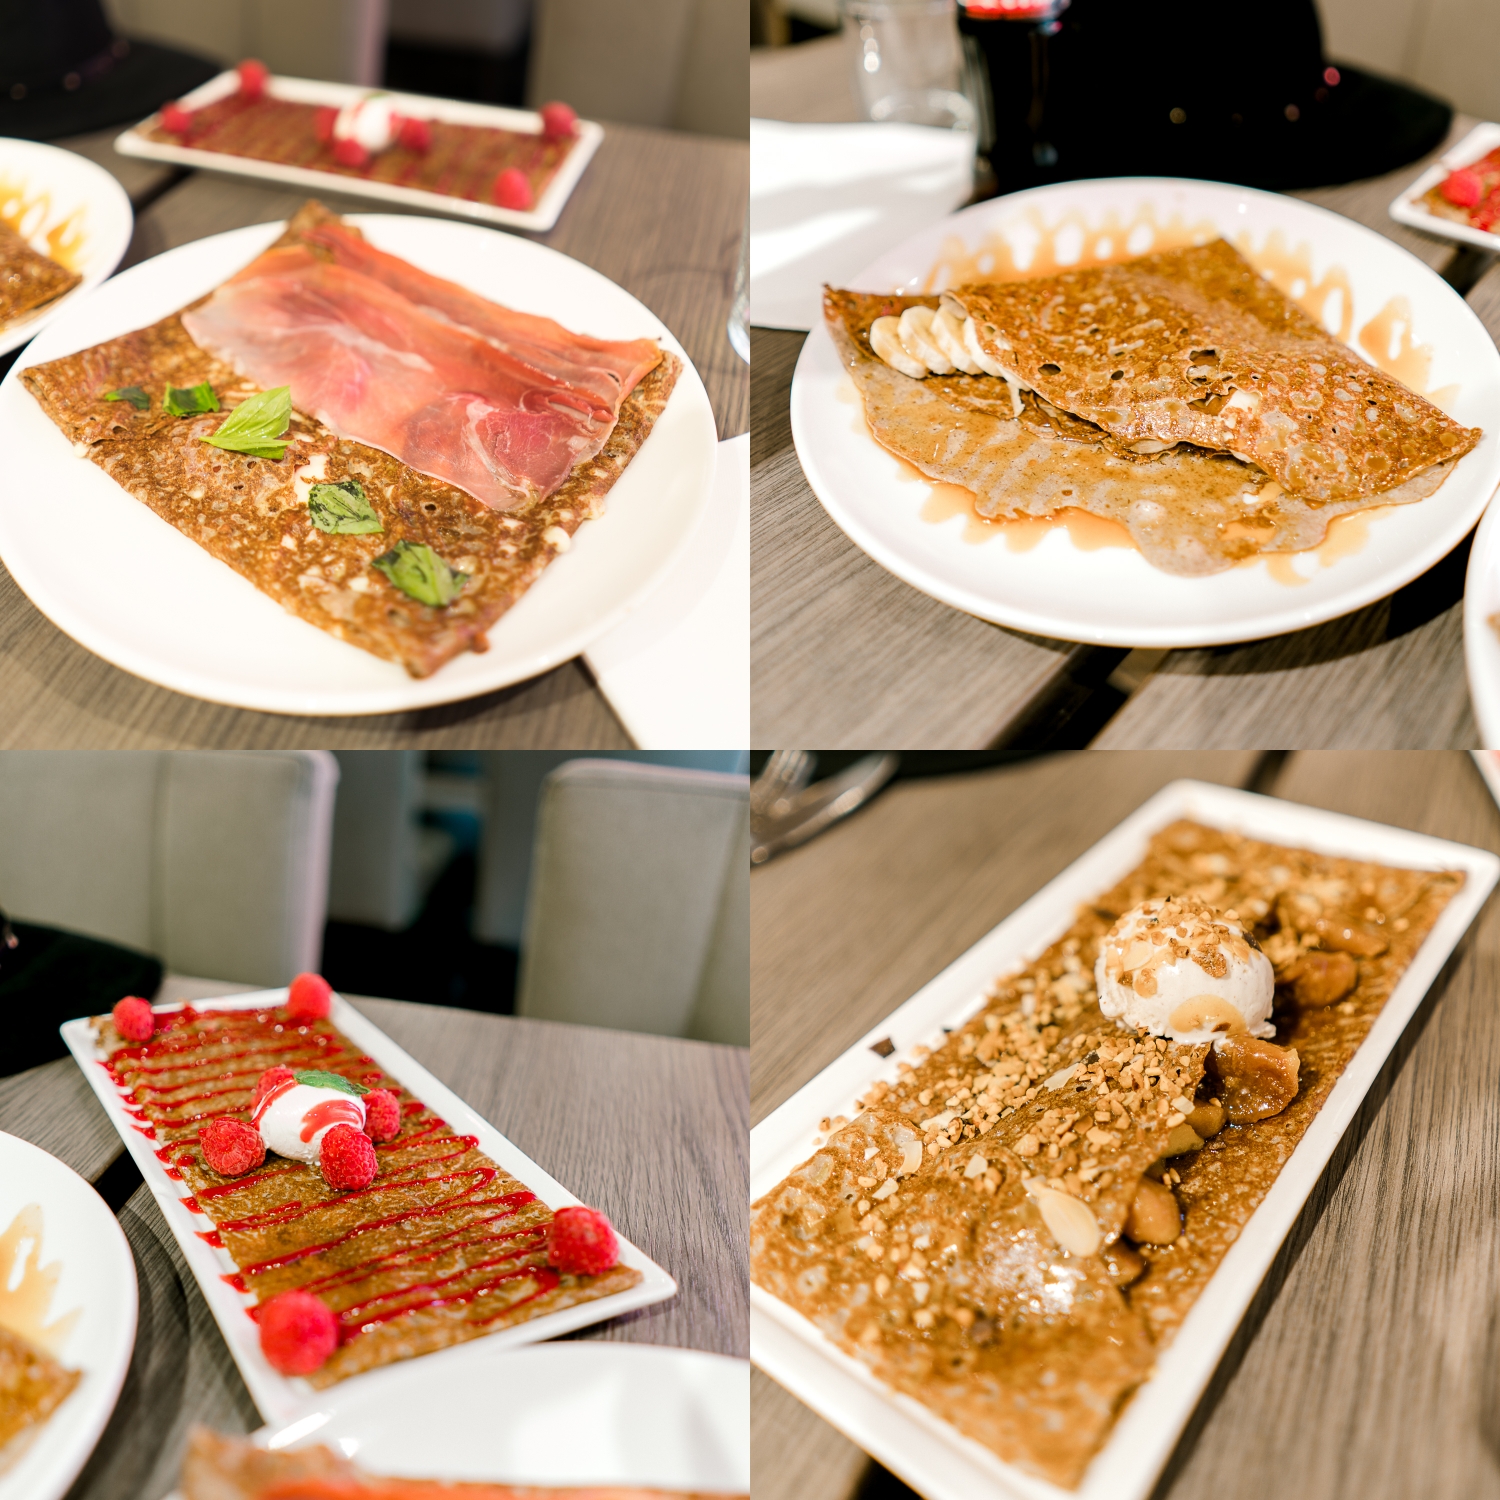
In Paris, they had sweet crepes and savory crepes. The savory ones were basically like pizza because of the toppings that we chose. So we were a huge fan of that. Not to get off subject here but Paris was a very gluten free friendly city actually. We always ordered room service to start our day off and they would deliver the yummiest chocolate croissants, rolls+jam and regular croissants. We hit up a lot of gluten free bakeries while we were there too. Le Cairn, Yummy and Guilt Free (waffles on a stick!), Little Nonna Paris (100% gf pizza and pasta joint.. with dessert pizzas too!), NoGlu (bakery and delicatessan), Helmut Newcake, Chambell and Boulangerie, Grom Gelato (gluten free waffle cones!) Gosh, I am getting hungry just thinking about it again! Okay back to the crepes… Parisian crepes are beautiful. We ordered (and inhaled) all of these in one sitting.
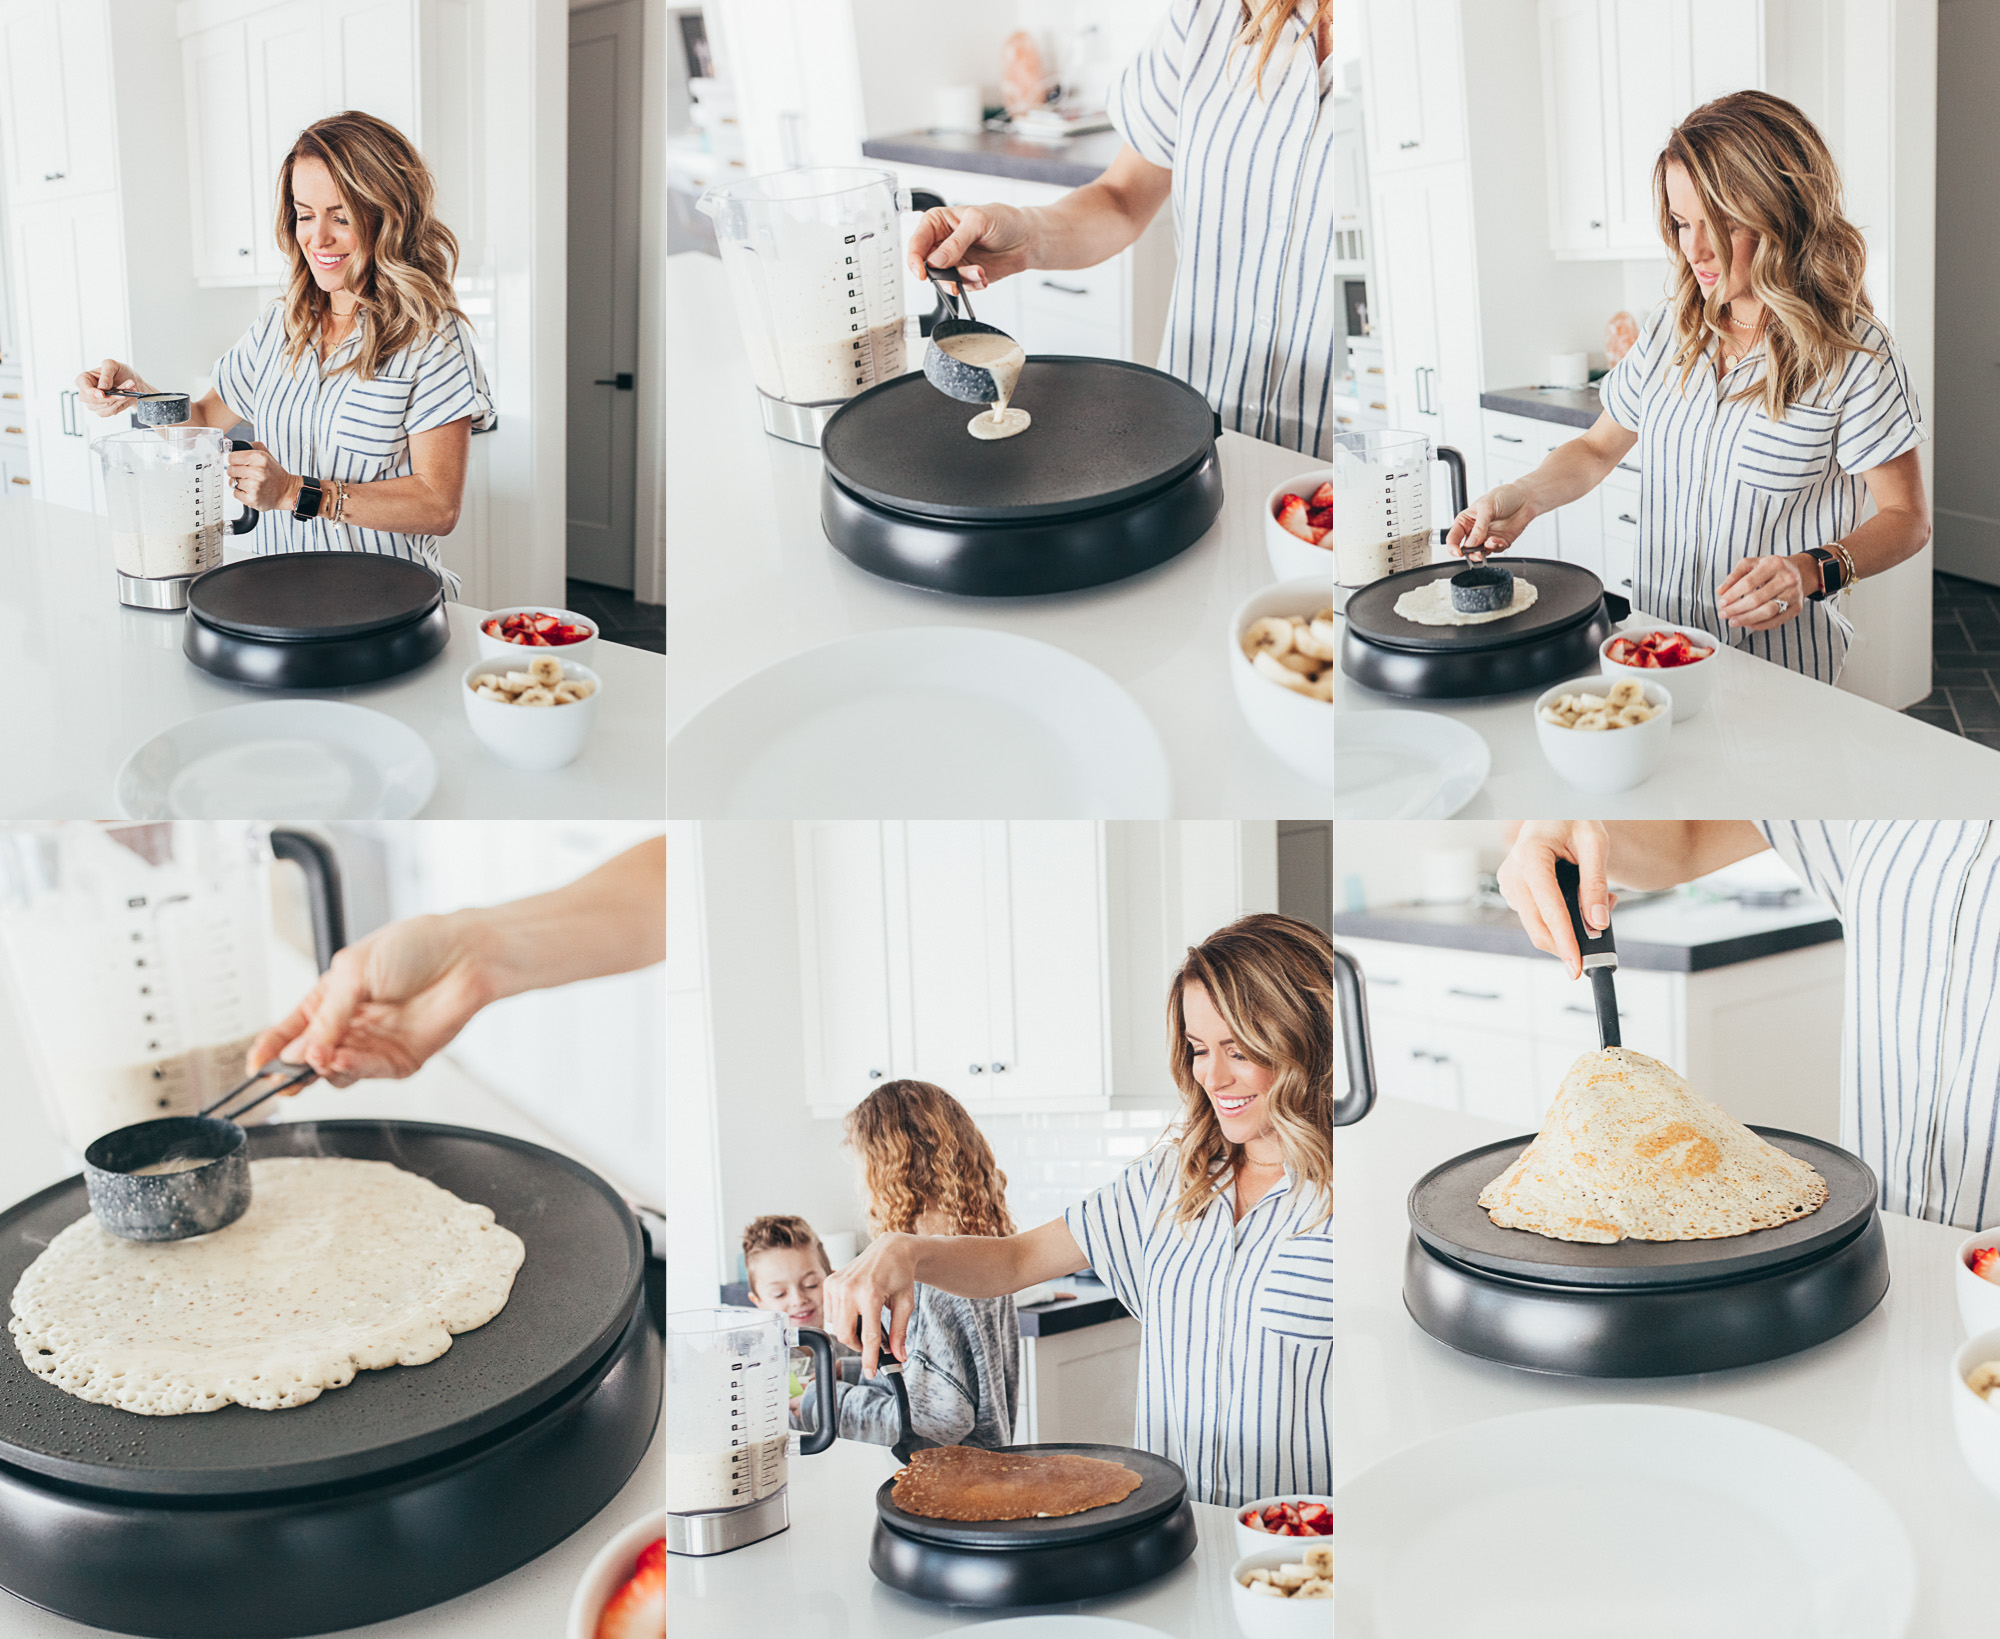
So when we got home, I was determined to be more adventurous with our own crepes! Luckily my girls are more than willing to help cook when it comes to making them so it makes testing out toppings more fun! 

We got this griddle for making them. I LOVE IT! We have had ours since April of 2015 (thank you for telling me that Amazon!) and it still works as good today as it did back then. I do find that pouring and spreading them out of a 1/3 C. measuring cup works best for me but if you like their spreader, great!
The possibilities are literally endless when it comes to fillings. Like I said, our favorites are whipped cream, bananas, strawberries and some cinnamon sugar. We experimented with dairy free whipped cream today too and it was a hit. Braun actually preferred the dairy free kind over regular. I think we are slowly going totally dairy free at our house because of Anisten’s stomach issues which has been tough on us all but we will get the hang of it!

Gluten and Dairy Free Crepes
Ingredients
- 1 cup Pamelas Baking and Pancake Mix (only use this if making them gluten free)
- OR 1 cup Namaste Foods Waffle and Pancake Mix (use if making them gluten free and dairy free)
- 1 1/3 cup Water
- 1 egg, large
- 1 Tbsp Oil
Toppings:
- Strawberries, Bananas, Whipped Cream, Cinnamon Sugar, Nutella, Caramel.. whatever your heart desires!
For the dairy free whipped topping:
- 1 14 oz. can of cold full fat coconut milk
- 1/2 to 3/4 cup powdered sugar
- 1/2 tsp vanilla
Instructions
- Mix all ingredients together. Batter will be very thin. Preheat crepe pan or a round 12 inch pan on low to medium/low heat. Be sure to spray or oil the pan before baking each crepe.
- Pour 1/3 Cup batter into pan and quickly spread the batter in a circular motion to disperse the batter into a thin, even coat. Air holes will appear — do not try to fill them in. When the edges start to brown, lift edges of crepe with spatula, then flip. Remove crepe and lay flat on parchment or wax paper. Stack each finished crepe as you go. If you are cooking these early and storing in the fridge until you serve, you will want to put wax paper in between each crepe. Keep crepes covered to avoid drying out. Fill with your favorite fillings, roll up and serve!
- Directions for dairy free whipped topping:1. Chill your coconut cream or coconut milk in the refrigerator overnight, being sure not to shake or tip the can to encourage separation of the cream and liquid.2. The next day, chill a large mixing bowl 10 minutes before whipping.3. Remove the coconut cream or milk from the fridge without tipping or shaking and remove the lid. Scrape out the top, thickened cream and leave the liquid behind.4. Note: if your coconut milk didn't harden, you probably just got a dud can without the right fat content. In that case, you can try to salvage it with a bit of tapioca flour – 1 to 4 Tbsp – during the whipping process.5. Place hardened cream in your chilled mixing bowl. Beat for 30 seconds with a mixer until creamy. Then add vanilla (optional) and powdered sugar and mix until creamy and smooth – about 1 minute. Taste and adjust sweetness as needed.6. Use immediately or refrigerate – it will harden and set in the fridge the longer it's chilled. Will keep for up to 1 – 2 weeks! Enjoy!

Be careful going DF if you don’t have to. You will lose the ability to digest it. keep the high quality high fat dairy in your lives the best you can. It is hard to always have different options for everyone thougH
These look devine!